After Effects Tutorial: Creating a Particle Christmas Tree

Create a particle Christmas tree in After Effects using Trapcode Particular and Adobe Illustrator!
It’s Christmas time! I know many of you will be doing holiday themed motion graphics, so here’s a fun little tutorial on how to create a cool, spiraling particle Christmas tree!

First, open Adobe Illustrator and draw a straight line using either the pen tool or the line tool.
Next select the “Twirl” tool from the tool palette, then double click it to bring up the options. I found that I got my best results with the below:


Now, place your cursor over one end of the line, keep it in place, and hold down the mouse button until you get a good spiral, like this:
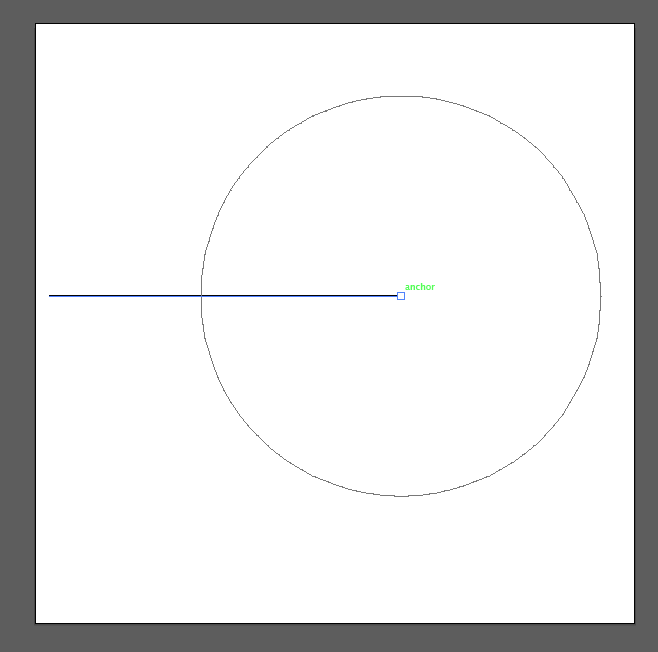
The spiral result after holding down for a second or two:

When you’re happy with your spiral, delete any points that didn’t fall within the range of the Twirl tool, to end up with something like the below:

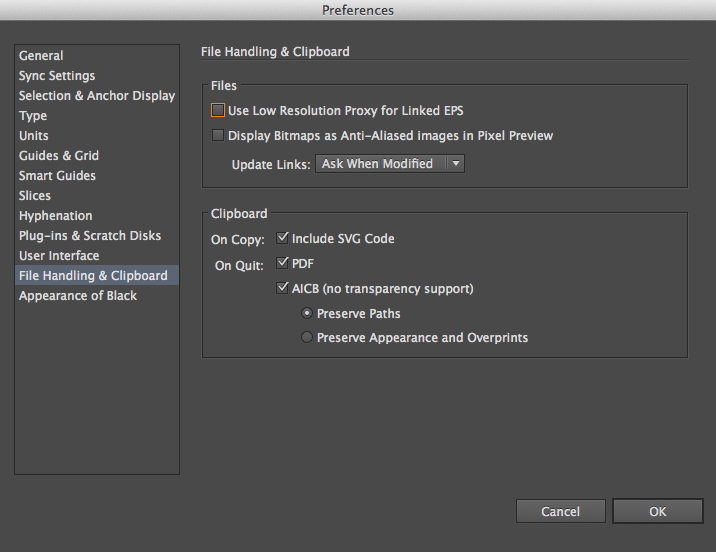
One important setting in Illustrator that must be correct before you can copy paths and have them paste correctly in After Effects – make sure you’ve selected “Preserve Paths” in the “File Handling and Clipboard” preference menu:
If that setting is checked correctly, go ahead and copy the path, then open After Effects and create a new comp. You’ll want to add two things to the comp for starters: a null object and a point light. For the null object, make it 3D, set it’s position to exactly the same as the light, and parent it to the light. For the light, name it “Emitter.”

Now, select the Position property of the light and paste the spiral path from Illustrator:

We parented the null to the light to keep it close to the light after the position curve was pasted, but now switch it so that the light is parented to the null object. The path was pasted vertically, so rotate the null object to 270º on the X-axis to make it horizontal:


Now, scale up the null to make the “base” of the Christmas Tree as wide as you want it; I scaled mine up to 300%. You also might drag the null towards the bottom of the comp.
What you have so far is a light spiraling from the outside-in on a flat plane. To expand that spiral in 3D so that light spirals upward, add a keyframe on the null’s position at the start of the “spiral” movement, go to the end of the spiral movement and move the null up on the Y-axis towards the top of the comp:

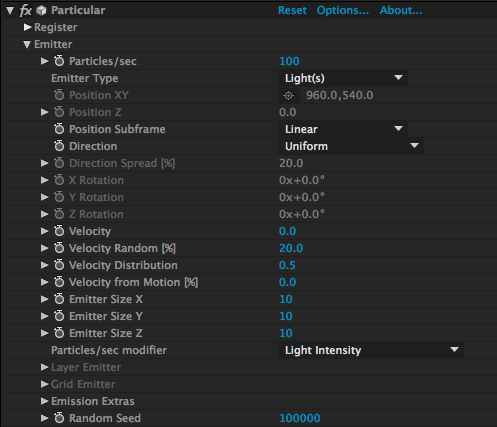
If you scrub through, you’ll see the light spiral around from bottom to top. This is the path we’re looking for, so now let’s make some particles follow that path! Add a new solid and apply Particular. Set it’s Emitter Type to Light, the Velocity and Velocity from Motion to .3 (or 0 if you want no movement at all), and it’s size to around 10x10x10.
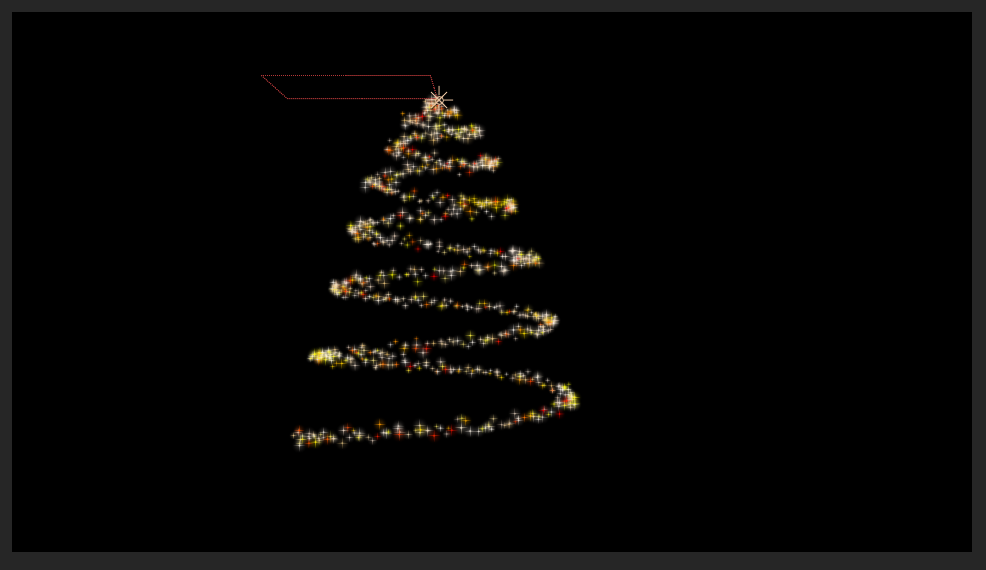
Now, if you scrub through, you should see the tree start to take shape:
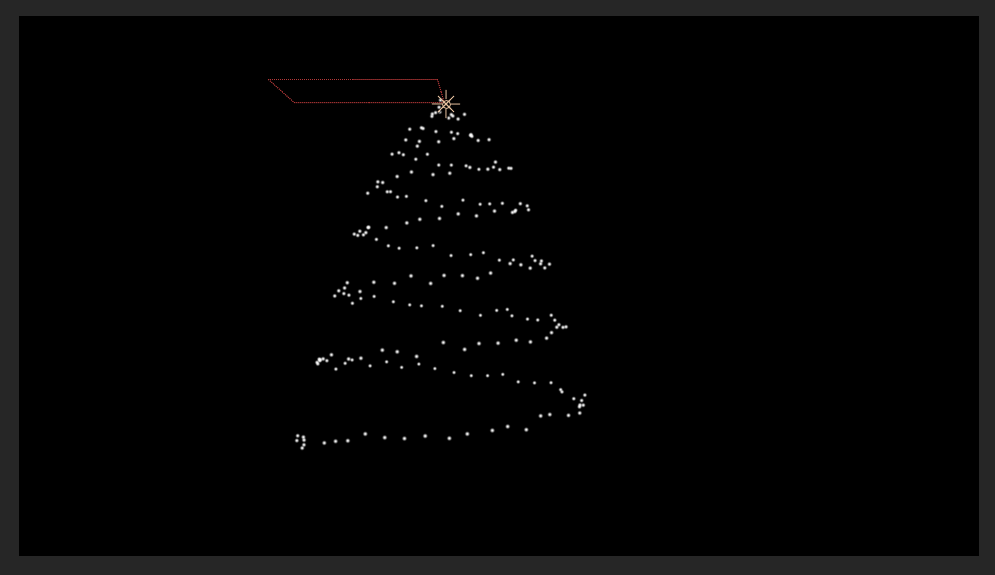
Let’s crank up the Particles/sec to about 500, then get to work on making the particles look right. Set the Life to 6sec, and change the Particle Type to “Star,” the Color to “Random from Gradient,” and make a gradient with the colors you’d like to see. We also want a little variation in the particles, so set the Size Random and Opacity Random to 40%:

For the Physics, we’ll add just a little more random motion by setting the Spin Amplitude to 5 and the Affect Size and Affect Position to 10:


The last thing to address is the top – the particles keep emitting after the light reaches the top, so we’ll keyframe the Particles/sec from 500 to 0 after the last keyframe on the light emitter:

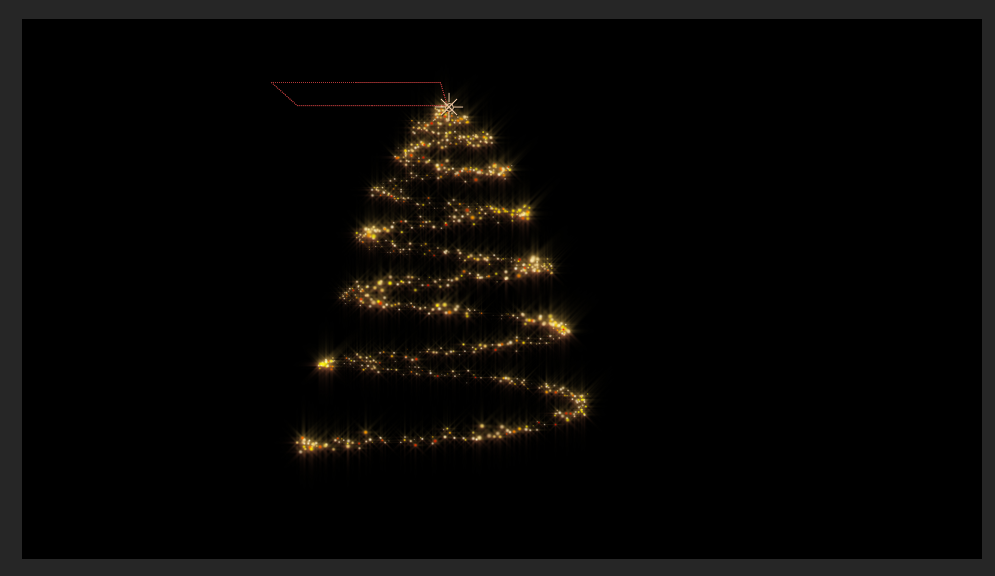
Now you’ve got a nice, sparkly particle Christmas Tree! It’s path is fully in 3D so you can do some great camera movements. One thing to note: the “Star” particle type doesn’t allow depth of field effects, so an alternative is to make the particles “Spheres,” then add Trapcode Starglow (if you’ve got it). Here’s what that might look like:

There are a ton of variations you can create with this: try playing with the Particle Size or Randomness, or with various Opacity Over Life graphs. You could add in an Aux System emitter for different shape, size or color particles.
And there you go, a little bit of Christmas cheer for your holiday motion graphics!