
Video Tutorial: Exporting Multichannel Audio in Premiere Pro

Learn how to render a video clip with multiple audio track layers in this easy-to-follow tutorial.
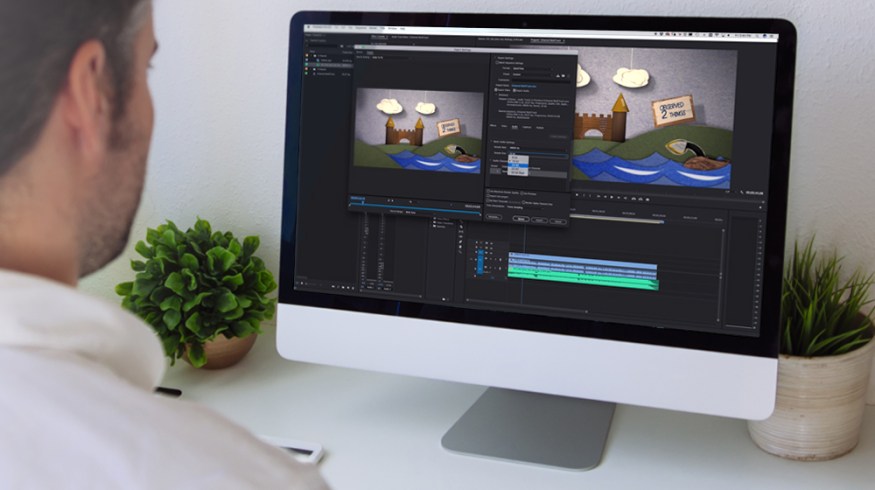
Top image via Shutterstock.
Sooner or later, every videographer will need to render a video clip with multiple audio tracks. Whether it’s simply to keep video and audio tracks separate for future revisions, or to separate tracks for a live concert, being able to export a video or audio file with multiple audio tracks is an important skill.
Let’s take a look at setting up your sequence settings for proper multi-channel audio.
By default, Premiere Pro typically renders out videos with a single audio track, and it can be frustrating to figure out the correct settings for export. Rendering multiple tracks is easy to do, but it can be a bit tedious to set up and render properly. If you miss one step then it won’t work.
First, you need to create a new sequence and click on the Tracks tab.

Once there, you will want to change the master settings to multichannel and the number of channels to match however many you need. You may also need to click the add button if you don’t see enough audio channels.

Next you will need to change each audio channel to mono. Then, change the output assignments according to their respective channels. For example, if you have four audio channels, then you will change Audio 1 and Audio 2’s output assignments to Audio 1 and 2. For Audio 3 and 4 change the output assignment to Audio 3 and 4. Finally, you will want to pan each track left and then right. Then name your sequence and click okay.

Next, just drag your video and audio files into the sequence. You can even copy any edits you have made in a previous sequence and paste them into your new sequence. To double check your setup, make sure there are an appropriate number of audio channels and that the correct audio is showing up in the proper channel.
Finally, go to File > Export Media to bring up the export settings. Some formats won’t support multiple audio tracks, so you need to make sure you choose a format that will accept them. In this case, I’m going to choose QuickTime as my format. In the video tab, I’m going to change my video codec to Apple ProRes 422 and click Match Source. Next, click the audio tab and make sure the audio codec is uncompressed. I’d also change the sample size to 24 bit. Under audio channel configuration, change the output channels to however many channels you are rendering out. Then hit Export and you are done.

Do you have tips for working with multiple audio tracks? Let us know in the comments.