How to Turn a Closet Into a DIY Sound Booth

Do you need high-quality voice-over on a limited budget? No problem. Here’s how you can turn your closet into a DIY sound booth.
There will likely come a time when audio needs to be performed beyond what was captured on set or location. This additional audio comes in many forms: a soundtrack, sound effects, voice-over, narration, and even ADR. Usually the soundtrack and sound effects are purchased for your project or created by sound specialists. But when it comes to voice-over and ADR, most filmmakers or video producers are on their own.
While you can rent time in a studio space to record audio in a sound booth, the cost to use such spaces can be detrimental to a budget. In order to soften the financial blow, many filmmakers and video producers capture the voice-over and ADR on their own. The problem, however, is still the need for a space to record this audio. Luckily, most of us have closet space available.
Let’s see what’s needed to turn a closet into your very own DIY sound booth.
1. The Space

Image from Shutterstock
The very first thing you need is space. You can use a hall closet, linen closet, or pantry for this space. A closet beneath stairs is a great place to start as well. No need for anything huge, just enough space to fit one person comfortably.
2. Make Spatial Adjustments

Image from Shutterstock
Once the space has been decided upon and cleared of all clutter, you’ll likely need to make some adjustments. You may have to remove shelving or racks in order to maximize the space. You definitely want your surfaces to be flat for the next step: sound proofing.

Image from Audimute
Also, don’t forget to add a light if there isn’t one already in the closet. Lighting is essential. Power could be a necessity for you as well, depending on what you’ll use the space for beyond just capturing vocal tracks. So, be aware of where your outlets are. If there are no outlets in your closet, which is probably the case, then you’ll want to contact a licensed electrician to aid you with this part of the adjustment.
3. Soundproof the Space

Image from Shutterstock
Now that you’ve picked your space, made some spatial adjustments, and smoothed out the wall surface, it’s time to move onto the soundproofing part of the project.
Video from compellingtv
One soundproofing solution is a blanket. These can be either a sound blanket or a packing blanket that you can purchase at many hardware stores. Another solution would be to purchase egg crate foam. You can easily find this at most department stores for a very minimal price. Finally, there are acoustic panels and professional sound foam. Both of these options will be a bit more pricey, unless you build your own panels. Here’s a video from Acoustic Geometry that tells us exactly what acoustic panels are and how to best utilize them.
Video from Acoustic Geometry
Once you purchase any of these solutions, you’ll want to either use tacks, nails, or adhesive to apply them to the walls, ceiling, and the door of the closet. If your closet space has hardwood flooring, purchase a small rug or section of carpet to place on the floor. For vocals, you’ll want to cover as much surface area as possible. For more “acoustic” needs, leave some surface area visible.
4. Gather Your Equipment

Image from Shutterstock
Now that your space has been soundproofed, make sure you have the right equipment. For the inside of your closet, you’ll need a mic, mic stand, pop shield, XLR cable, music stand, stool, and headphones. Once you have these pieces of equipment in place, you need to make sure that they can reach the mixer or interface, so cable extensions may be a necessity.

Image from Shutterstock
Remember to listen to your equipment in the space before you finalize anything. Sometimes you may find that only covering 70% of the closet in foam will work perfectly for you. So run tests and record some vocals and listen to the playback. If you’re happy with the sound, then you’re good to begin recording professionally.
5. No Closet, No Problem
What if you desperately need a sound booth but just don’t have any available closet space at all? Well, fear not… a sound booth doesn’t have to be a closet specifically. All you need is four walls (one with a door) and a ceiling.

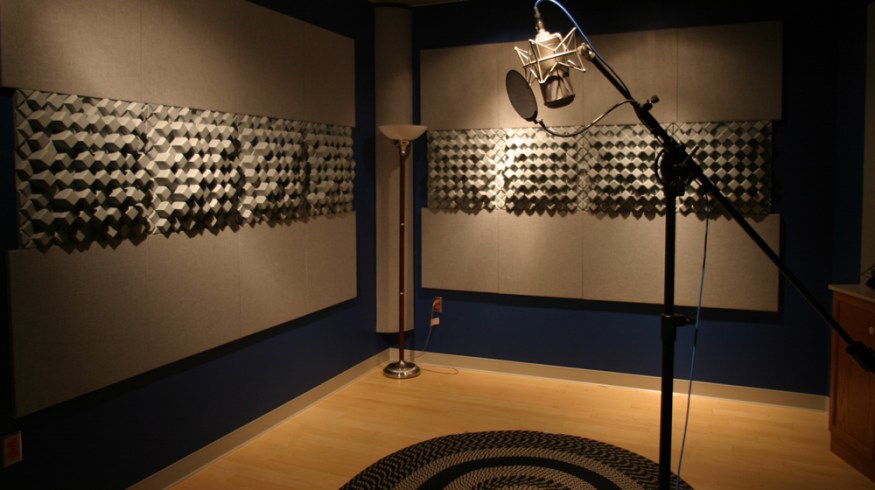
Image from Melrose Center
There are pre-built sound booths available out there that work perfectly. However, if you’re the type of person that likes to build and customize, then you’ll want to check at the timelapse video below from Conrad Jay. Just make note that Jay build the walls, ceiling, and floor independently before bringing them together for the final build.
Video from CONRAD JAY
If you just don’t have the time or resources to build a large scale sound booth, then a possible solution is purchasing or making a small portable sound booth. These can usually get the job done if you’re just needing some quick vocal work. They can be built or bought pre-built for a fairly inexpensive price. Here is a video from Joe at Media6D where he runs through the steps of building a quality DIY portable sound booth.
Video from Media6D
What are your thoughts on the homemade sound booth? Do you have a space in mind for your own booth? Are there any other assets you would add? Share your thoughts in the comments below.