The Practical Guide to Independent Costume Design

Take a look at an indie costumer’s equipment recommendations and workflow hacks to bring a pro look to your next project.
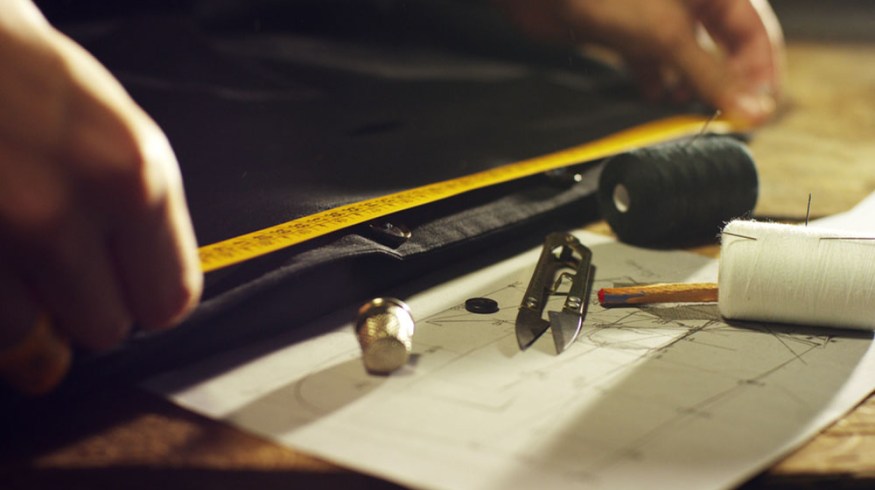
Cover image via Shutterstock.
There’s a lot more to costume design than meets the eye. It’s fashion meets filmmaking, and to rise to the challenge, a costumer should have the best tools on hand. Let’s take a look at some recommendations.
Protect Your Resources

Image via Shutterstock.
One of the most important things a costumer can do is ask all the right questions up front to avoid any confusion or dispute with production down the line. In addition to filling out the department, negotiating your own day rate, and discussing prep and wrap schedule, you should always confirm with production whether or not you will be granted a kit fee, also known as a “kit rental fee” or a “box fee.” This amount is typically a flat, one-time addition to your invoice, and most of the time, it only covers a portion of what you bring to the table. As with any artist, the costume designer’s kit takes a long time to build and maintain, and it’s not cheap. In indie filmmaking, a portion of these expenses often fall to the designer, so be sure to ask before you accept the job.
There will be times when other departments will ask to borrow something — or an actor or assistant will walk away with a piece of your kit. Protecting Your Resources 101: Label Everything. Label it on the top, on the bottom, inside, outside. Label it all over. Label your racks, your steamer, your sewing kit, your scissors, your lint roller — everything. I like Dymo handheld label makers. It’s also helpful to keep a digital inventory of your stock that you can edit and print out before each shoot. This will help you when it’s time to pack your kit away at wrap.
Know What to Bring and When to Bring It

Image via Shutterstock.
With each costuming experience, your intuition will grow, and it will become easier to make quick decisions about what you will need each day on set. But until then, your options are to bring everything all the time — or to stop and think strategically before the next day. Ask yourself the following questions:
Q: Should I bring my steamer?
A: Yes, literally always.
Q: Do I need to bring a rack?
A: If you will have a holding room with a solid floor, yes. If you are working outdoors, you can use the rack installed in your car (we’ll get to that…).
Q: Which costumes will I need for tomorrow?
A: Your call sheet each day should have an advanced schedule on it. Use downtime during the day to look ahead to what is shooting tomorrow and which actors are working, so you can plan accordingly.
Q: Will a costume piece will be damaged on tomorrow’s shoot?
A: If yes, bring doubles.
Q: Will I need an iron and a steamer?
A: You only need an iron if you are working with menswear or uniforms.
The list goes on here, but you can really streamline your breakdown and load-in process if you think strategically about what pieces need to travel and when. Familiarize yourself with your vehicle’s dimensions. For example, I know that I can fit exactly four metal folding racks, two hampers, one steamer, 20-35 hanging pieces, and several smaller items in my car at one time. This allows me to estimate how much help I will need with company moves and transfers.
Life Hacks
Everyone has their own way of getting organized, but some things are just universally helpful. My advice is to read up on “life hacks” and “organizational hacks” and see how you can apply those tips to your workflow. This is my favorite tip:
Install a traveling clothing rack in your back seat in just four simple steps.
- Pad the drop-down handles on each side of the back row of seats. I use thin packing foam, and it has held up for years.
- Measure the distance between the two extended handles and cut a thick dowel to this exact measurement. There are wood-cutting stations at most hardware stores.
- Install a screw hook on each flat end of the dowel. These are available at any hardware store.
- Finally, use several thick cable ties to secure the screw-ends of your dowel to the padded handles in the car. You can clip the excess length of cable tie if you so desire.
You can also purchase a wardrobe bar that hooks onto the car’s handles, though I prefer the more stable, more permanent home solution.
And there you have it — your car is now a traveling wardrobe trailer.
Don’t Skimp
It costs a lot of money to build the perfect wardrobe kit. It’ll take time to get there, but don’t skimp on the necessities when building your first kit. The initial investment can be expensive, so rent or borrow if you need to while you save for your own gear. It’s worth it.
Here are a few things I always have in my kit.

Image via Shutterstock.
This is the only steamer you’ll ever need, period. It works wonders on clothing and textiles like curtains and tablecloths.
Collapsible Metal Garment Rack
You especially don’t want to go cheap on your garment racks. If you do, they will buckle under the weight of your costumes, they will collapse, and they will make you look like a fool on set. Just don’t do it. These things need to be sturdy, able to hold a lot of weight, and with smooth wheels that travel well. They also need to be collapsible as independent costume designers typically transport stock in their own vehicles. There are a number of reliable brands, so do your research, and build up to owning several good racks. One is almost never enough.

Image via Shutterstock.
Flat Velvet Hangers
Non-slip hangers will save you a world of frustration. Re-hanging things that have slipped is a huge time suck. Flat velvet or felt hangers have a uniform look and serve a practical function. They are typically thinner than plastic hangers, making them easy to tag and safety-pin accessories to. Choose a model that includes a 360-swivel hook at the top to make steaming garments easier.

Image via AmazonBasics.
The Original Topstick by Vapon
Double-sided tape is like water in the costume department. You will use it for everything. Do yourself a favor and purchase the original Topstick brand. It’s the most reliable, it’s reasonably priced, and it’s strong — but gentle enough to use on skin. (I even use this to secure lingerie.) For tough jobs, use Super Stick It, and keep some moleskin around for good measure.
Pro-tip: the sound department will almost always have Super Stick It and moleskin. Be really nice to them — you never know when you’ll need some in a pinch.
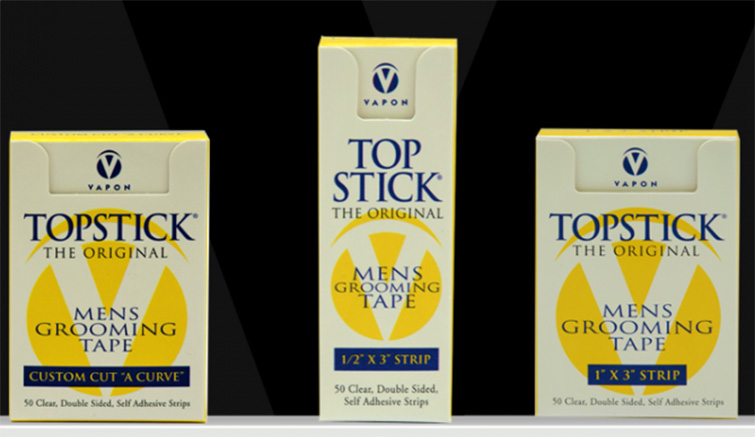
Image via Vapon.
Molded Ear Piece for Your Surveillance Headset
Using walkies is a part of production life, and “surveillance ear” is a real thing. Costumers spend a lot of time interacting with talent, and it can be difficult to focus on that in-person communication with one ear clogged by a typical surveillance ear piece. I keep a molded ear piece in my car at all times. These earpieces reduce suction in the ear and provide a breathable barrier between your surveillance headset and the outside world. I recommend it to everyone.
There are a thousand other components to the costume designer’s kit, but here are some of the highlights. I try to keep these things on hand at all times:
- “Freshies” — extra socks (tall and short), white shirts in most sizes, white ribbed tank tops in most sizes.
- High quality sewing kit — thread in 20-25 basic colors, sharp needles, sharp scissors, thread trimmers, seam ripper, buttons, zippers, eyelet hooks, liquid stitch, superglue, etc.
- Detergent and fabric softener.
- Hampers and plastic bags.
- Intimates – nude thongs in every size, breast petals, etc.
- Thick, quality safety pins in every size.
- Lint rollers and razors for removing pilling.
- Shoe-shine materials, leather conditioners.
- Rit Dyes in a range of colors.
- Shmear sticks in a variety of styles.
- Shoe inserts for comfort and sizing.
- Hat foam, small foam pieces for jewelry re-sizing.
- Accessories Kit — wedding bands, costume jewelry, post earrings, variety sunglasses, variety hats, variety belts, variety scarves, etc.
- Slotted rack dividers.
- Wet Ones, Shout wipes.
- Reinforced labeling tags and Sharpies.
- A good fanny pack or apron.
- Lightweight and heavy bathrobes for talent.
Now that you know what you’ll need to give independent costume design a shot, go forth and conquer! I would encourage anyone going into costuming to stay humble and remember that there is always another trick to learn. Keep your eyes peeled, and learn as you go.