A Quick Guide to Nesting in Premiere Pro
Nesting in Premiere Pro is a great tool for streamlining a long project. It’s also great for combining more effects to a clip than is usually possible. Here’s how to use it.
Image via Shutterstock
When working with Premiere Pro, especially on longer or more complicated projects, there can be times where there is simply too much going on in your sequence. Things may get cluttered and difficult to navigate and you’d like to clean things up. Or you may have clips you’ve already used effects like speed/duration on that you’d still like to doctor with effects like Warp Stabilizer. Whatever the reason, the Nest option can be your best friend.
Nesting in itself isn’t very difficult to use. In fact, it’s amazingly simple. It can also clean up your sequences and allow you more options. Here are a few tricks you can try. Just follow these steps!
Nest Several Clips and Layers Together
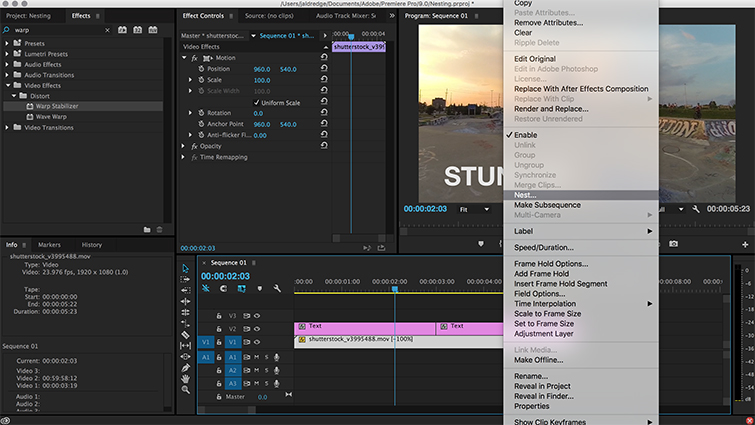
Highlight the clip or clips that you’d like to nest. Make sure they are all next to each other. You can also highlight layers and elements above and below (audio too) to include in your nest.
Once you have them highlighted, right-click on one part of it to bring up the Options menu. Scroll up or down (it should be in the middle) to the Nest option. It will bring up a dialogue box to name your nest (it defaults to Nest Sequence 01, etc…).
You should see your new nested sequence in your project folder and as a new sequence. It will show up on your original sequence as a single green-tinted clip. Nice and clean.
Add Additional Effects on Your Clips
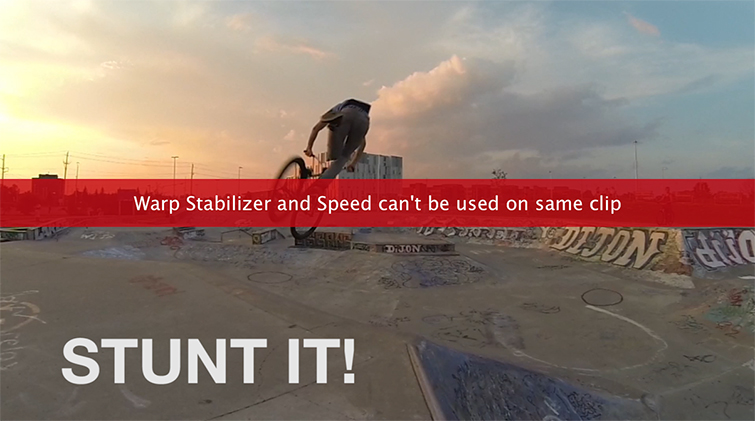
Now that your clips are together in a nested sequence, you can add additional clips to them that you wouldn’t normally be able to. It also adds them to all of them at once, which can be a huge time saver. You can now add both Warp Stabilizer and Speed to a clip by using the nest feature. Just add one to the original clip then the other to the nested sequence. Voilà!
Add Effects and Transitions to Nested Sequence

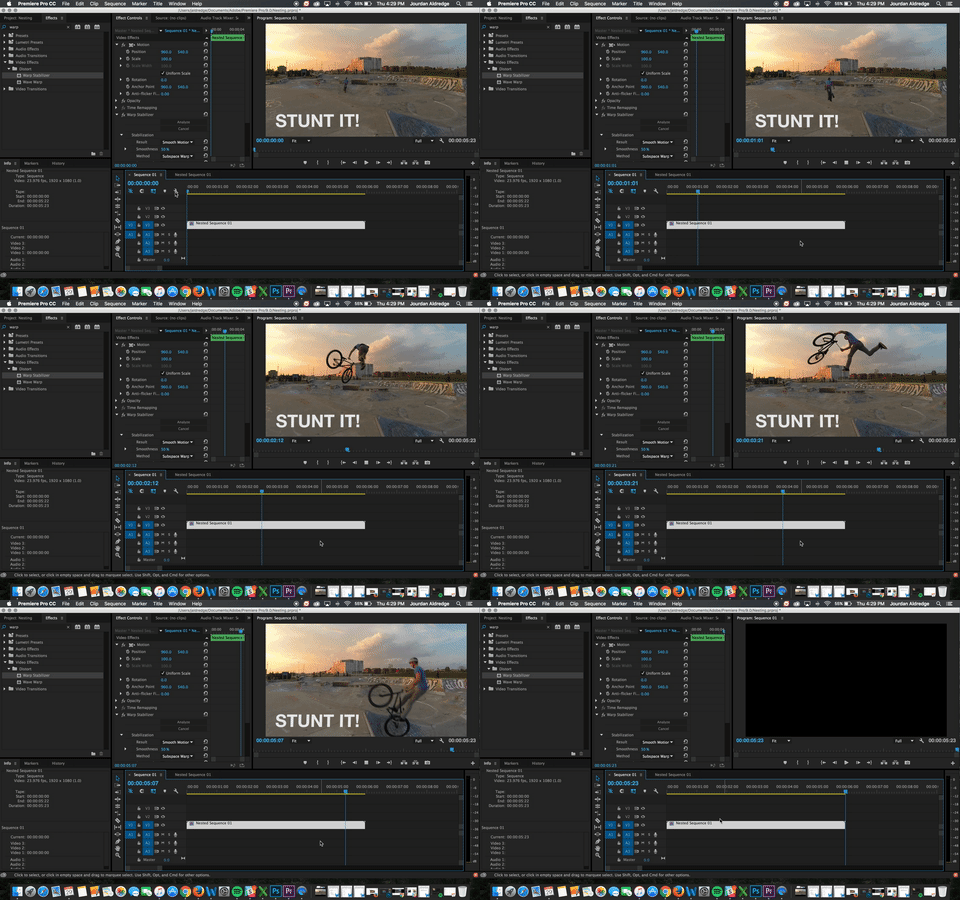
When working with multiple clips and layers, it becomes very difficult (and at times impossible) to add blanket transitions or effects to all clips and layers. If you have your sequence put together the way you like it, using the nest feature can be a great way to simplify your edit by adding a transition to the beginning or end that will cover all parts. (Otherwise they can animate in or out awkward and unevenly.)
Here’s a how it can look all together. None of these would be possible together without the nest feature.
- Split clips
- Multiple Layers
- Warp Stabilizer
- Speed Reverse
- Transition In
- Transition Out
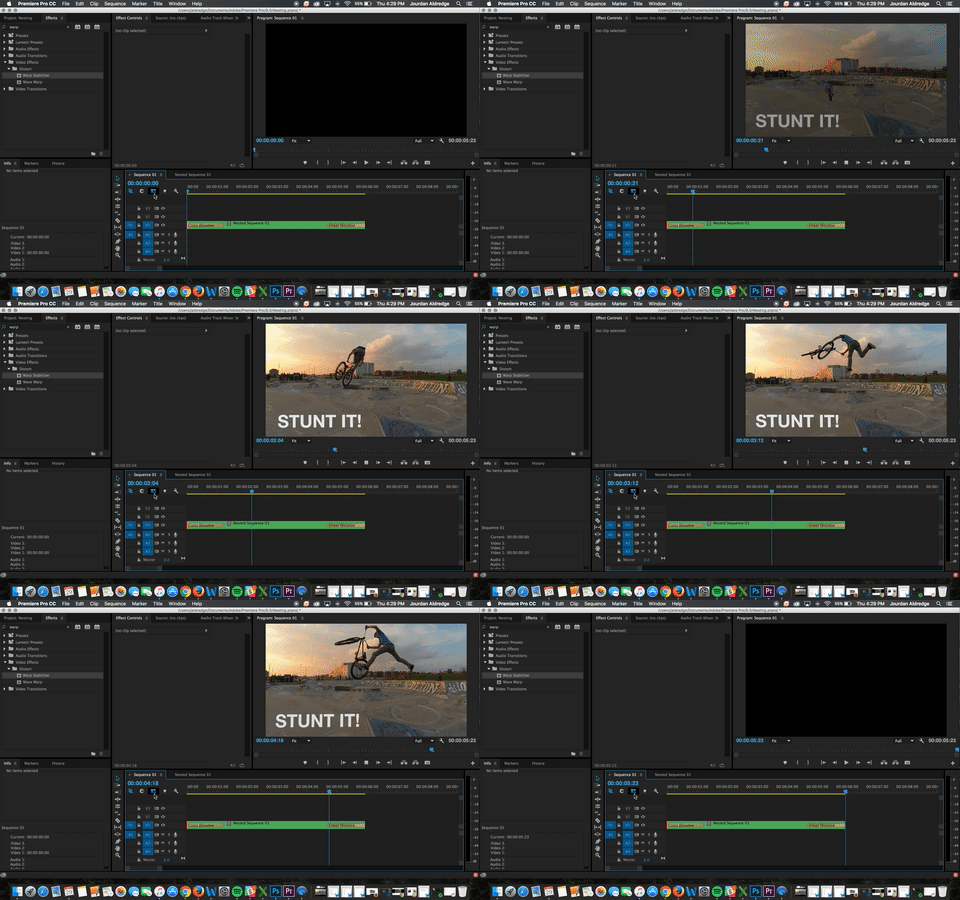
How do you use the nest feature? Have any other tricks to share? Let us know in the comments.


