Printer Light Hotkeys in DaVinci Resolve
Printer Light Hotkeys in DaVinci Resolve can help you quickly white-balance shots.
Printer lights are a hold-over from photochemical color timing processes before the invention of digital color grading. Filtered light (red, green, and blue) was shone through the film to change the balance of color in the shot. Printer lights were measured in points, with a 50 point range and a starting place of 25 points for each channel.
Some color grading applications still incorporate printer points as a control, and besides being such a basic control, it’s incredibly useful for quickly fixing bad white-balance.
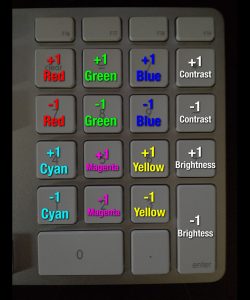
I first learned about using them during an internship I did at EFILM in Hollywood. They worked on a custom variation of Lustre, and used the fantastic built-in printer point hotkeys to match shots and fix white balance. Lustre’s hotkeys were great; on the number pad, it was set up like this:
Very easy to use, and very intuitive so you can correct without looking at the keyboard.
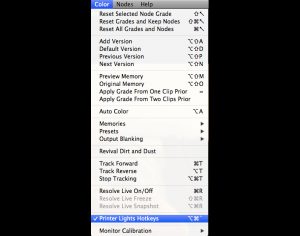
Recently, Blackmagic’s Resolve software incorporated printer point hotkeys as well, Though you have to enable them here:
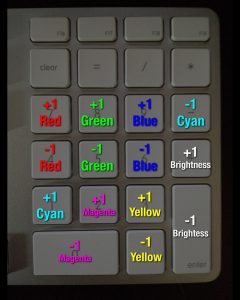
Here’s how Resolve’s printer light hotkeys are laid out:
Sadly, they’re (in my opinion) ‘close but no cigar’ for one reason – they shifted everything down one row, which screws up the CMY subtraction keys. You can see the issue: the –1 cyan key is way off to the right, which screws up the columns of everything being vertically aligned. In actual use, this makes a big difference.
I’ve talked about using printer points before, so why am I making such a big deal about some hotkeys? Because the hotkeys speed up the process significantly. Even with Resolve’s slightly screwed up layout, you can correct much faster using the keys than you can with a mouse..once you get used to them. It’s the same theory as why using keyboard shortcuts in editing speeds up the process so much. The vertical alignment of the + and – keys lets you easily make small, accurate adjustments, knowing exactly what you did to get that result.
Now that we’ve talked about why Resolve’s keys are a little off, let’s see them in action. The keys may be a little screwed up, but the results are as useful as ever. You’ll see the results of your corrections under the offset control. I’ll be working in the Resolve 10 beta, but the latest version of Resolve 9 has them as well.
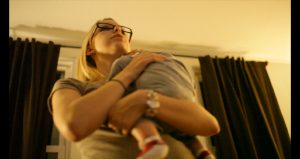
Here’s a starting image that has a bad white balance – just a little too warm. You can see how things are out of whack in the RGB parade:
Here, I used the printer points to get the image to a much more neutral point:
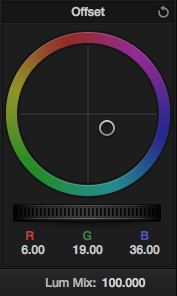
It’s not perfect, but it’s not supposed to be. It’s best to use printer points to quickly get the shot close, then you can make small adjustments to finish up if needed. Printer points are all about speed.
On a related side-note: I don’t know if anyone from Blackmagic Design will read this post, but if they do, I hope they take note of the benefits of a Lustre-like layout of the hotkeys over what’s currently in Resolve. It’s a change I’d love to see!


