
Adobe Prelude: Ingesting and Converting DSLR Footage to ProRes

![]()
Speed up your tapeless workflow using Prelude to Ingest and Transcode at the same time.
Adobe has added a new tool to the Creative Cloud / Master Collection / Production Premium for video producers/editors called Prelude. Use Prelude to ingest and transcode tapeless media from cameras recording to cards, as well as a basic video editing tool for producers (Premiere Pro can read timelines created in Adobe Prelude).
Transcoding your DSLR footage to Pro Res in Adobe Prelude gives you a 10 bit, edit friendly codec that FCP, AVID, & Premiere can all handle. This is a great file choice when you work with a variety of nonlinear apps (it’s a popular intermediate codec for FCP). ProRes is also a solid option if you plan on color correcting in Apple Color or Black Magic Resolve. Trancoding changes the codec – footage off the cards is H.264 8bit and Pro Res is 10 bit.
- First, to work with ProRes you need to have Final Cut Pro 7, FCPX , Motion, or Compressor installed on your system.
- Then, download the ProRes presets from Adobe.
- Once you install the presets into Media Encoder, ProRes will be available in Adobe Prelude. (same applies If you want to create your own custom presets).
- After you download and install the ProRes presets, launch Adobe Prelude.
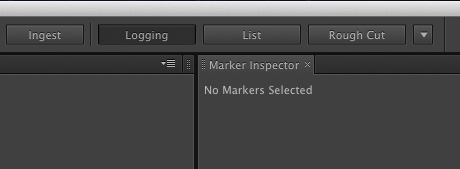
- Click the Ingest button, and the Ingest window opens.
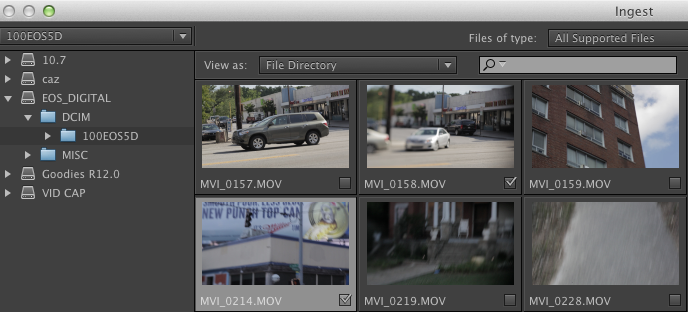
- Select your card that has the video footage on it.
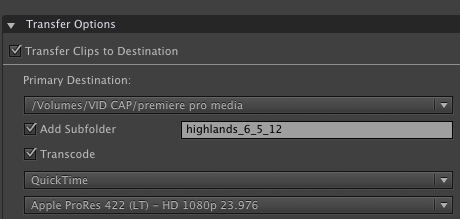
- Check Transfer Clips to Destination.
- Check the Transcode button and pick the ProRes setting that matches your footage.
- Click the Ingest button and your footage will be ingested and encoded to ProRes.
After you finish ingesting and transcoding the video off a card, input another one or go straight to Adobe Premiere and start editing your footage!


