An In-Depth Look at the Adobe Premiere Pro Editing Tools

Let’s explore all the keyboard shortcuts and editing tools that will help you unlock your full Adobe Premiere Pro potential.
In the early days of film, editors had to splice together their cuts with scissors and tape. Nowadays, we simply click a mouse and press a button. What a time to be alive! But, as is usually the case, with greater technology comes greater sophistication.
And, when you’re first starting off in editing with NLE programs like Adobe Premiere Pro, all the controls, commands, and functions can be quite confusing to navigate. However, if you know the right tricks and shortcuts, these basic commands can still be as easy as the click of a button, helping you to truly optimize your editing workflow and fully utilize all of the incredible technology packed in Adobe Premiere Pro.
Let’s take an in-depth look at some of these Premiere Pro keyboard shortcuts, as well as share some additional editing tools, tutorials, and resources.
Selection Tool – Keyboard Shortcut: V
The Selection tool allows you to perform basic selections and edits. This will be your default and primary mouse function when using Premiere Pro, and it’s especially useful when you are first uploading and organizing footage and assets.
Along with making basic selections, you can also select edit points and perform trims where you can increase or decrease a clip’s duration. You can also use the Selection tool to highlight and move multiple clips at once, including moving clips from bins to the timeline and from track to track.
Track Select Forward/Backward – Keyboard Shortcut: A (Shift+A)
The Track Select tool will let you select all of the clips in a sequence, either forward or backwards. All you need to do is use the keyboard shortcut (A) and you can highlight multiple clips at once, in whichever direction you prefer. If you hold shift, the tool will select only one track instead of all of the tracks.
This is handy for moving entire sections of a composition from one timeline to another, or if you need to make some major rearrangements for the addition or deletion of other sections. It’s important to note that the Track Select tool, of course, won’t select clips in locked tracks.

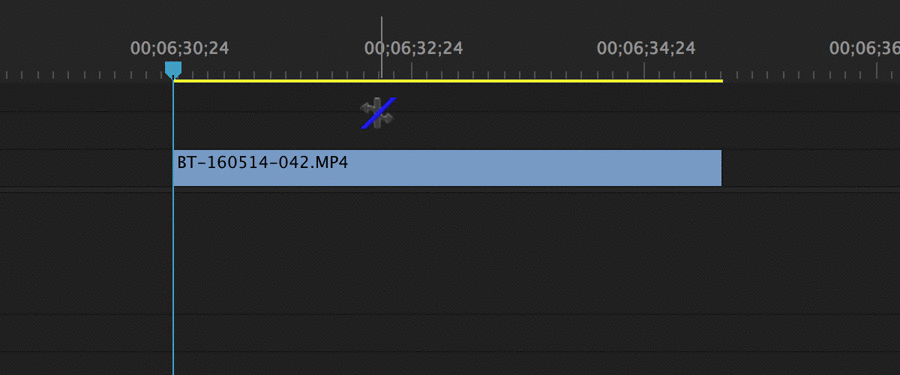
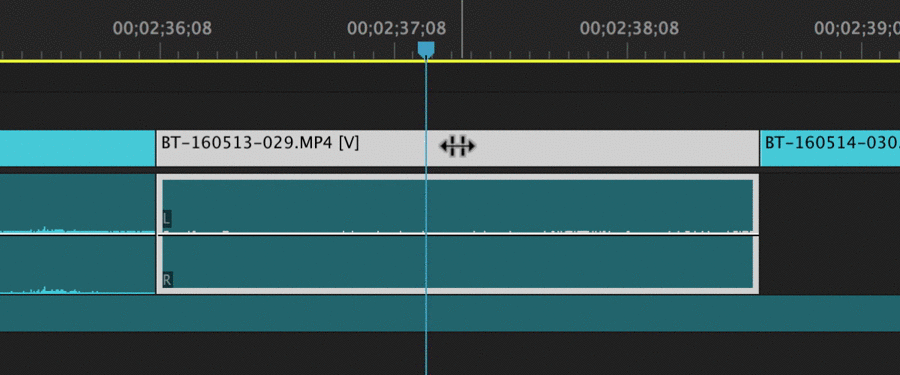
Ripple Edit – Keyboard Shortcut: B
One of my favorite shortcut tools in Premiere Pro, the Ripple Edit is a trim tool used to trim a clip and “ripple” the rest of the clips in the timeline. This effectively will close the gap between the two edit points instantly at the point where you make the edit. This can save a huge amount of time when editing on-the-fly, as you don’t have to manually move around the rest of your timeline—especially burdensome if you’re working with videos or sequences longer than a few minutes.
When using the Ripple Edit tool, it’s important to make sure you select the correct edit points. You also need to be aware of which tracks are locked. If you aren’t, you can quickly throw things out of sync if you’re incorrectly using the Ripple Edit tool.
Rolling Edit – Keyboard Shortcut: N
Similar to the Ripple Edit tool, the Rolling Edit is another trim tool used for fine-tuning and adjustments. However, instead of trimming a clip and rippling the rest of the timeline, you perform a Rolling Edit by moving the edit point either forwards or backwards in the sequence.
This technique can be a little confusing at first, so I recommend trying it out with a couple of clips that you’re familiar with. Basically, the Rolling Edit moves the Out point of the first clip and the In point of the second clip at the same time, allowing you to adjust both clips with one move.
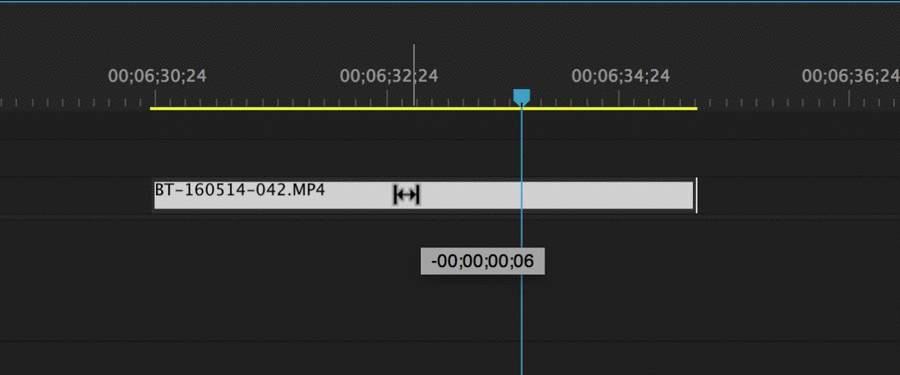
Rate Stretch – Keyboard Shortcut: R
The Rate Stretch tool will help you either speed up or slow down clips in your sequence. When using the tool, note that the In and Out points of the clip will always remain the same. You’ll be changing the duration and speed of the clip according to the amount you “stretch” through the trim. For example, expanding the Out point of the clip will slow down the rate of speed, while shorting the clip will speed up the duration.
While there are plenty of ways to change the speed of your clips in Premiere Pro, using the Rate Stretch tool is perhaps one of the easiest. It’s also the best choice if you’re simply looking to slightly modify the speed of a clip to help it fit into a tight window on your timeline.
Razor – Keyboard Shortcut: C
In a traditional sense, the Razor tool might be one of the most fundamental editing tools in the Premiere Pro arsenal. Using the Razor adds a simple edit point by cutting the clip wherever you use the tool, just like a real razor would when working with actual film.
Also, holding shift while using the Razor tool will cut clips across all tracks (as long as they’re not locked). This can help speed up making cuts to full sections or sequences at an exact point, which you can then move around as you like.
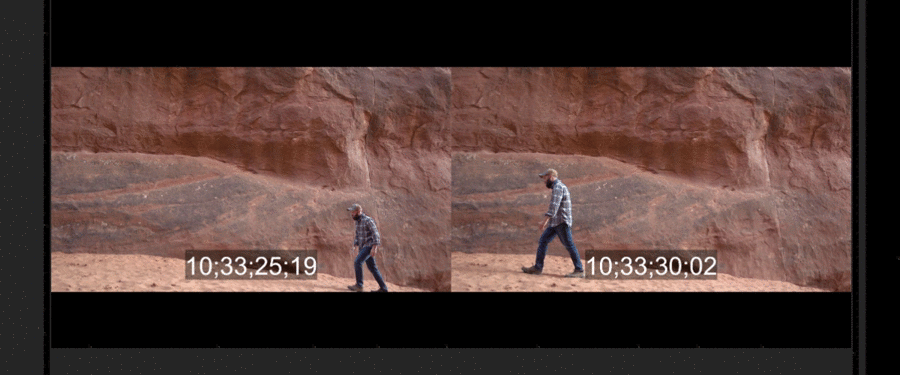
Slip Tool – Keyboard Shortcut: Y
For those visual editors who prefer making their cuts based on the exact images of the corresponding frames, the Slip tool is a nice resource for working directly from the monitor. The Slip tool “slips” the clip’s source In and Out point, but doesn’t move it on the timeline.
While using the Slip tool, the program monitor shows you the frame before and after the clip, and gives you a live preview of the source In and Out points, with a source timecode included, as well. This is helpful if you’re looking to make some tiny frame-by-frame adjustments, but you don’t want to mess up your whole timeline.
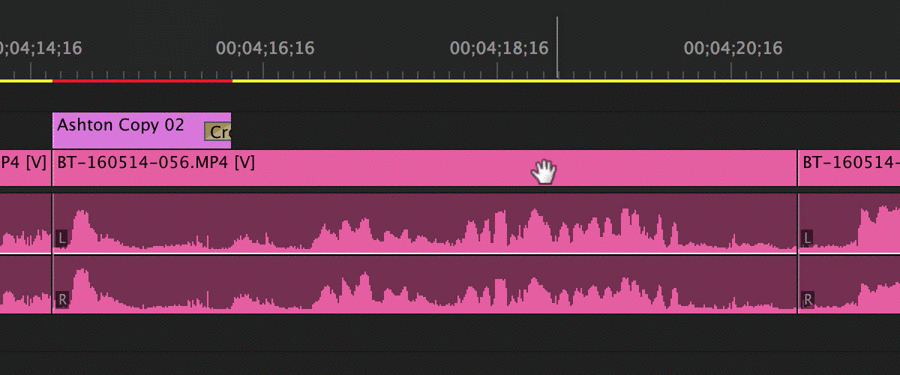
Slide Tool – Keyboard Shortcut: U
Also similar to the Slip tool, the Slide tool allows you to work with your clips pulled up on the monitor. However, the Slide tool works by “sliding” a clip on the timeline, while keeping the source In and Out points the same. After sliding a clip, the tool will then close all gaps, as well.
You can also slide a clip backwards as far as the previous clip’s In point and slide it forward as far as the following clip’s Out point. Just like with the Slip tool, this Slide mechanism lets you easily make micro-adjustments frame-by-frame without moving around entire sequences or timelines.

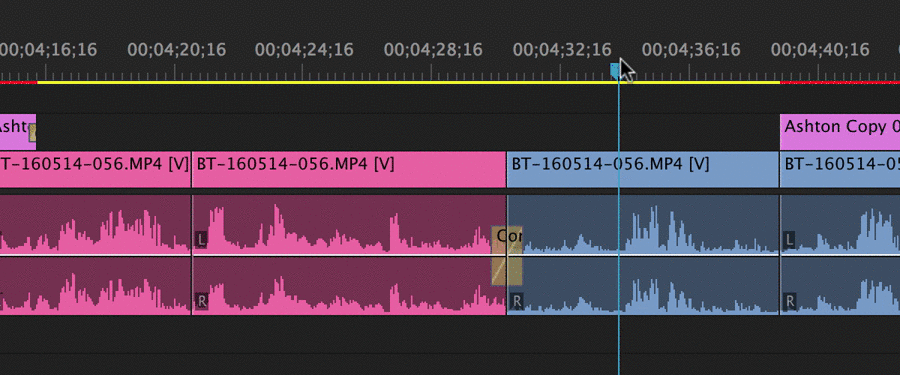
Pen Tool – Keyboard Shortcut: P
Moving on to editing shortcuts and tools to help with keyframes and other elements (like audio), the Pen tool is your best choice for adding keyframes to any clip. By selecting the Pen tool (P), you can simply click on any point on your clip to add a wide number of attributes, including opacity, scale, position, and even volume of an audio clip.
If you hold the ALT key while using the Pen tool, you can also add Bezier curves to your keyframes. Using the Pen tool will unlock some of the more nuanced editing elements to your timeline, and you can make tons of adjustments to how your clips interact, look, and sound.
Hand – Keyboard Shortcut: H
Another one of the basic commands in Premiere Pro, the Hand tool will simply allow you to navigate forward and backwards on the timeline. You can also move across the timeline by scrolling, but the hand can help when needing to locate exact clips or frames.
Zoom – Keyboard Shortcut: Z
Finally, we have the Zoom tool, which allows you to zoom in and out of different areas of the timeline. By zooming in, you can make closer frame-by-frame adjustments and better add keyframes, as well as zoom out to navigate across bigger sequences.
Editing Tools and Resources
Along with using the basic keyboard commands and shortcuts, there are plenty of other tools and resources packed into Premiere Pro. If you’re still just getting started with the program, I highly recommend checking out some of the many Premiere Pro tutorials that break down all the basic information you might need to consider.
For specific tools and tricks, here are some individual article breakdowns:
- How to Customize App Icons (and Get Your Classic Adobe Icons Back)
- How to Chroma Key in Adobe Premiere Pro
- Master Premiere Pro’s Timeline with Source Patching
- How to Create Digital Zooms with 4K Footage in Premiere Pro
- Pro Tip: Exporting a Finished Video from Premiere Pro
If you’re still hungry for more Premiere Pro tutorials, freebies, and additional resources, check out these articles:.
- Premiere Pro’s New Productions Feature: Evolution of the Project File
- The 7 Best Premiere Pro Free Transition Template Packs for Video Editors
- Create a Glitch Effect in Premiere Pro in 3 Steps
- How to Use Light Leaks to Create Text Reveals in Premiere
- Color Grading: How to Change the Seasons in Premiere Pro
Cover image via vinnstock.