

Keying Fundamentals in Adobe After Effects

Quickly composite your talent using a green screen. In this After Effects tutorial we’ll create a garbage matte, apply Keylight and add effects to increase realism!

Filming against a green screen is a popular technique to composite the talent against a different background. This allows for great versatility, with the ability to put the talent in exotic locations or in fantasy worlds. All professional video editing and compositing applications allow for keying, but in this green screen keying tutorial we’ll show you how to utilize the powerful keyer inside Adobe After Effects, called Keylight.
Shooting plays an important role in ‘pulling a clean key’. For a high quality key you’ll need a professional high resolution camera and an evenly lit green screen background. If you have to work with challenging footage or if keying is part of your daily workflow, check out third party solutions like Red Giant Keying Suite, Phynx Keyer, & Boris Continuum Chroma Key. These third party solutions tend to be quicker and offer more advanced keying features.
To see some great examples of keying check out Stargate Studios (Walking Dead) Virtual Backlot Reel:
Creating a Garbage Matte
When working with green screen footage you’ll want to composite the foreground green shot on the top layer of your video editing timeline, with the video background on a layer below.
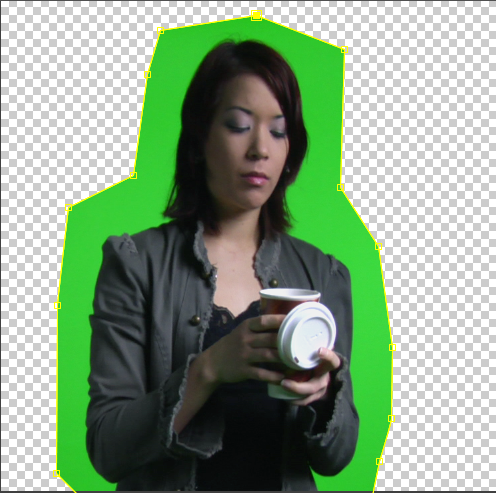
Create a Garbage Matte to mask out areas away from the talent. This way you are only keying out the necessary areas close to the talent, while ignoring lights, badly lit edges or any other objects you don’t want to see. In After Effects, click the pen tool (G) and draw a mask around the talent. You can animate the mask shape with keyframes if you need to adjust the garbage matte over time. The free footage used in this example is from Hollywood Camera.
Before the Garbage Matte:

After the Garbage Matte:
Pulling a Basic Key with Keylight
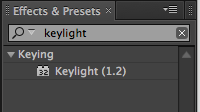
Select your footage. Then, in the Effect and Presets panel type Keylight. With the layer selected double click on Keylight to apply it.
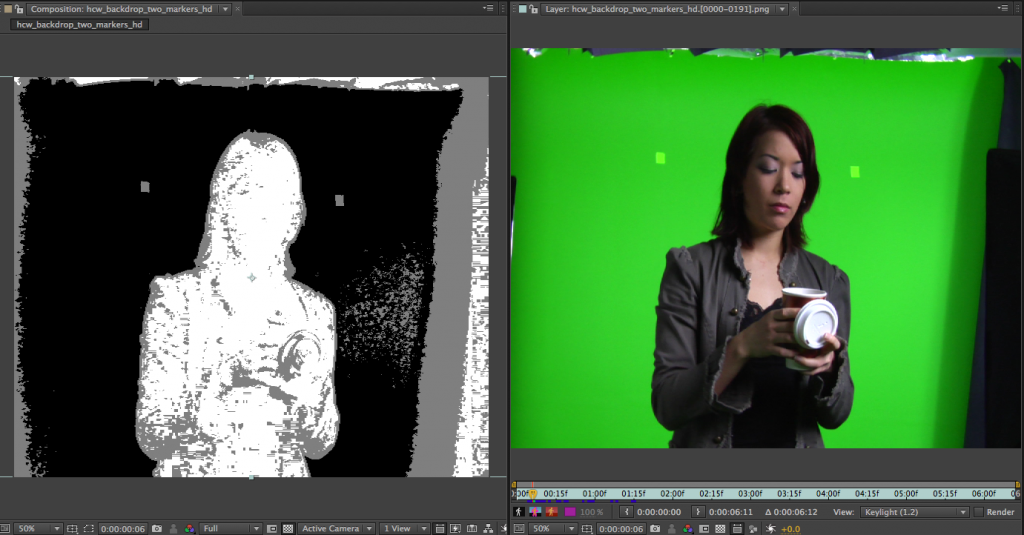
Now, double click on the layer in the Composition to bring up the Layer panel. Click on the gripper area (red highlight) for the layer, and drag it to the right til you see a blue area and then let go. This puts the layer panel beside the Composition panel. By doing this we we will be able to select a green area to key in the Layer Panel and see the results in the Composition Panel.
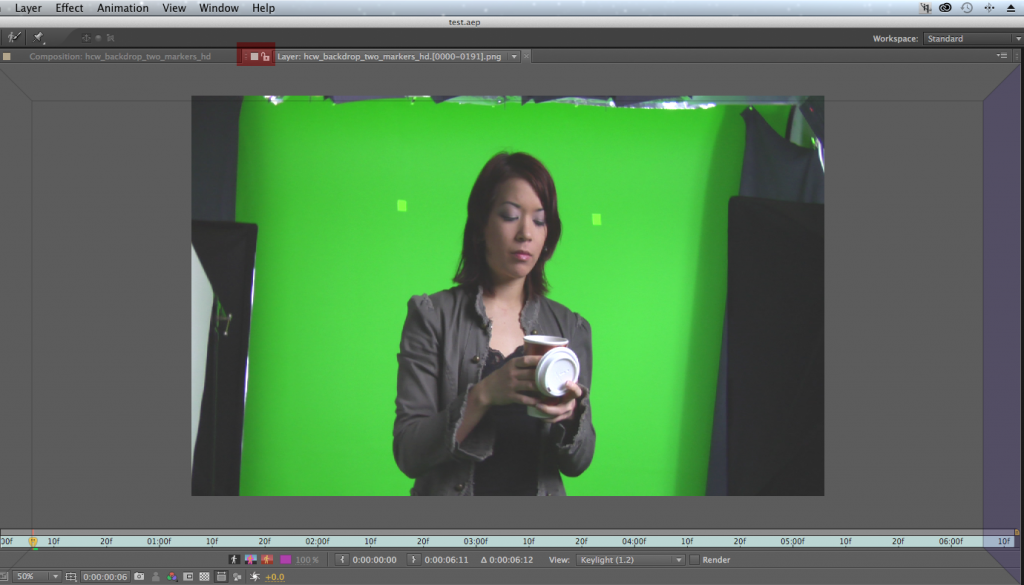
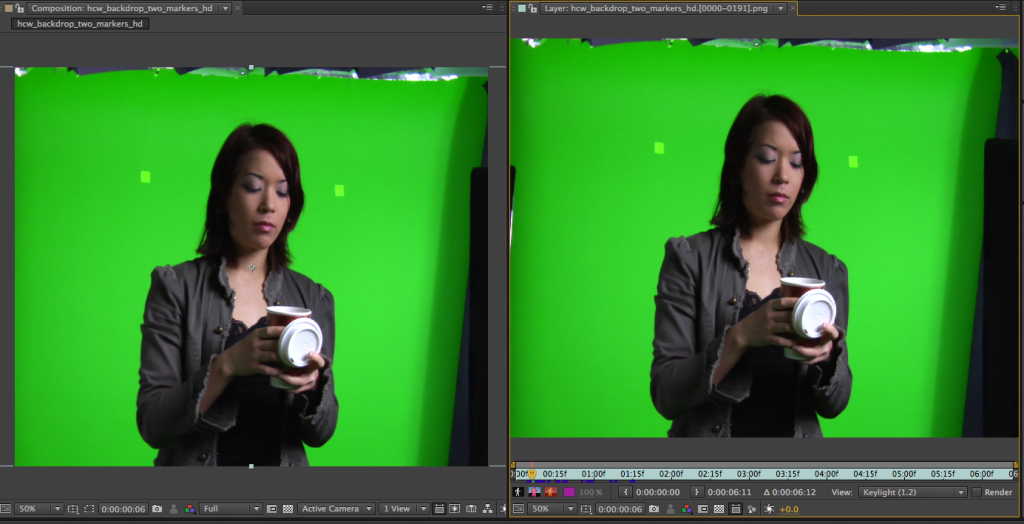
In the Effect Controls panel, change the view from Final Result to Status. We will use the Status view to see the matte that we create using the eyedropper to remove the green background.
Both screens turn white, but when you uncheck “Render” on the Layer panel you will see the footage again. Back in the Effect Controls panel click on the eyedropper and then in the Layer panel hold option (Mac) or alt (PC) and drag near the talents head and don’t let go. You are looking for the talent to be white and the background to be black. We only want the edges of the talent to be gray, as these are areas of semi transparency (this will give you a better initial key). Drag until you find a good spot and then click.
Increase Screen Gain to remove more of the gray spots in the background. A little goes along way so hold down command (Mac) or control (PC) as you drag to move in smaller increments.
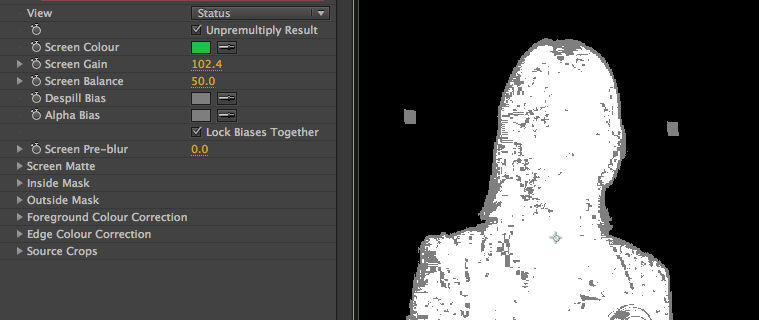
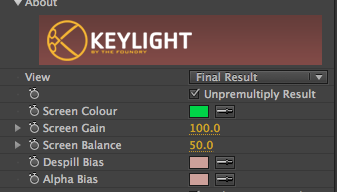
Click the twirly for Screen Matte and adjust the Clip Black until the gray goes away in the background and adjust Clip White until the gray disappears inside the talent. The background should be white and the edge of the talent with semi transparent area is gray. Change status back to Final to see the Results.
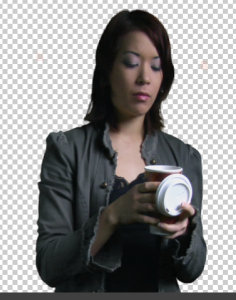
If you see an edge you can adjust ‘Screen Shrink/Grow to a negative number until the edge disappears. Keylight auto removes spill, so if you need to remove more select the “Despill Bias” eyedropper and click on a skin tone and more spill is removed. For more specifics on Keylight check out the user guide here.
Color Correcting to Match the shots
Now, to increase realism between the green screen shot and the background we will need to tweak the colors in After Effects to match the shots.
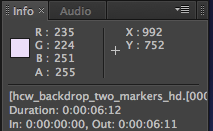
In this example I can tell that the white levels in the two shots do not match. If I scroll over the white cup in the foreground and then over a white area in the background (clouds) I can see in the info panel that the background is a bit more blue.
To remedy this, I’ll select the foreground green screen layer and apply the Levels effect. The cup brightness doesn’t match the background, so I’ll decrease Output White to reduce the whites and then increase Gamma to brighten up the midtones.
I also added Vibrance (increase saturation of the less saturated colors) to add in a little color.

Like this example, you may find that the background is a bit sharp so apply the “Camera Lens Blur” effect to increase the realism and reduce depth of field.

Adding a Lightwrap
To make 2 shots look even more realistic we can add a light wrap in After Effects. A light wrap will help blend the edges of the keyed footage with the background.
Most of the third party keying apps have a light wrap feature, but you can also download a script from AE Enhancers that will do this for you. After you download the script, select the 2 layers and go to File > Scripts >sb_Lightwrap.jsx. You will need to check “allow scripts to write files and access network in Preferences > General.
This will apply the defaults and create a nested comp (your original is untouched and underneath the nested comp). If you want to learn how to make your own light warp check out this article.
Have fun with keying and remember, the better footage you start with the easier the key!


