Multiple Ways of Importing Footage into Premiere Pro

Go beyond the typical import settings. In this post we look at three additional options for getting your footage into Premiere Pro.

The most common way to get footage into Premiere Pro is to import it. You do this by going to File > Import, or by double clicking in the Project.
But what you may not know is there are 3 other ways to get footage into Premiere Pro.
Premiere Pro Media Browser
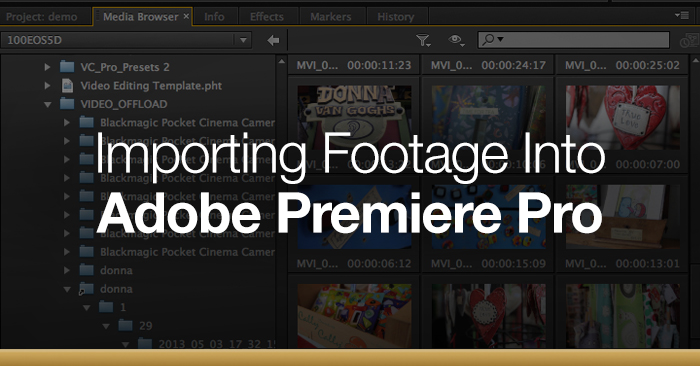
The Media Browser is part of Premiere Pro. If you are using the default workspace in Premiere Pro, it is beside the Project panel. The Media Browser allows you to view and play your footage on your hard drive before you import it into Premiere Pro.
You can play your footage with the space bar, use the J/K/L shortcuts and Hover Scrub like you can in the Project.

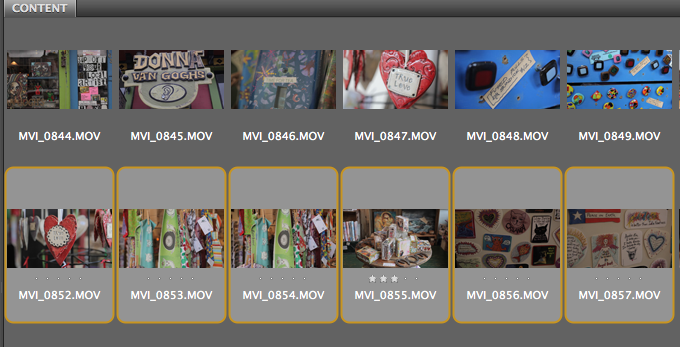
In my example I navigated to some footage from my Canon 5DM2.
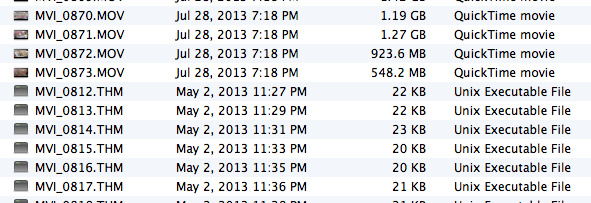
A nice feature is that the Media Browser hides files that aren’t the media, like the .THM files for my camera (if you were importing these files, you would see them).
To import clips into the Project, select them and right click “Import”.
If you double click on a clip in the Media Browser, it loads it into the Source Monitor, but not the Project. This allows you to play the clip before adding it to the Project.
You can add clip(s) to the Project by dragging it to the Project or into a Sequence.
Ingesting through Adobe Prelude
Prelude is Adobe’s ingest and logging software. For more in-depth info on Prelude check out the Premiumbeat articles here.
Companies with multiple editors and large projects may prefer to use Adobe Prelude to ingest the media and organize it, and then hand that off to an editor. In Prelude you can create bins, organize your media, make subclips/add comments and even create a rough cut.
In my example I have created a bin and a rough cut in Prelude that I now want to get into Premiere Pro.
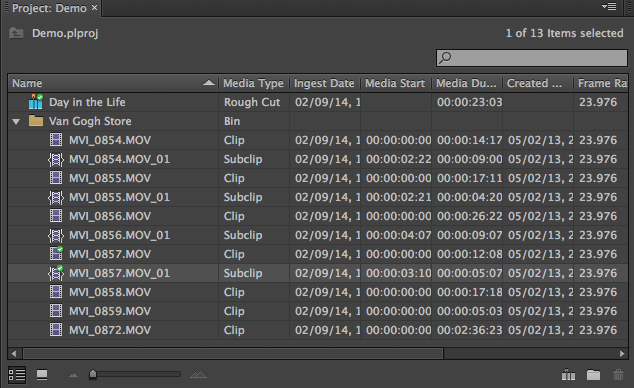

I select the footage and the Rough Cut, right click and select “Send to Premiere Pro” (have Premiere Pro open before you do this).
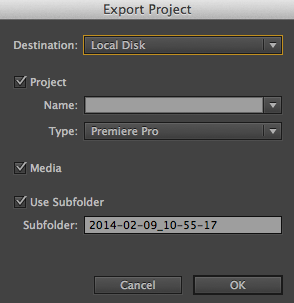
This will send what we did in Prelude to Premiere Pro. If we needed to move the Project and the Media to another system or location, we would select File > Export Project.
Importing Footage from Adobe Bridge
Bridge is Adobe’s asset management software. Adobe Bridge let’s you organize, rate and filter media. Bridge has been around for years, where as Prelude was added in CS6. You can play your clips inside Bridge, then open it in Premiere Pro.
Select the clips you want, then right-click and select “Open in Premiere Pro.”