Creating a Vignette in Adobe Premiere Pro

Save time by using plugins to create presets for common looks in Premiere Pro – reuse easily, apply quickly and tweak in deadline situations!
![]()
Most After Effects users are already familiar with using aescripts.com.
These plugins are generally made by individuals and are often designed to solve a workflow problem or simplify a repetitive process (like creating a vignette).
There is also a sense of community built around using these plugins. Some creators give them away for free or sell them cheaply (under $50 or a ‘name your own price’ option).
Recently aescripts.com (maker of quality scripts for After Effects) started offering plugins that work in Premiere Pro.
Effects created with the ‘Adobe Plugin’ format can be used in After Effects as well as Premiere Pro. This makes it a double ‘bang for your buck’ for post production professionals that have an all Adobe workflow.
Let’s take a look at a real-world application for using these effects in a Premiere Pro project…
Simplifying Repetitive Tasks in Premiere
A common task in Premiere Pro is to add a vignette using an adjustment layer.
There isn’t a quick way to create good vignettes in Premiere Pro without buying a plugin. Because the the plugins we are using are “name your own price” this is a great solution. Note, there are pro versions of these for $19.99 & 24.99 that offer more control.
Downloading & Installing
Check out the Premiere Pro effects at AEScripts.com
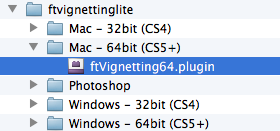
I’m using “ft-Vignetting-Lite”. They will email you a download link, and then you need to install the script/plugin.
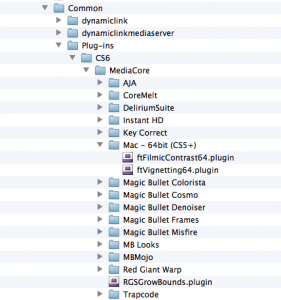
You’ll want to install it so Premiere Pro & After Effects can both use it, so it needs to be in a shared location. MediaCore is a shared folder that both apps can access. Since it is shared, we only have to install the script/plugin once. To access MediaCore:
- On a Mac: /Library/Application Support/Adobe/Common/Plug-ins/CSx/MediaCore
- On a PC: Program Files\Adobe\Common\Plug-ins\CSx\MediaCore Windows 64-bit: Program Files\Adobe (x86)\Common\Plug-ins\CSx\MediaCore
Creating a Vignette in Premiere
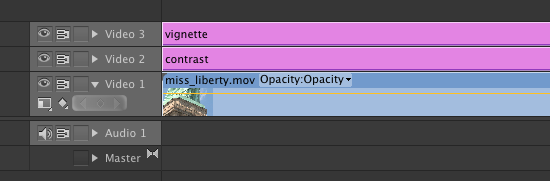
Now back to creating a vignette. For flexibility I’ll apply the effect to an adjustment layer. Click the ‘new item’ icon (as shown below) and select ‘adjustment layer’. (as a best practice, simply name the adjustment layer what it represents- vignette, etc).

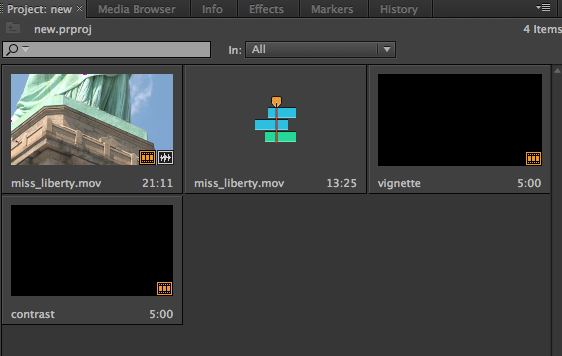
Drag the adjustment layer into your sequence above the footage you want to treat.
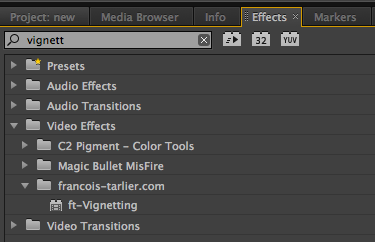
Select the adjustment layer in the sequence, and in the Effects Panel start typing ‘Vignetting’ (Premiere Pro will finish the spelling).
Double click on “ft-Vignetting-Lite” to apply the effect.
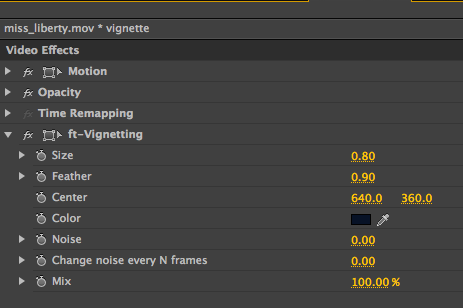
In the “Effects Controls” panel, you can adjust the vignette size, feather, and center. I suggest leaving feather at zero, set the size and center first and then feather to taste.
Tweak to your liking, and then save the settings as a Premiere Pro preset so you can quickly reuse it later. Saving presets will save you time in deadline situations. To save a preset click on the effect name, then click on the Source Window pulldown and select ‘Save Preset’. Name it and click OK.

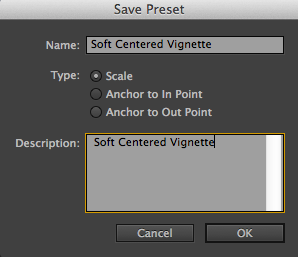
This effect will now show up in the Effects panel under presets, making it easy to reuse it for future projects.
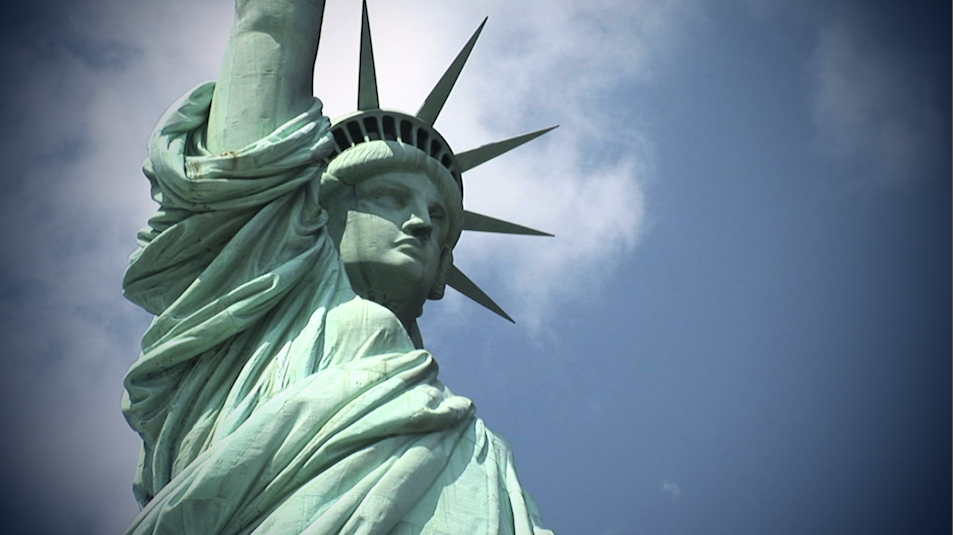
BEFORE
AFTER