
Improving Footage with the Warp Stabilizer in Premiere Pro

Got shaky footage? The Warp Stabilizer in Premiere Pro can save the day when dealing with shaky handheld video. In this post we show you how.

Editors are constantly faced with fixing production issues during the video editing process, with shaky footage being one of the main troubleshooting points. The proliferation of smaller handheld and POV cams (GoPro for instance) means that many shots need extra care in post production to make them smooth. Before the Warp Stabilizer was introduced in Premiere Pro CS, your options for smoothing shaky shots was to use After Effects, the Smoothcam tool in Final Cut Pro or a third party effect like CoreMelt’s popular Lock and Load plugin.
Warp Stabilizer is Adobe Premiere’s take on stabilizing footage. The Warp Stabilizer tool allows you to quickly stabilize shaky footage without having to jump to another application or use a third party plugin. In this post we’ll take a look at how to use Premiere Pro’s Warp Stabilizer tool to successfully improve the footage in your shots.
Applying the Premiere Pro Warp Stabilizer
Premiere Pro’s Warp Stabilizer can be used to either smooth movement or remove movement from your video shots. In the Effects Panel type “warp” to see the effect, then apply it to a clip in your video editing sequence (drag onto clip or double click the effect with the clip selected.

As a side note: In this example you’ll see that the icon for “Accelerated Effects” appears in the Effects tab. I have a supported Nvidia Quadro 4000 card so I get GPU acceleration for supported effects. You can see a list of supported cards here. For more info on accelerated effects in Premiere Pro check out this Lynda.com video:
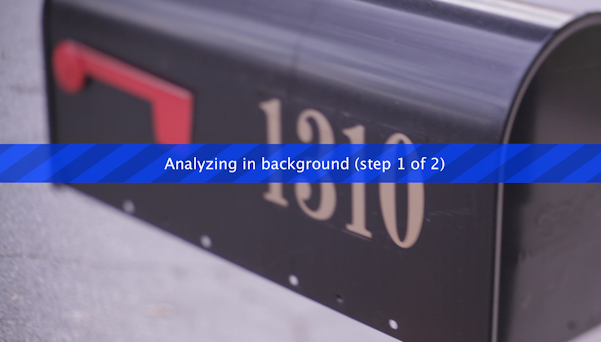
Now on to Warp Stabilization in Premiere Pro! When you apply the Warp Stabilizer to a clip it runs the Analysis in the background so you can still edit in Premiere Pro while it works.
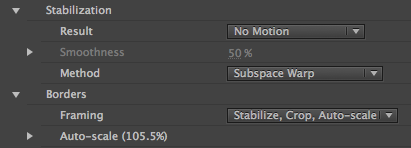
By Default the Warp Stabilizer uses Smooth Motion, which works when you want to keep some camera movement in your shot but smooth it out. Use “Smooth Motion” when you want to smooth the bumps in a handheld tilt/pan movement. Use “Remove Motion” when you were trying to not move the camera for a “shot on a tripod” look. Generally the smoothness settings are a little low for me. I generally start at 100-150%
In my example I want the shot to look like it was filmed with a tripod, so I change the result to “No Motion”. If the Warp Stabilizer’s Auto-scale is below 110-115% the footage quality isn’t noticeably degraded.
For challenging footage where there is significant camera movement, you can get better results by checking “Detailed Analysis” (it just takes a bit longer to run this analysis). For DSLR’s you can decrease the “Jello effect” (wobble, skew, smear) by choosing “Enhanced Reduction” under Rolling Shutter Ripple.

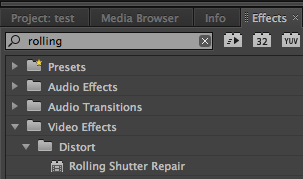
Another option when using Premiere Pro is to only use the Rolling Shutter Repair effect if you’re just needing to fix the “Jello effect” of cameras using a CMOS sensor.
Want more specifics on using Premiere Pro’s Warp Stabilizer and Rolling Shutter Repair effects? Check out these articles from the Adobe help database.
Got video editing tips to share for reducing camera movement?
Let us know in the comments below!


