Smoke ConnectFX: Glow and Gradient Nodes

They seem like obvious nodes, but there is a lot of hidden power in the Glow and Gradient Nodes inside Autodesk Smoke. Find out how to use them in your next project.

It’s great to get back into some of the more creative nodes in Smoke’s ConnectFX. Utility nodes and tools are great, but being creative is where all the fun is when you are editing and compositing. The Glow and Gradient Nodes are much more complex than their simple names imply. These nodes can be pushed beyond the obvious…let’s find out how.
Smoke’s Gradient Node:
As we saw with the Color Frame Node, you can make very simple 2 color Horizontal, Vertical, and fixed Radial Gradients. This worked fine, but it was very limited. Smoke’s Gradient Node can make very complex, multi-color gradients in a variety of blend shapes and directions.
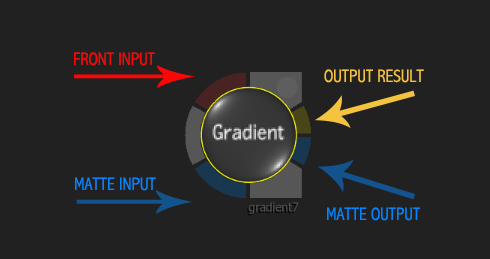
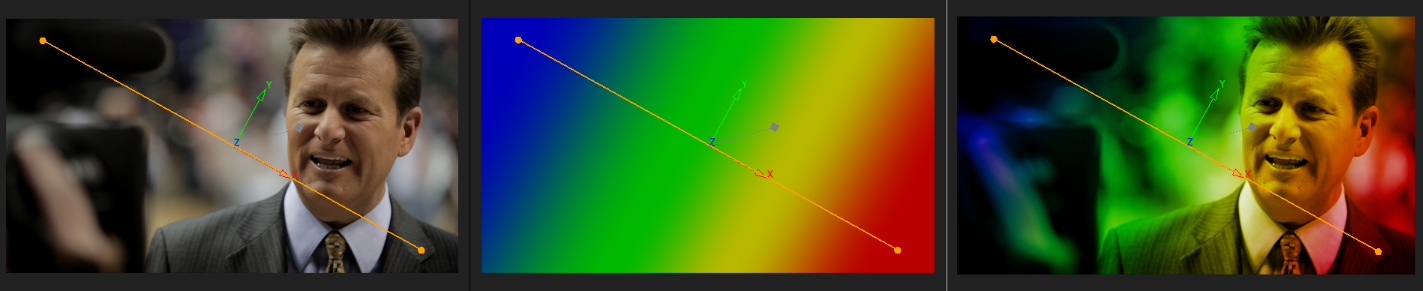
You can feed the Gradient Node with a clip, and use Smoke’s blend nodes to mix the clip with the gradient. The node also accepts a matte input to isolate the gradient colors to. The resolution of the node will conform to the clips input resolution.
The node can generate a gradient without an input, and then you have the choice to make the gradient any resolution you want.
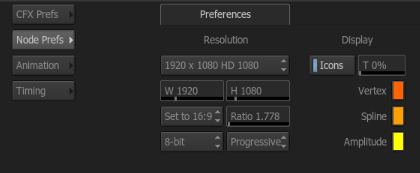
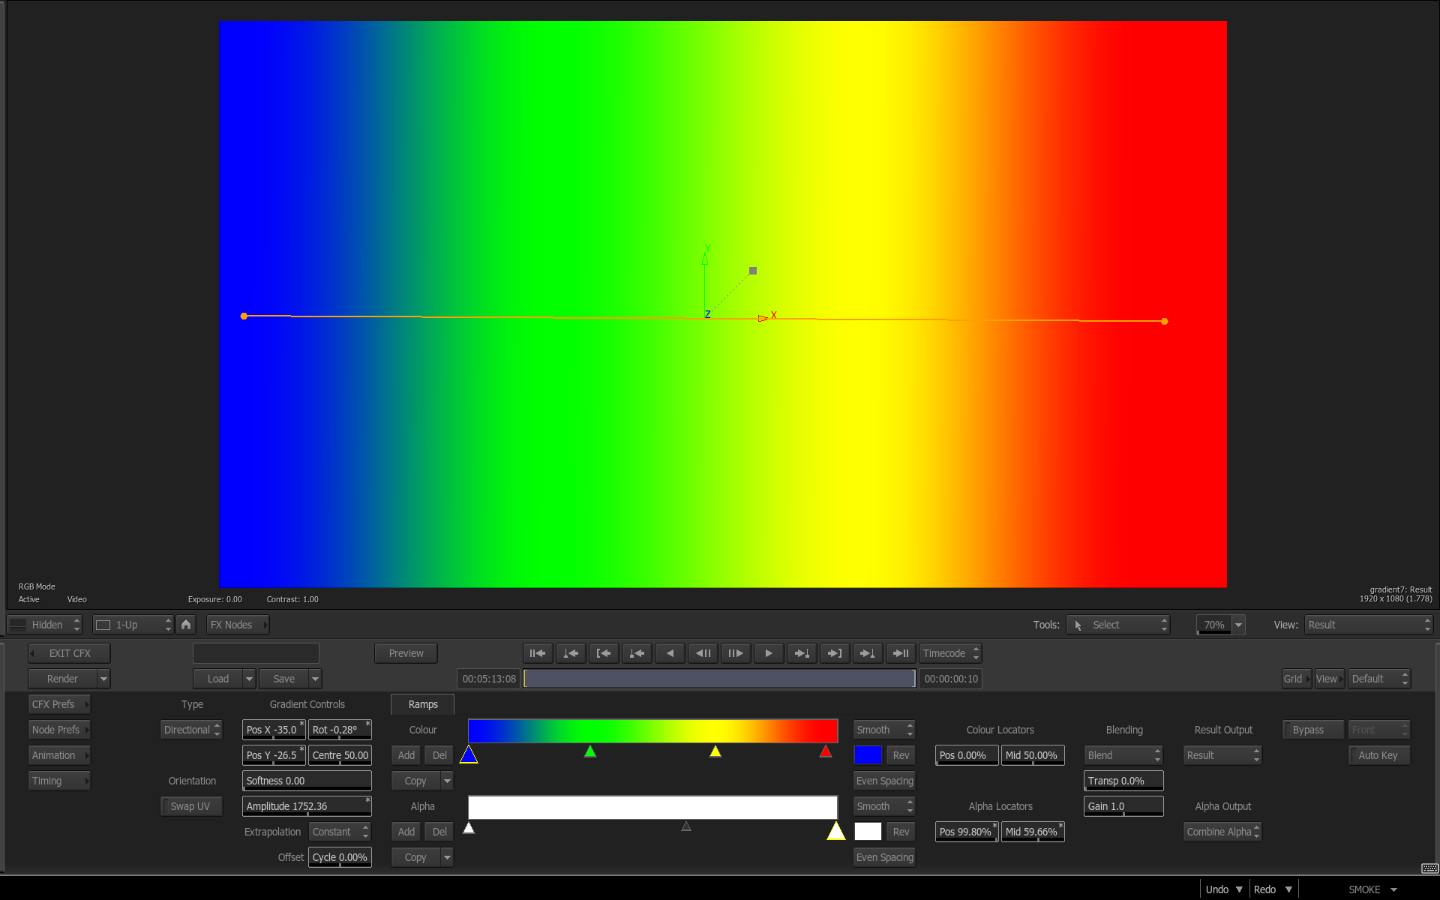
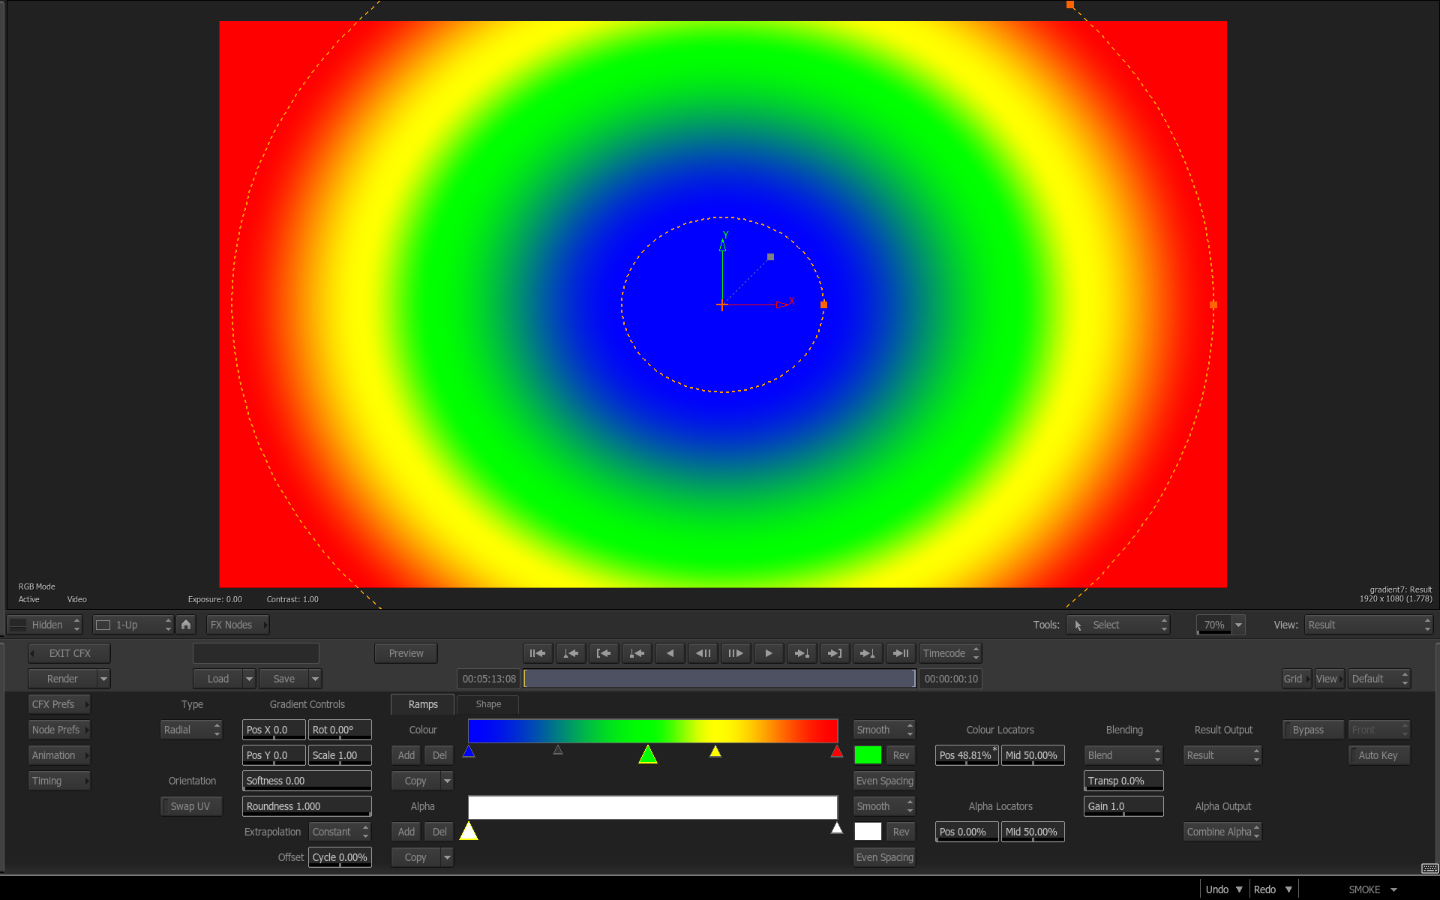
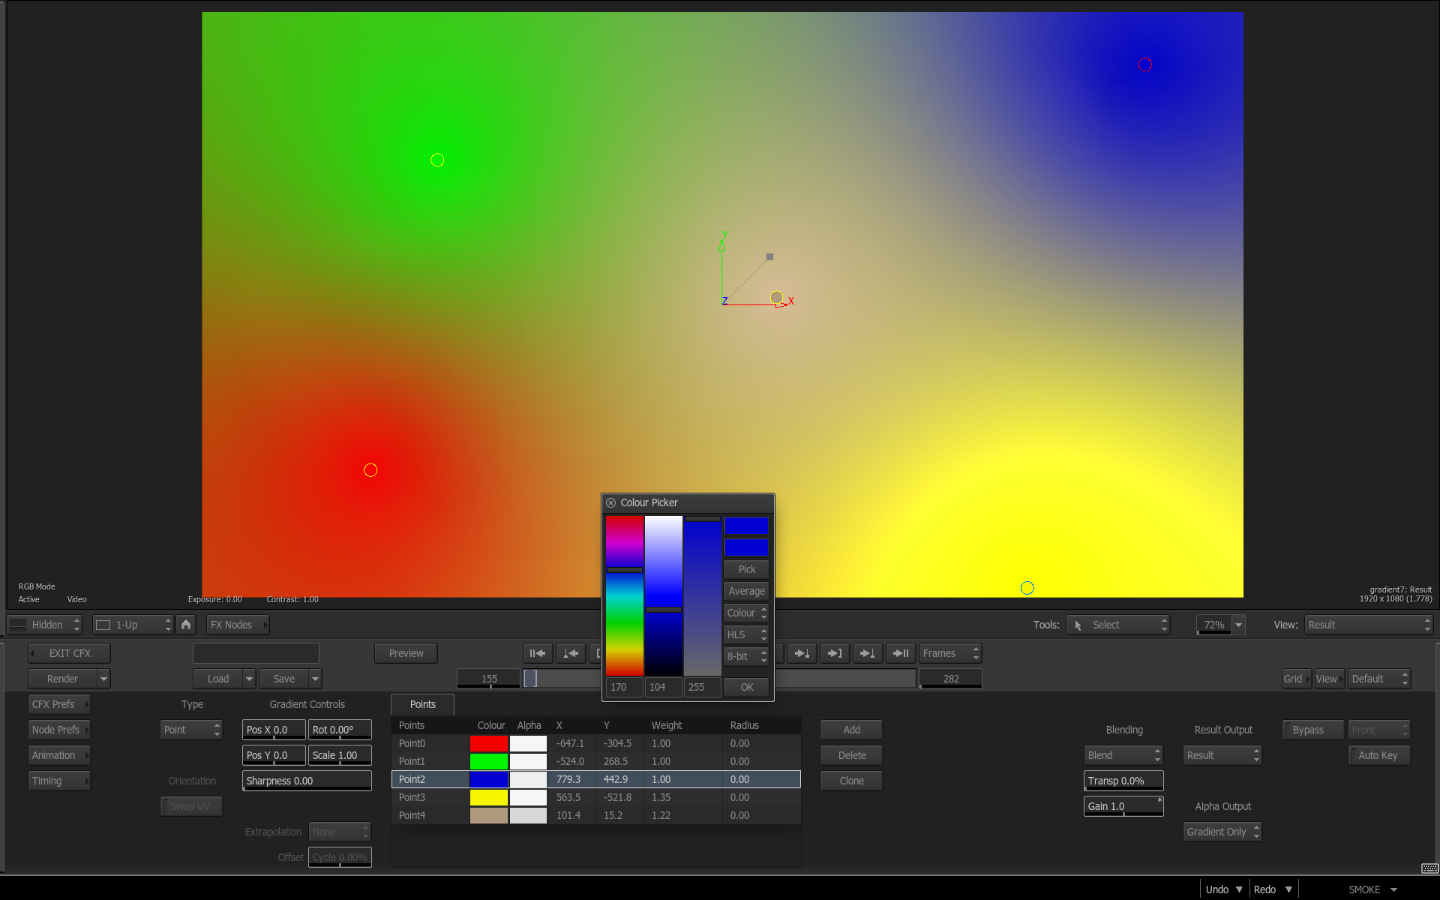
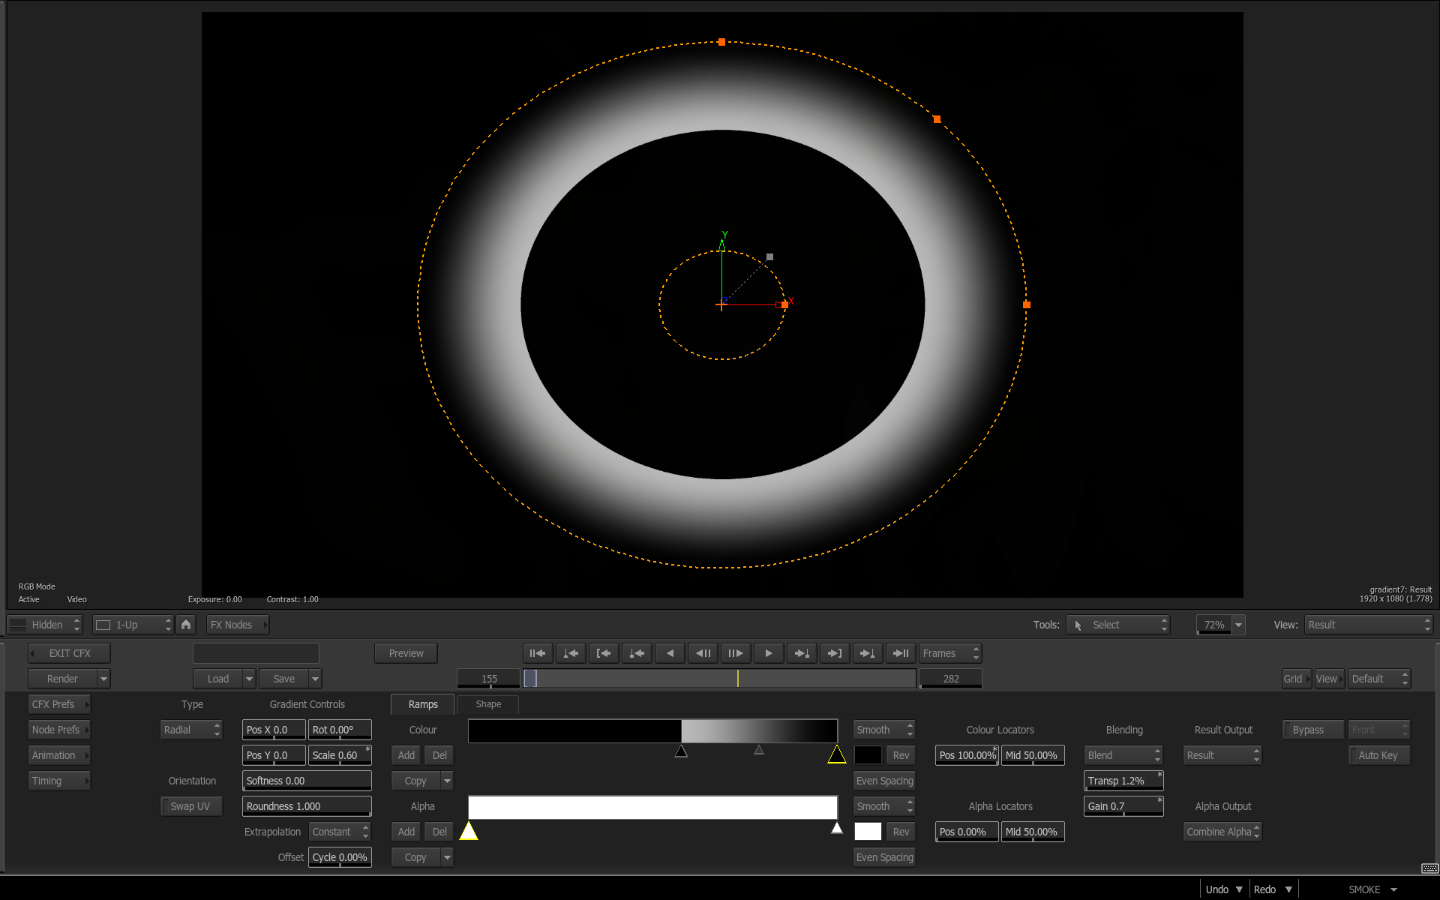
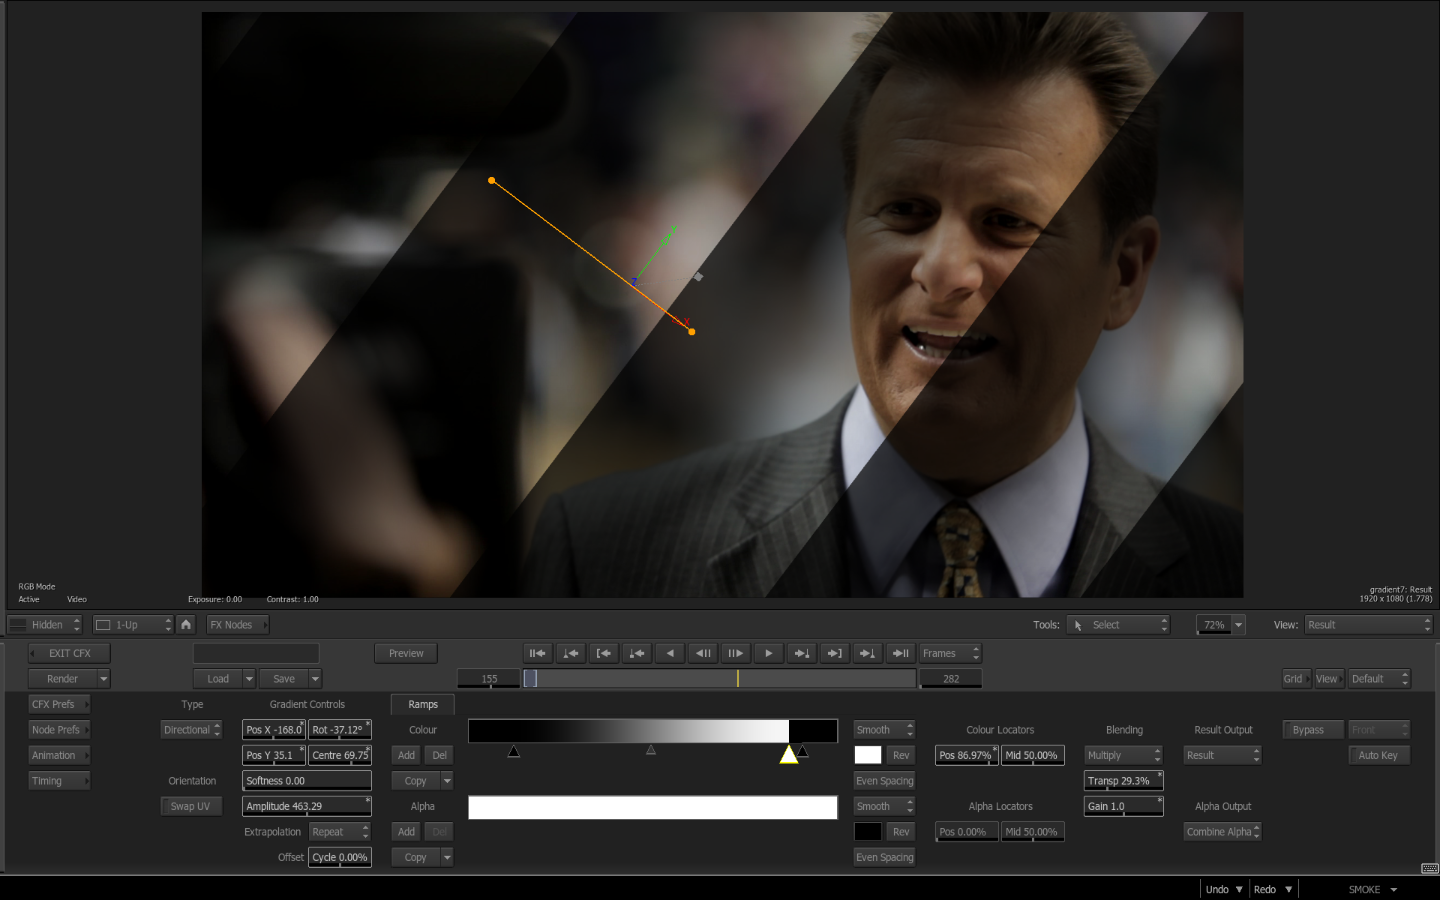
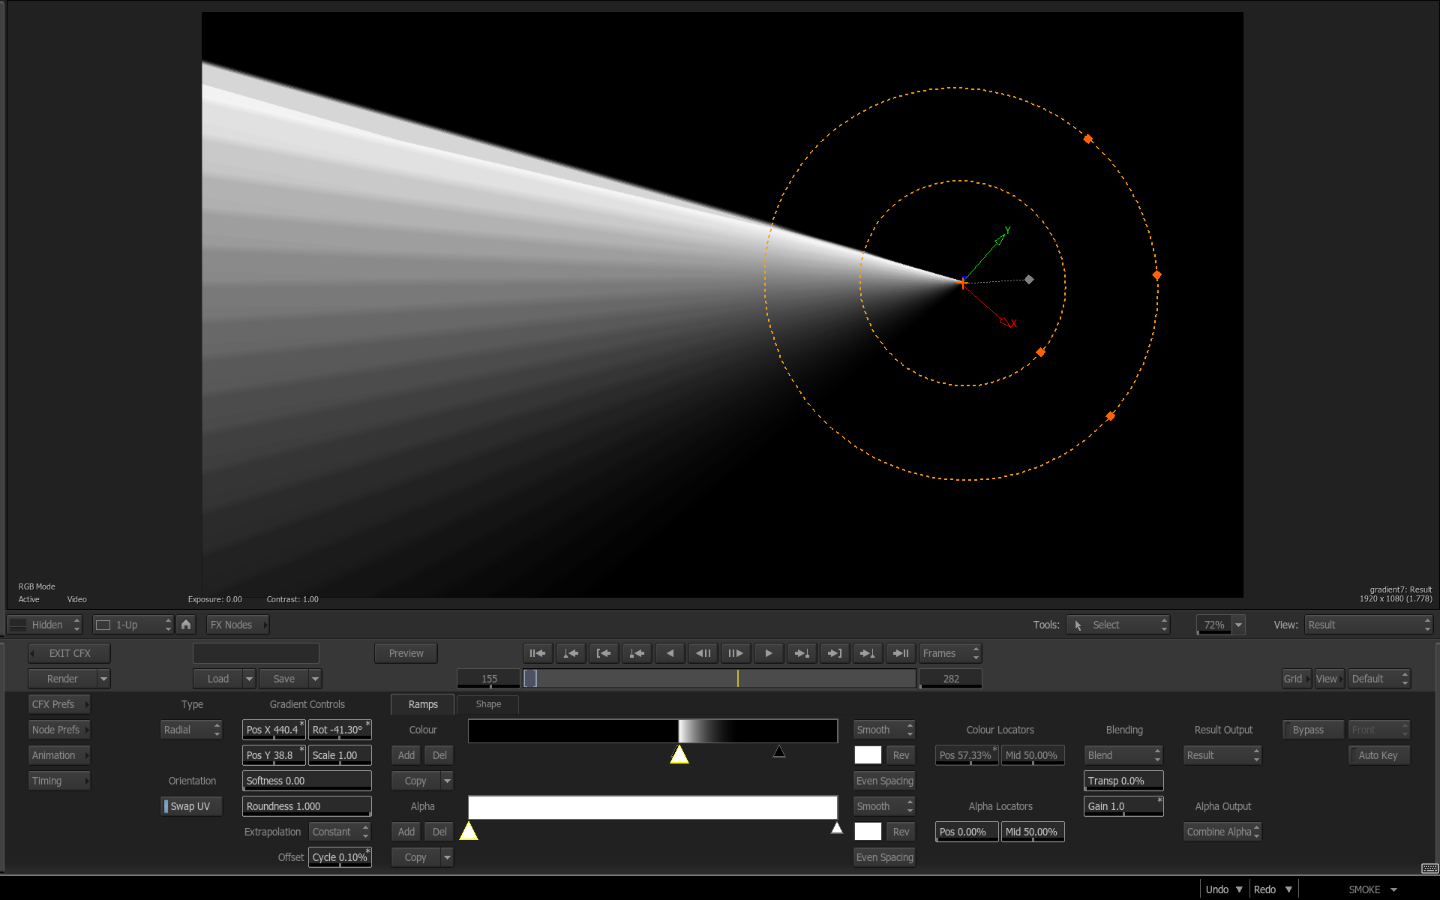
There are 4 gradient types to choose from: Directional, Radial, Spline, and Point. With each type you will get on-screen widgets to gesturally create your gradient with splines and vertices. You can also numerically adjust the widgets with the Gradient Controls Menu. Different gradient styles have some specialized settings, like Roundness for a Radial pattern. A new Shape Tab will appear to numerically adjust these settings. The settings in the Gradient Controls Menu can be keyframed to animate your gradient.

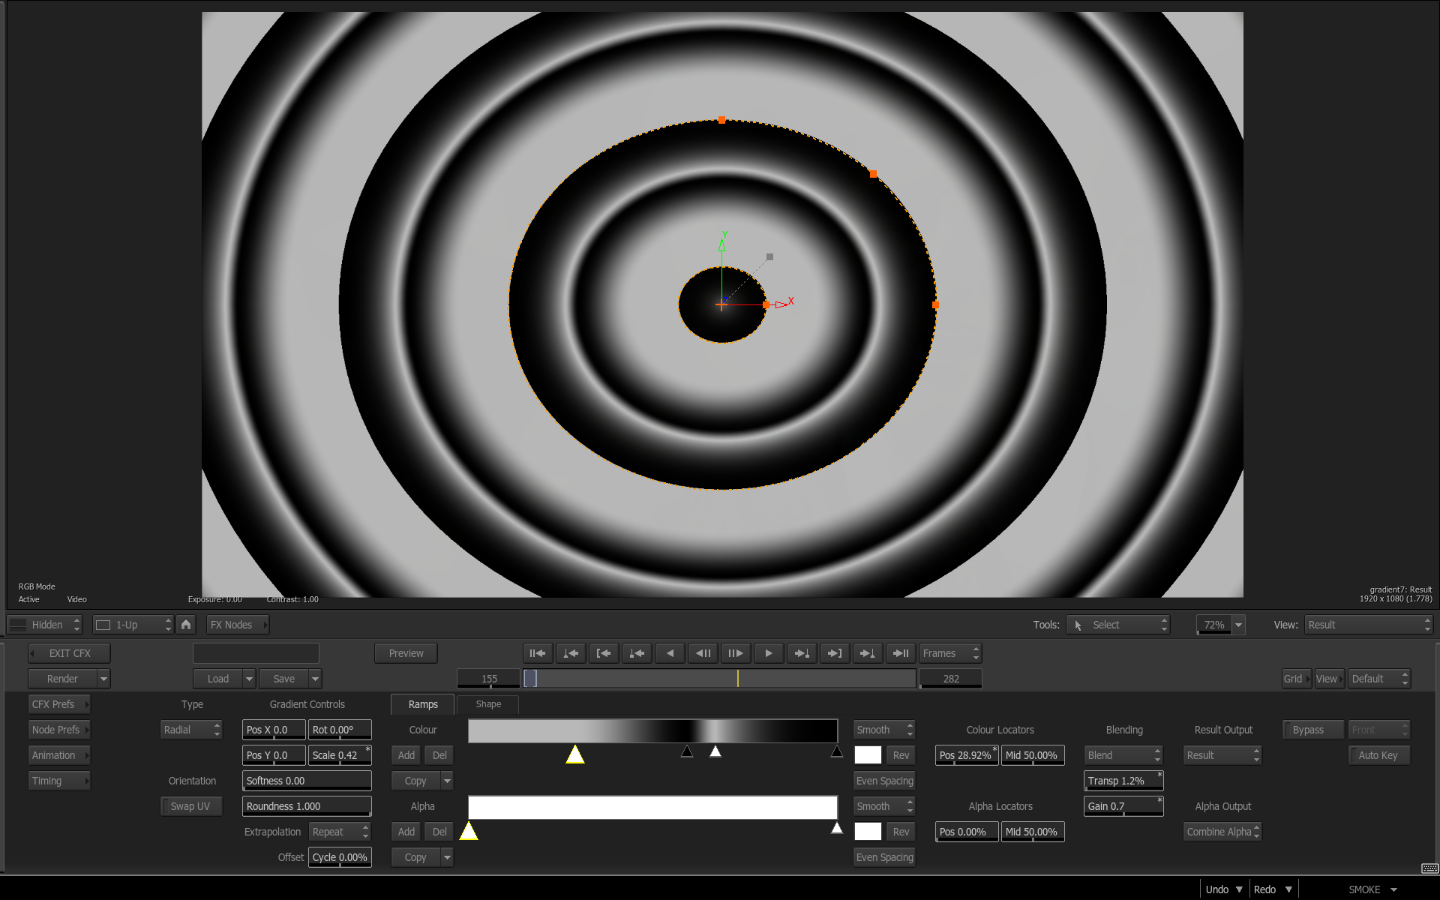
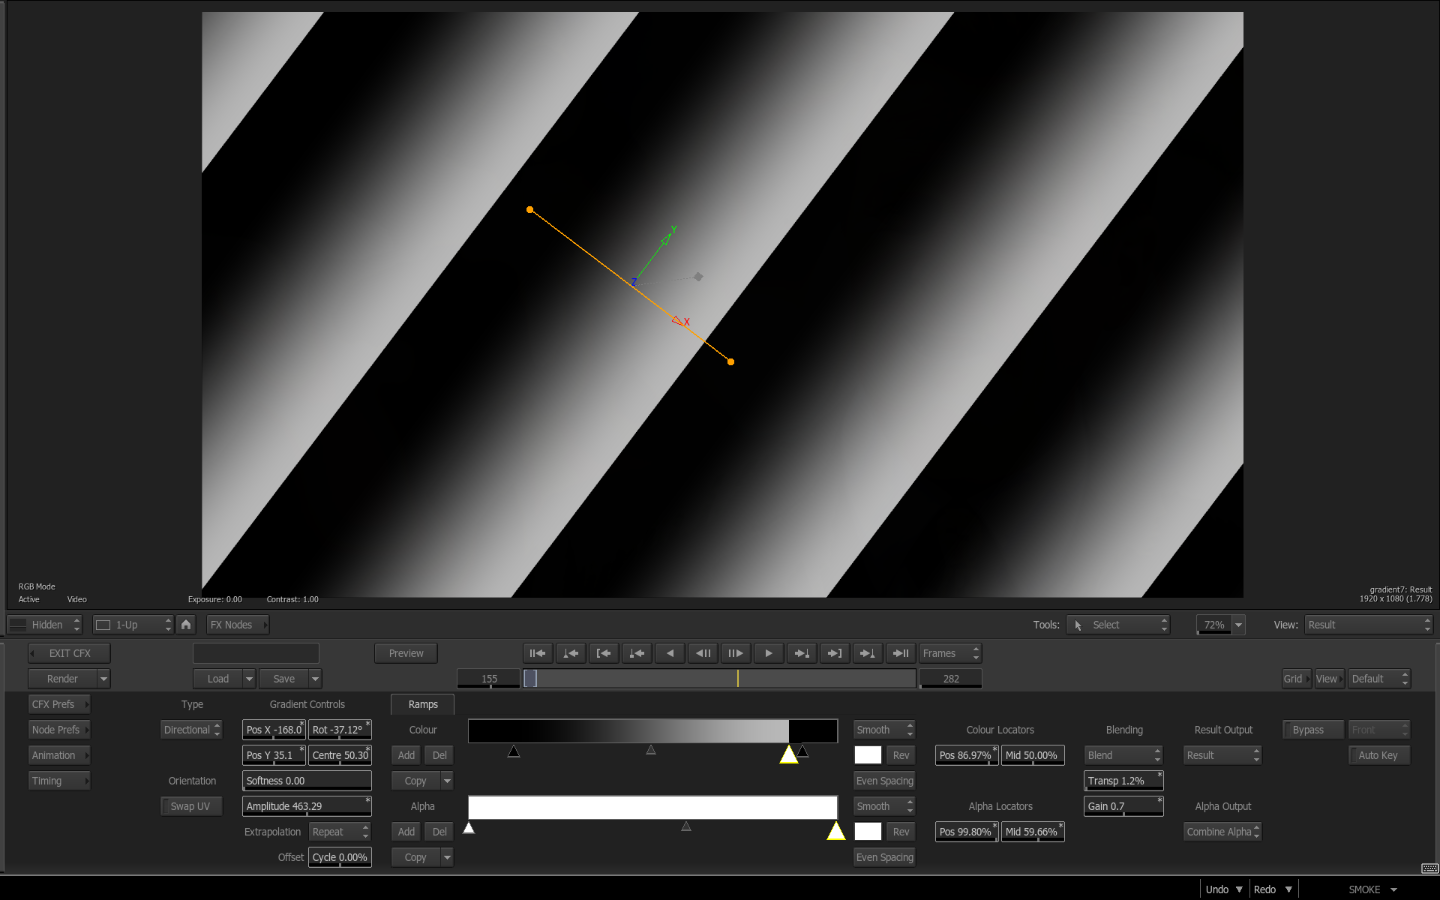
There is an Extrapolation pop-up button to “loop” the colors of your gradient. Constant will create no loop and retain the start and end colors. Repeat will cycle the colors from beginning to end again. Mirror will reverse the gradient going from beginning to end and then end to beginning. Buy animating the Offset Cycle Value, you can create a rolling gradient pattern.
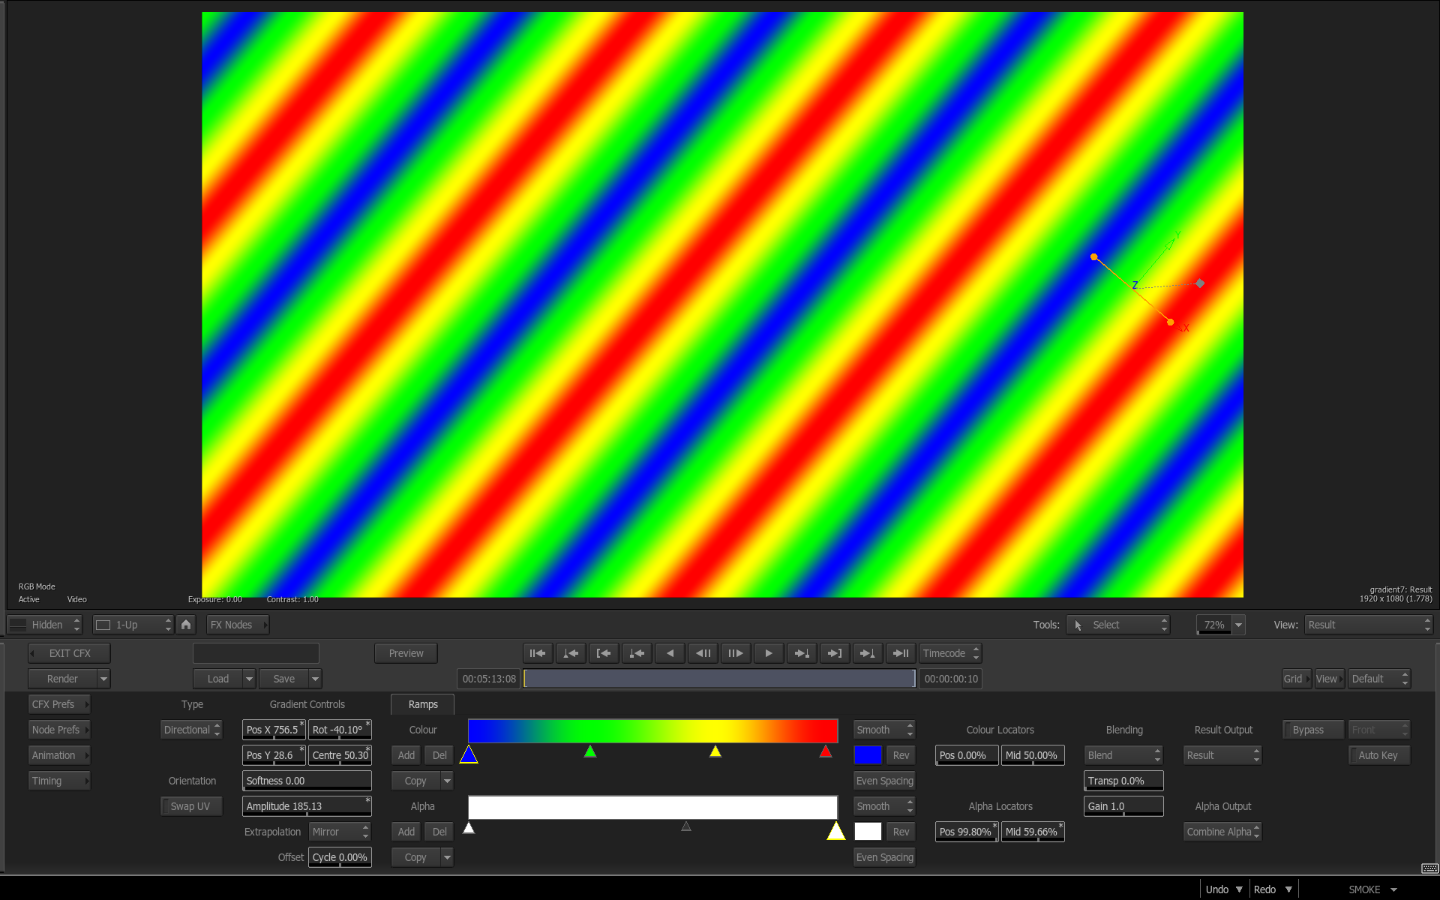
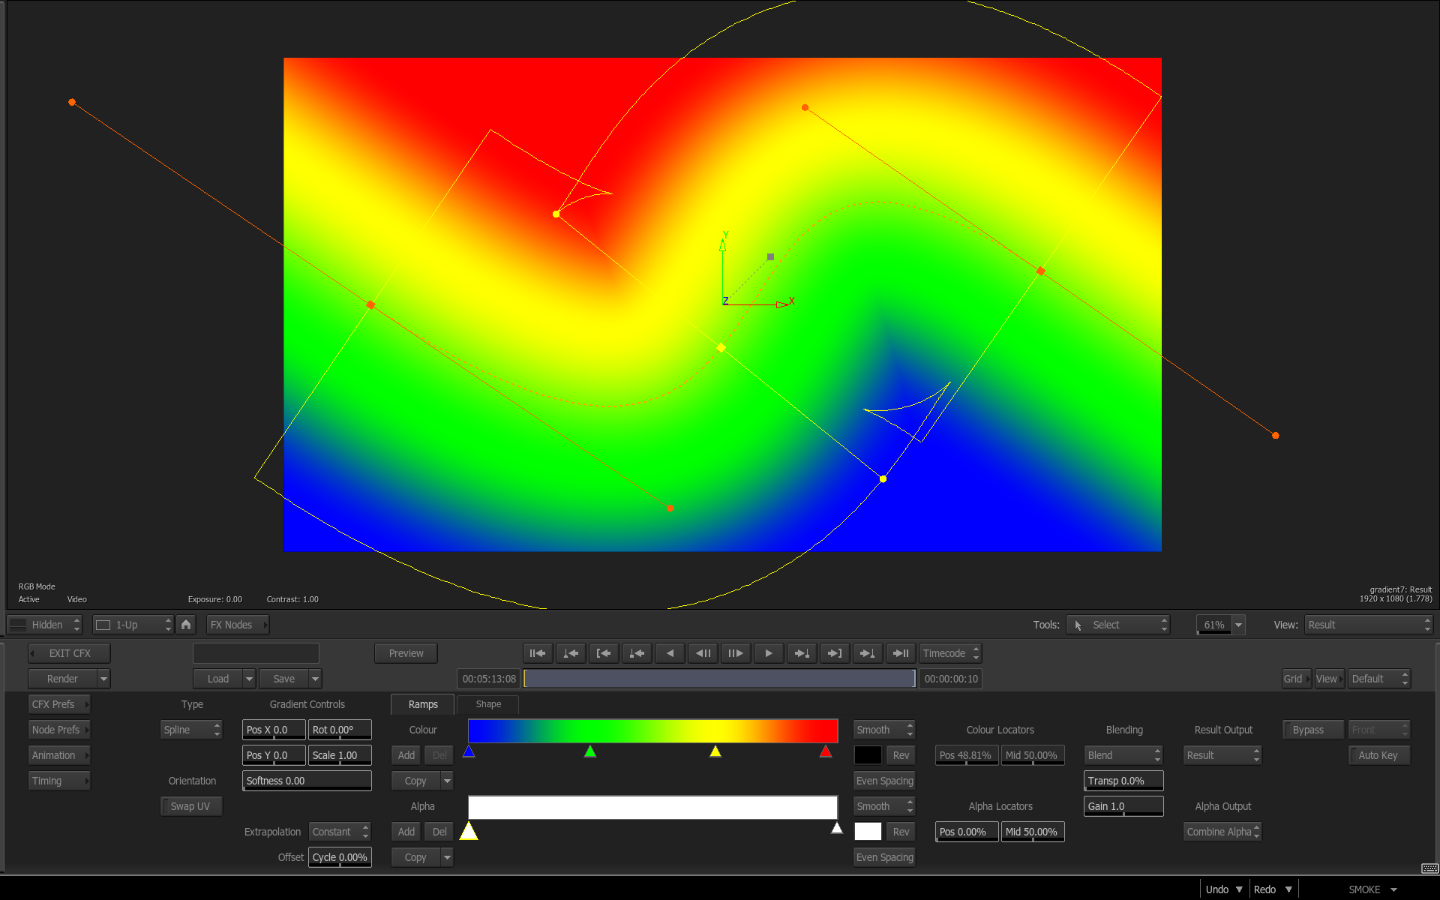
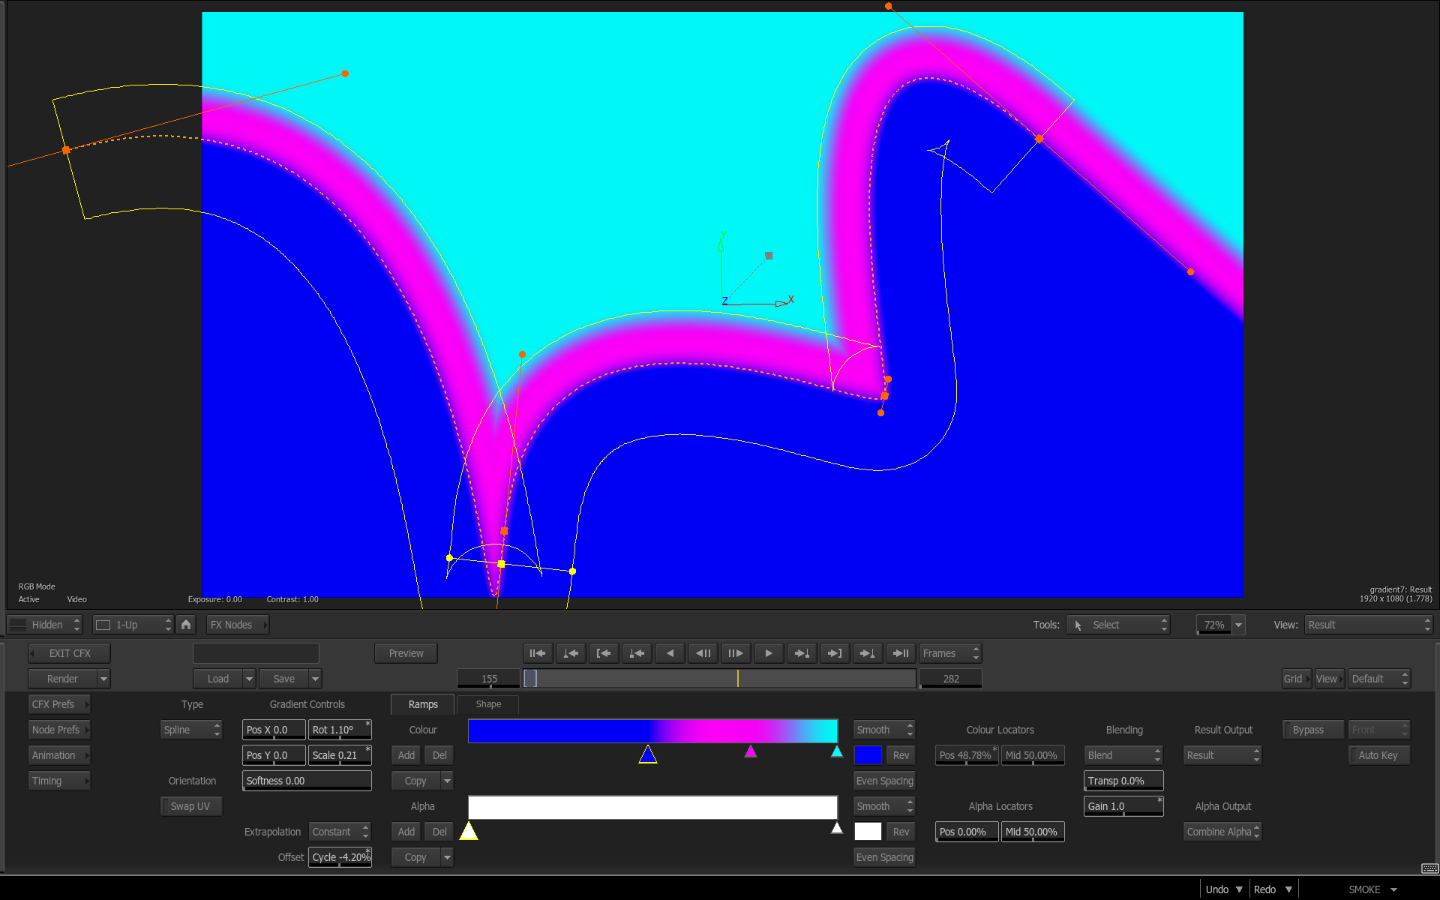
Directional and Radial Gradients create basic line and circle patterns. The Spline Gradient will give you a flexible spline shape, that you can add points to and create complex shape patterns. The Space+A shortcut hotkey will add points to the spline. Space+M to move the points. You can also use the menu setting options as well.
The Ramps Menu Setting is where you set the colors for your gradient. The default gradient will start out with 3 points: A Beginning, Middle and End color. The triangles below the ramp colors control the color selections and placement in the gradient. You can Add and Delete as many points as you want. When a point is added, a new color triangle is added to the right of the currently selected triangle. Press Ctrl while clicking add will copy the selected triangle color. A new mid-point triangle is also created which shows you the blending edge between the 2 colors.
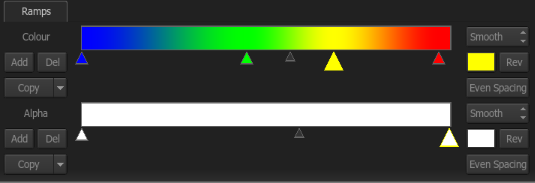
Once you have your gradient colors, you can copy that color ramp to the other gradient shapes, or each shape can have it’s own unique color ramp. The color ramp can also be copied to the Gradient Ramp of the Matte channel, the result will be a grayscale alpha ramp.
You can set the gradient ramp to Smooth or Linear interpolation between colors and there is a quick Reverse button to flip the gradient. You can set all of the points to be even spacing to each other…or you can keep it more organic and free. The Color and Alpha Locators menu will numerically set the postion of the selected color pot and it’s midpoint.
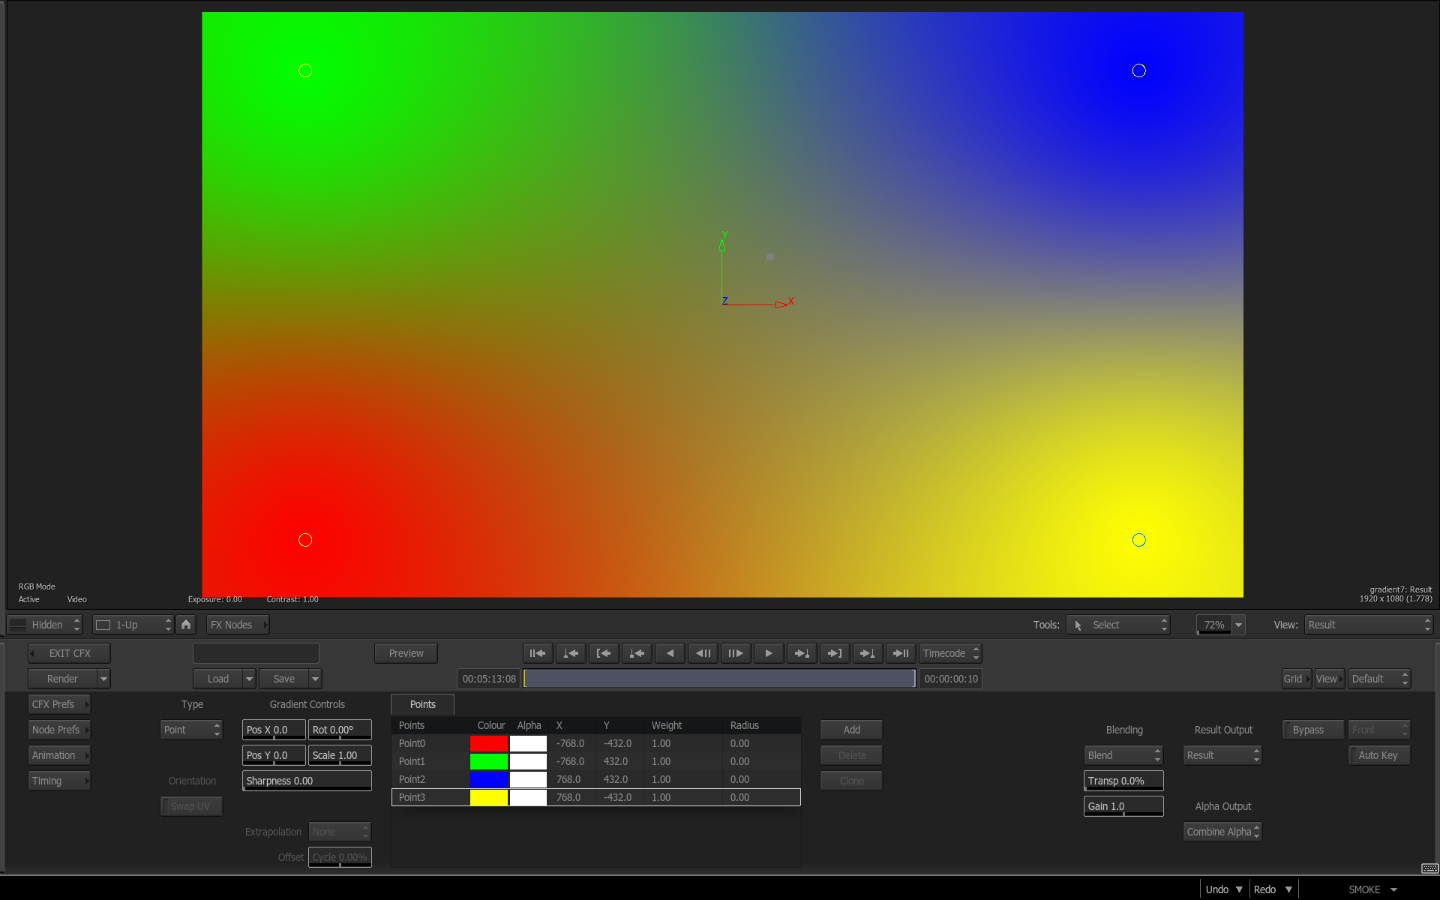
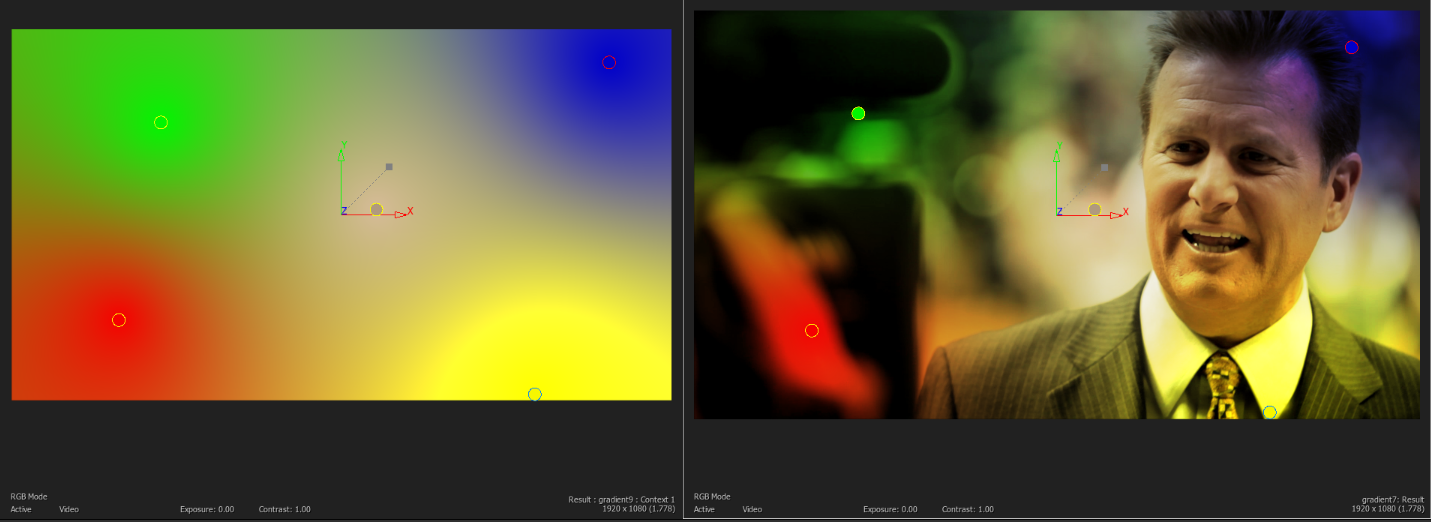
When you choose a Point Gradient, the color ramp menu is replaced by the Points Settings Menu Tab. You can add multiple color points and numerically position the points in X/Y or use the on screen widgets. Each color point also has a corresponding matte color adjustment. The Weight of the color refers to the amount that that color will blend into a nearby color as the 2 points get closer to each other. The size of the point is controlled by the Radius value. The Sharpness value controls the level of edge sharpness between the gradient point colors. The Softness field controls the level of blur added to the gradient.
So, you have a lot of options and controls to create color blend gradients, that can animate if you keyframe the settings. Most of the time you think of soft gradient color blends. But if you move the color points (triangles) very close to one another, you can create very hard edges to your colors. By adding multiple points and creating hard edges, you can use the Gradient Node to create some interesting shapes and line patterns that can be used in motion graphic design.
The UV Swap Button will alter the mapping of the gradient on the image plane. This can be best seen with the Radial pattern, as the circle gets unwrapped and can be used to create a radar sweep type of effect.
As stated earlier, you can blend the gradient with an input clip or you can output just the gradient itself. You can combine the matte input with the gradient alpha as well. You can sometimes use the Gradient Node to perform some interesting color grades to clips. The Point Gradient allows you to specifically place and animate color spots to give a unique style to your video.
Smoke’s Glow Node:
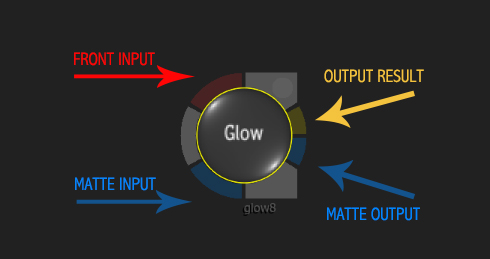
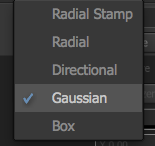
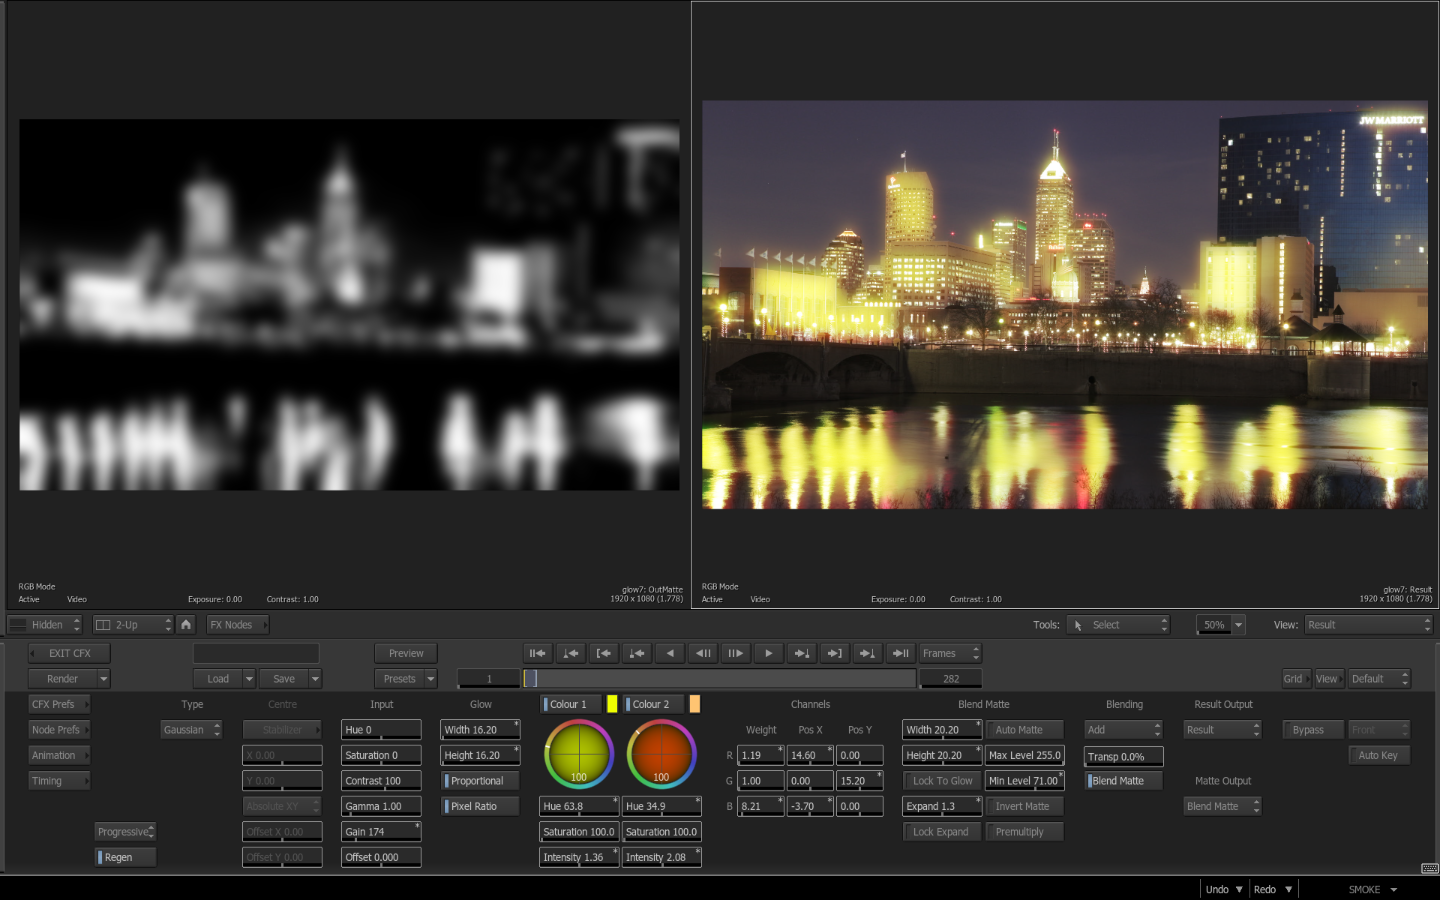
The Glow Node is built on a the same foundation as the Blur Node. There are 5 Glow types: Box, Gaussian, Directional, Radial (Twist/Spin), and Radial Stamp. Very similar to Blur, no?
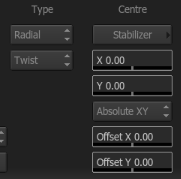
Each Glow type will display custom menu settings that pertain to the individual glow type. For example, You can track the center point for the Radial Glow.
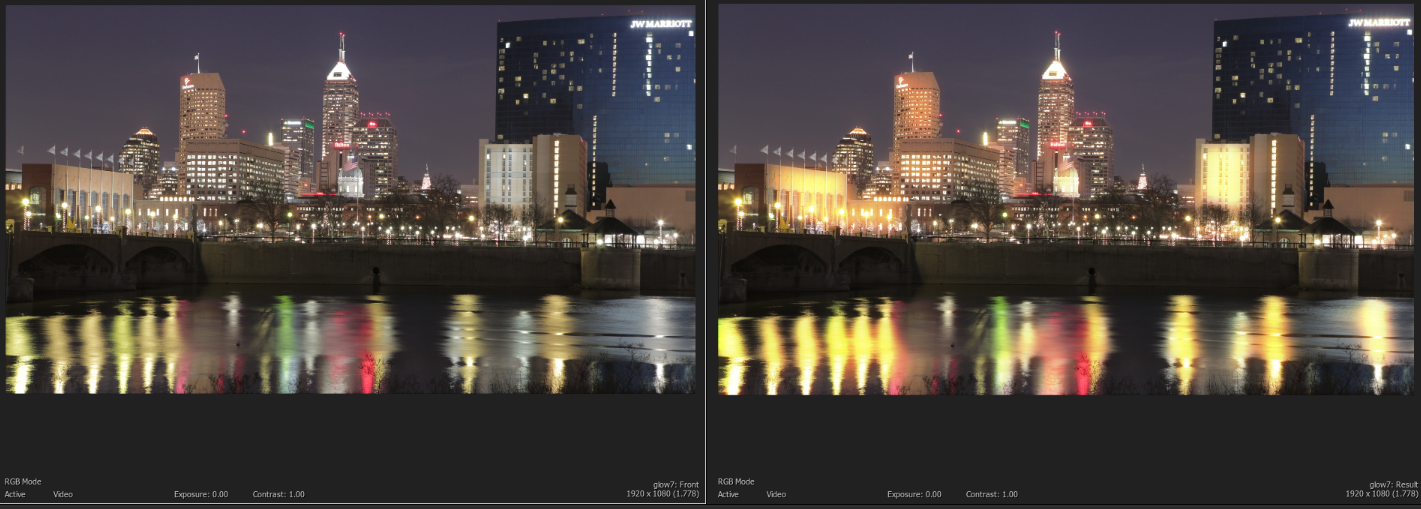
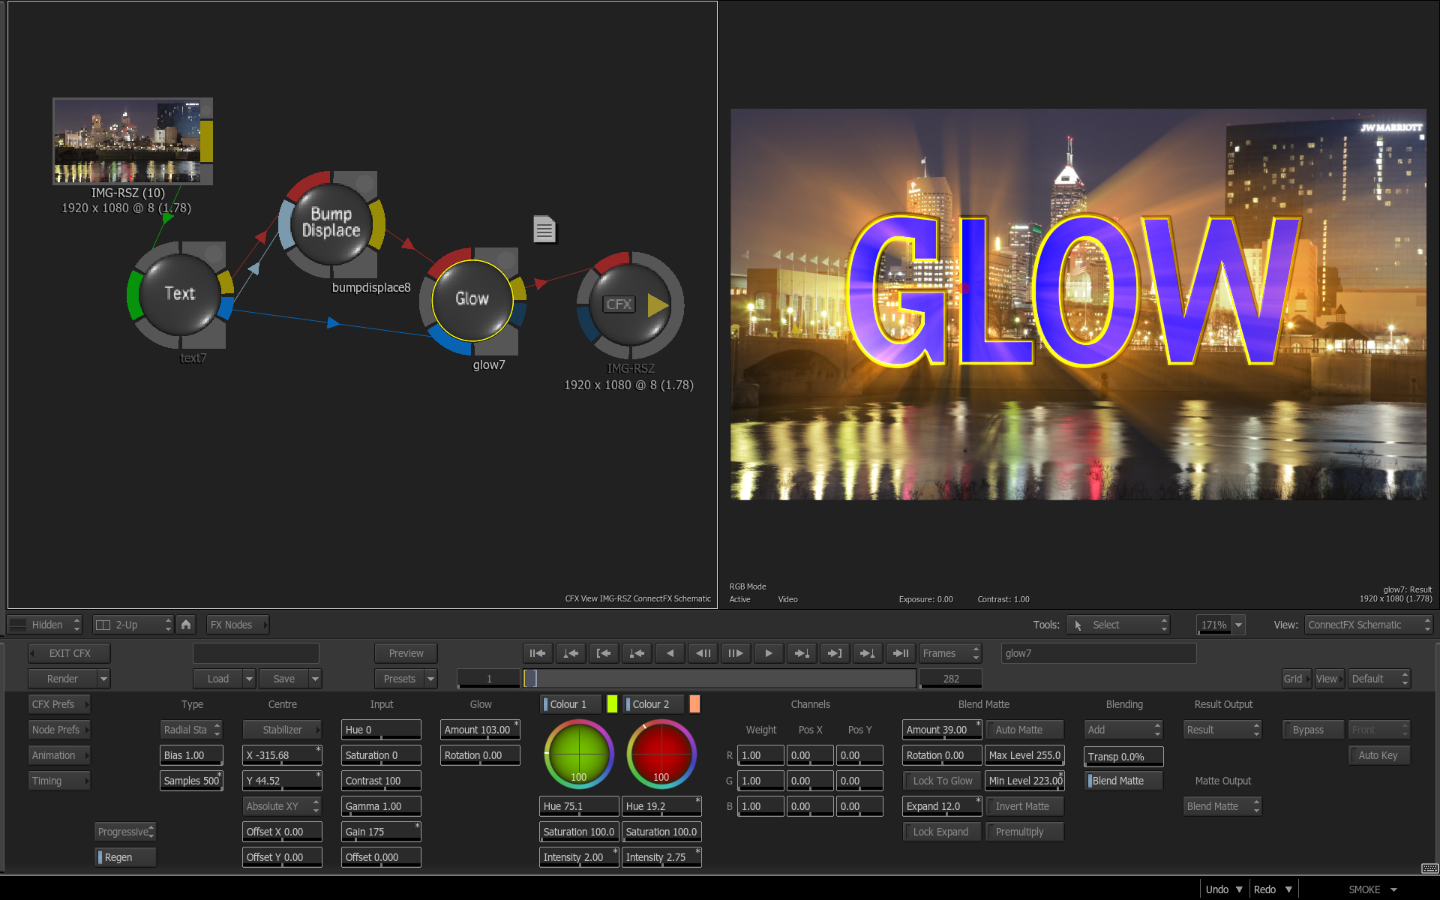
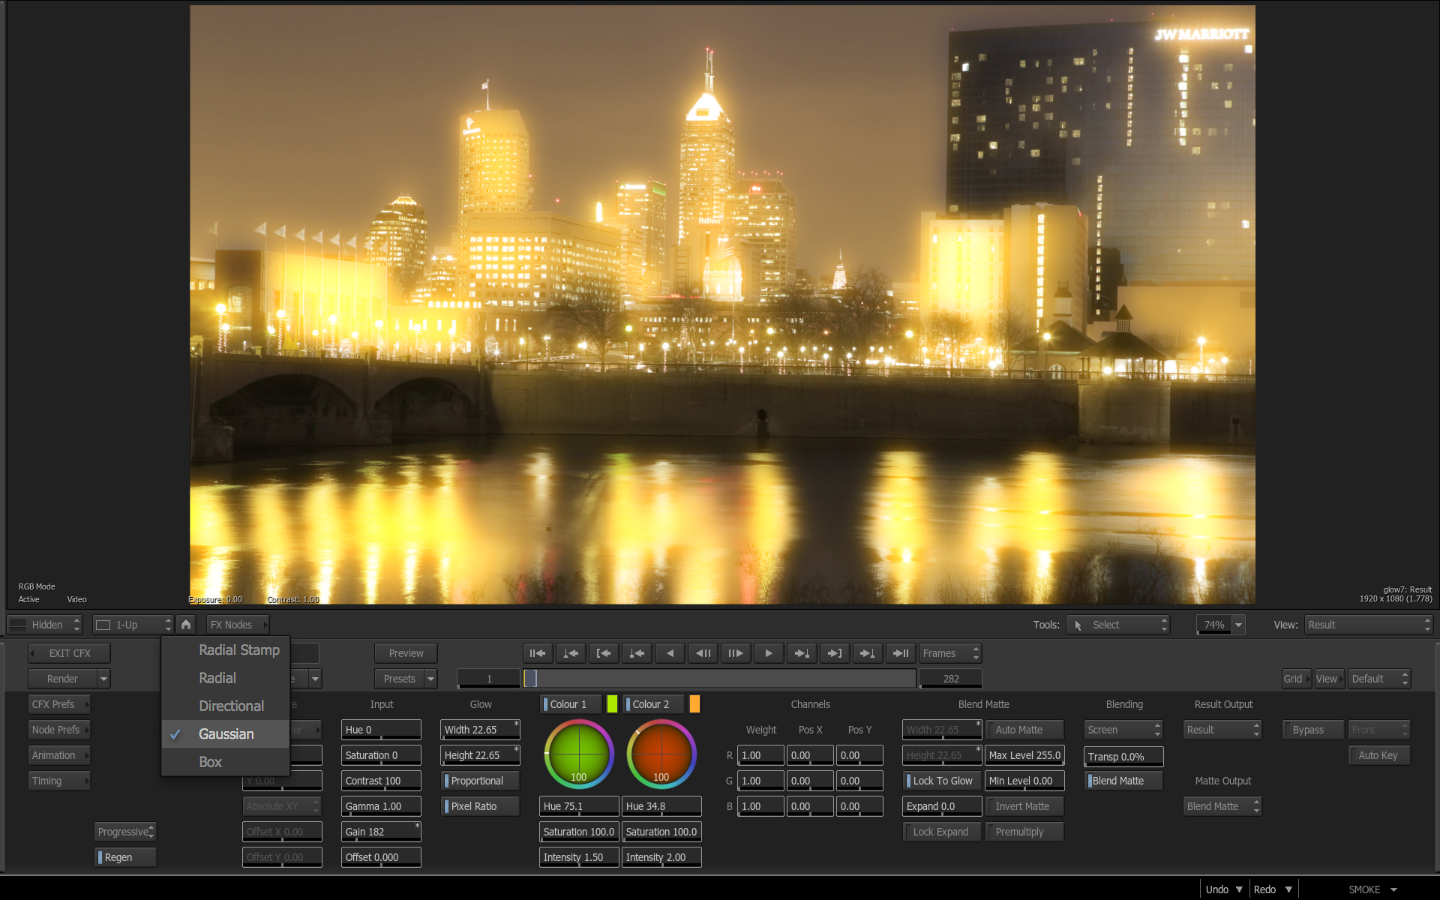
The Input settings can adjust the color settings (Hue, Saturation, Gamma, Gain, Contrast, Offset) of the input clip which will be the fill for the glow. The Input adjustments directly affect the intensity and look of the glow. The default Gain Value is 150. A value of 100 will create no glow on the image. The offset value will also affect the glow result.

The Glow Menu Adjustments will change slightly based on the glow type, but ultimately it controls the size and intensity of the glow.
There are 2 color wheels that control the color style of the glow. You can activate either one or both. The 2 colors, if used, are additively blended together to create the result glow color.
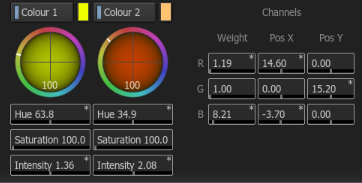
You can create a more unique and stylized glow by adjusting the weight and X/Y offsets for the RGB color channels. A slight adjustment in this menu setting will help separate the additive mix of the 2 color wheels giving you some subtle color shades in the glow result.
The Matte Blend settings are yet another way to influence the look of the resulting Glow. The Matte Blend is only applied to the result when the Blend Matte is enabled in the Blend Menu. By choosing to use the blend matte, the matte wil constrain the glow effect.
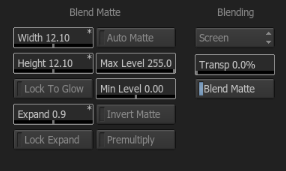
If you hit F4 once you will see the glow result with the video. If you hit F4 twice, you will see the outmatte from the node. You can choose to lock the blur of the matte, which affects the width of the glow to the glow width…or you can control it separately. The outmatte can also be expanded which will fatten (or contract with negative values) the matte, creating more (or less) spread for the glow. You can invert the matte or premultiply the matte with the front clip. The AutoMatte button will generate a grayscale matte from the luminance values of the front input. Automatte is the same thing as piping the front image into the matte input.
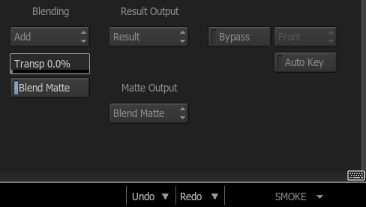
The standard Blend Modes are available to mix the glow over the front image. Again, activating the Blend Matte will use that matte in the result. You can also output the Blend Matte to use further in your ConnectFX schematic or you can output a LumaMatte of the Glow result. The option is there to also just output the glow without the front image to composite it later in your comp.
There are several Presets available for the Glow Node so you can see how different effects are generated. The Glow node is very powerful and has lots of options. In a way, it almost too complicated when you just want to do a quick glow on an object. So take some time to explore how the different settings for the front glow and the matte blend react to create the final result.