

Smoke ConnectFX Nodes: Edge Detect, Filter, Flip, and Field Merge

In this post we explore more nodes inside Autodesk Smoke ConnectFX. In this Smoke tutorial we’ll show you how to use Edge Detect, Filter, Flip, and Field Merge nodes in your editing projects.

This week we blitz through some simple nodes inside Smoke’s node-based compositing environment – ConnectFX. Edge Detect and Filter are the more creative tools, whereas Flip and Field Merge are more utility operations. Some nodes you may only use once year. Other nodes you use every day. In our series on Smoke ConnectFX nodes we’re breaking down how each node works and what you can do with it. So, when you need to do that ‘one thing’ you’ll know what node to use!
Smoke’s Edge Detect
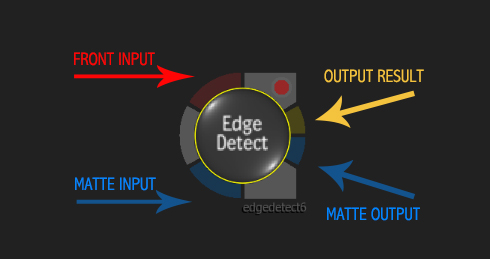
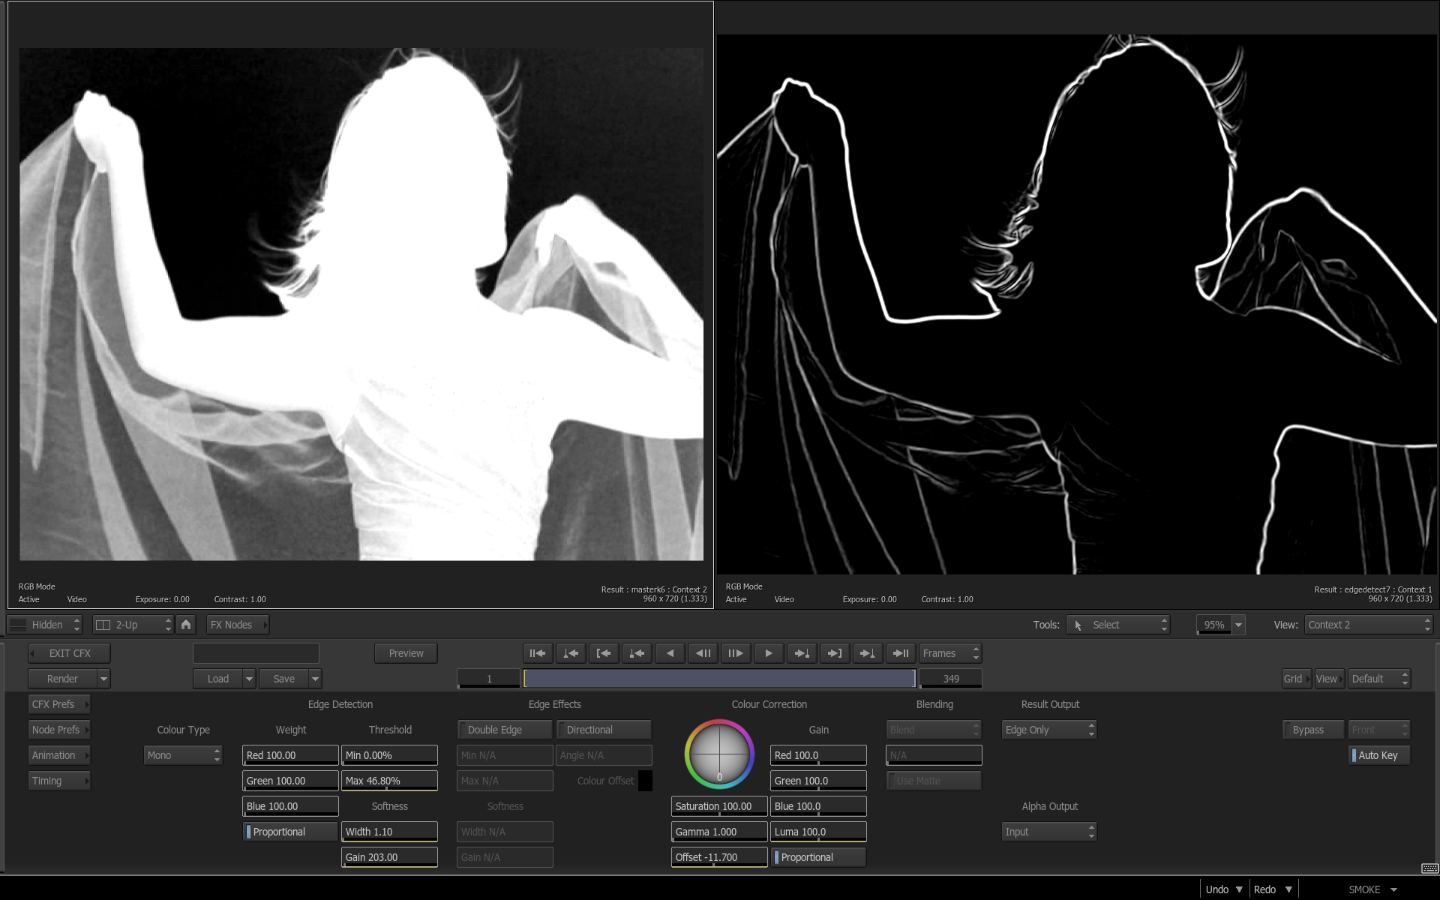
The Edge Detect Node will define an edge and output a matte for that edge for use further down your ConnectFX schematic. The edges are based on colors and luminance between pixels. You can choose to define edges based on RGB, HLS, Chroma, or Mono.
[Click for larger image]
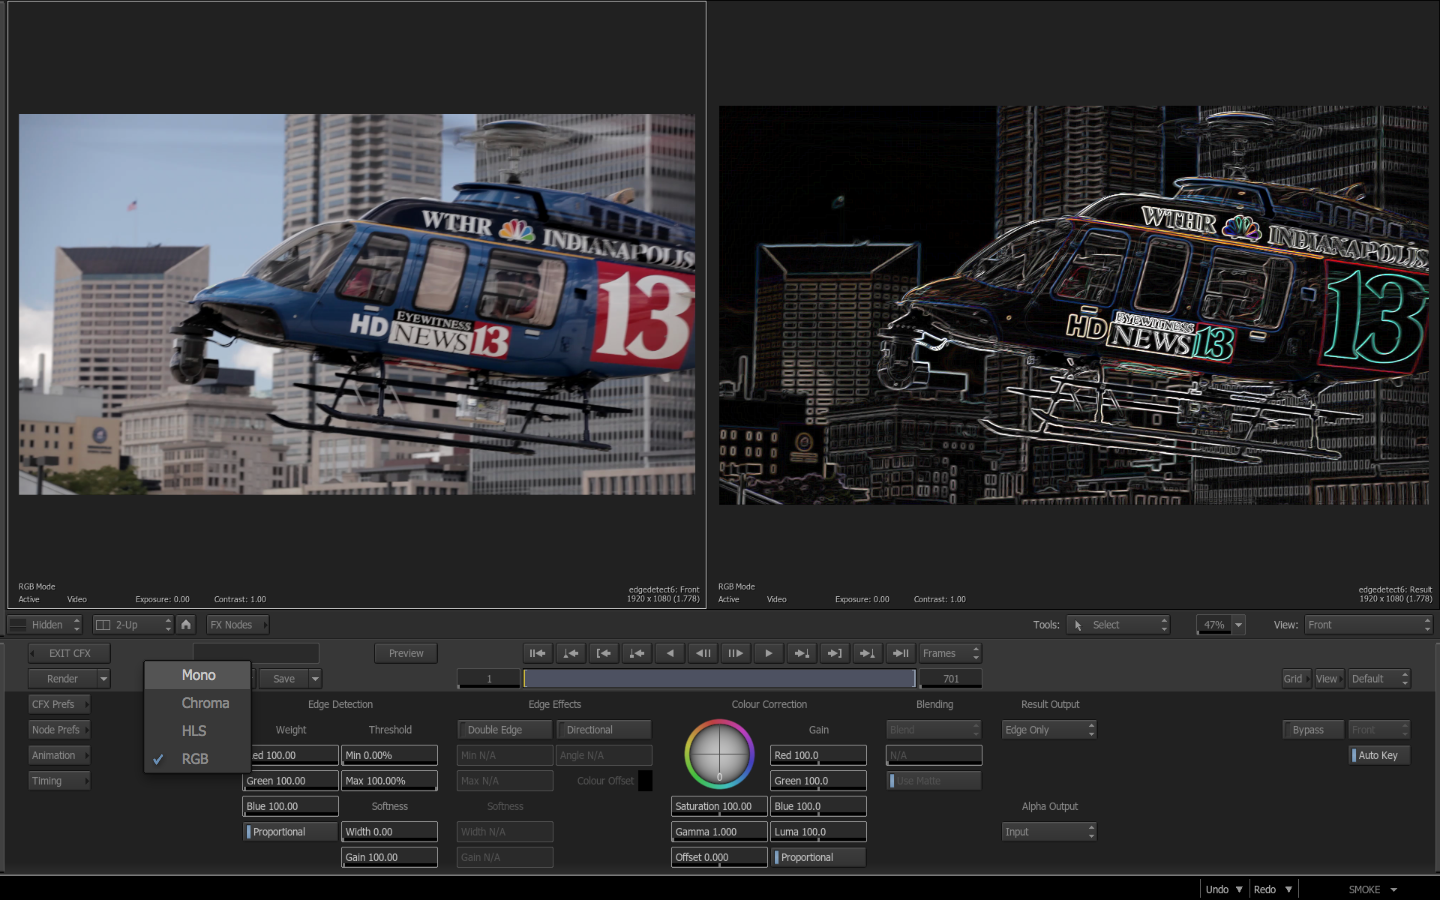
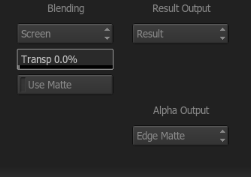
You can set the Result output as the composite of the input image with the matte generated by the edge detection. Or, select Edge Only to output only the result of the matte generated by the edge detection. You can also choose what to output from the nodes matte output. You can choose to simply pass the original input matte through or output the created Edge Matte effect.
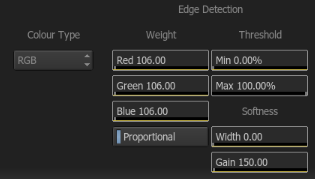
The Edge Detection settings area is where you define the edge based on the input image. You can adjust the weight of the individual Red, Green, Blue channels. Changing these values form 100% will increase or decrease how much of that channel is being used to define the edge. In RGB, HLS, and Chroma settings, it will adjust the color of the edges created. The Threshold setting can be set for the minimum and maximum values. Think of it like the min/max settings of the 2D Histogram. The Softness setting in this area is adjusting the width of the softness between edges in your image and the gain of that softness. It will blur the edge matte and increase the luminance of it.
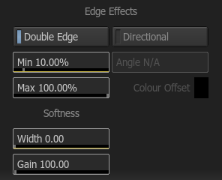
In the Edge Effects area you can create a Double Edge which will perform a second pass of the edge detection. There are more min/max settings and Softness settings affecting the Double Edge. You can skew the softness in a direction by activating the direction button and setting the angle. This can act like a change in lighting on the generated edge matte.
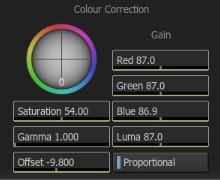
You have Color controls inside this node. These controls color the edge matte even further, increasing or decreasing colors.
With the Use Matte button enabled, you can choose common blend modes with transparancy, used with the color correct controls to create edge effects in your image.

The Edge Matte node can also be found in the Modular Keyer. It’s here where pulling edge mattes can aid in creating Light Wrap effects with your keys…or aid in making cleaner composites.
[Click for larger image]
Blurring your image a bit can also effect the edge detection as more blur will create fewer edges created. This will allow you to focus on the main edges in an image and not all of the details in the image that can get in the way of creating the edge you want.
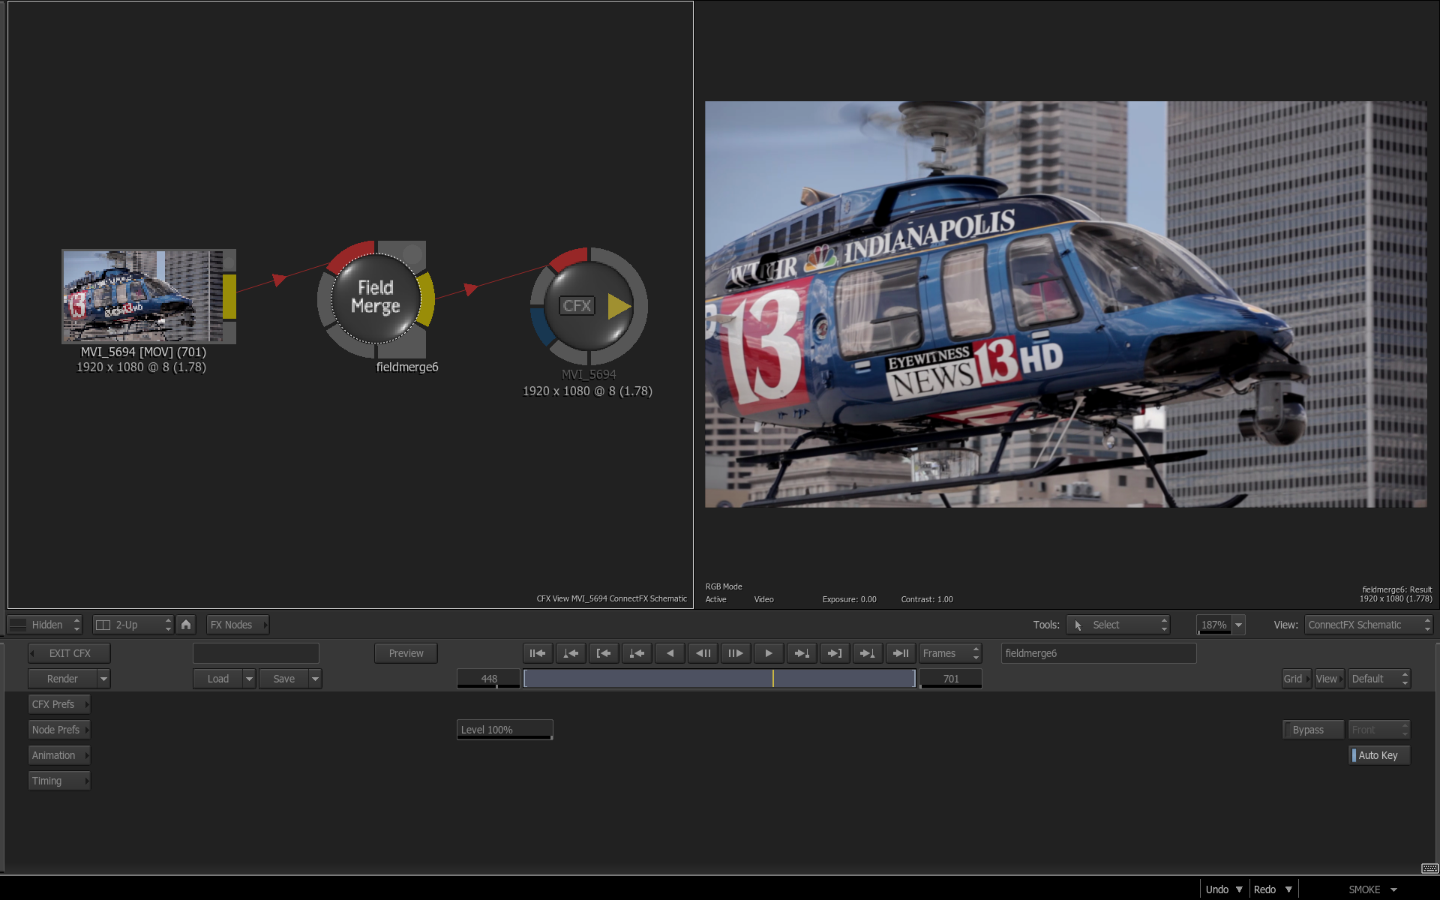
Smoke’s Field Merge
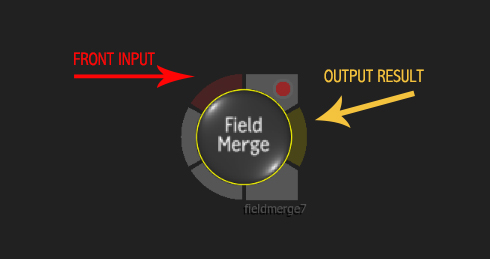
The Field Merge Node is very simple. When dealing with interlaced clips, you can blend the fields together, essentially creating a progressive clip. This differs from the Deinterlace Node in that it doesn’t split the fields or lengthen the clip. It can also reduce field flicker in an interlaced clip. You can set the value at 100% for complete blending or less if needed.

Field merge will soften the image, as you are blending moving fields, so the adjustment will help give you the best result. I often use field blending to create a “film-look” effect as it helps to lessen the “video” look of an image.
[Click for larger image]
Smoke’s Flip Node
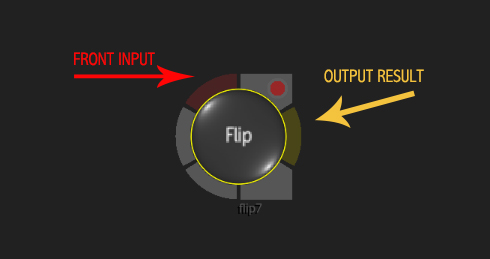
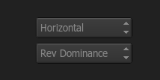
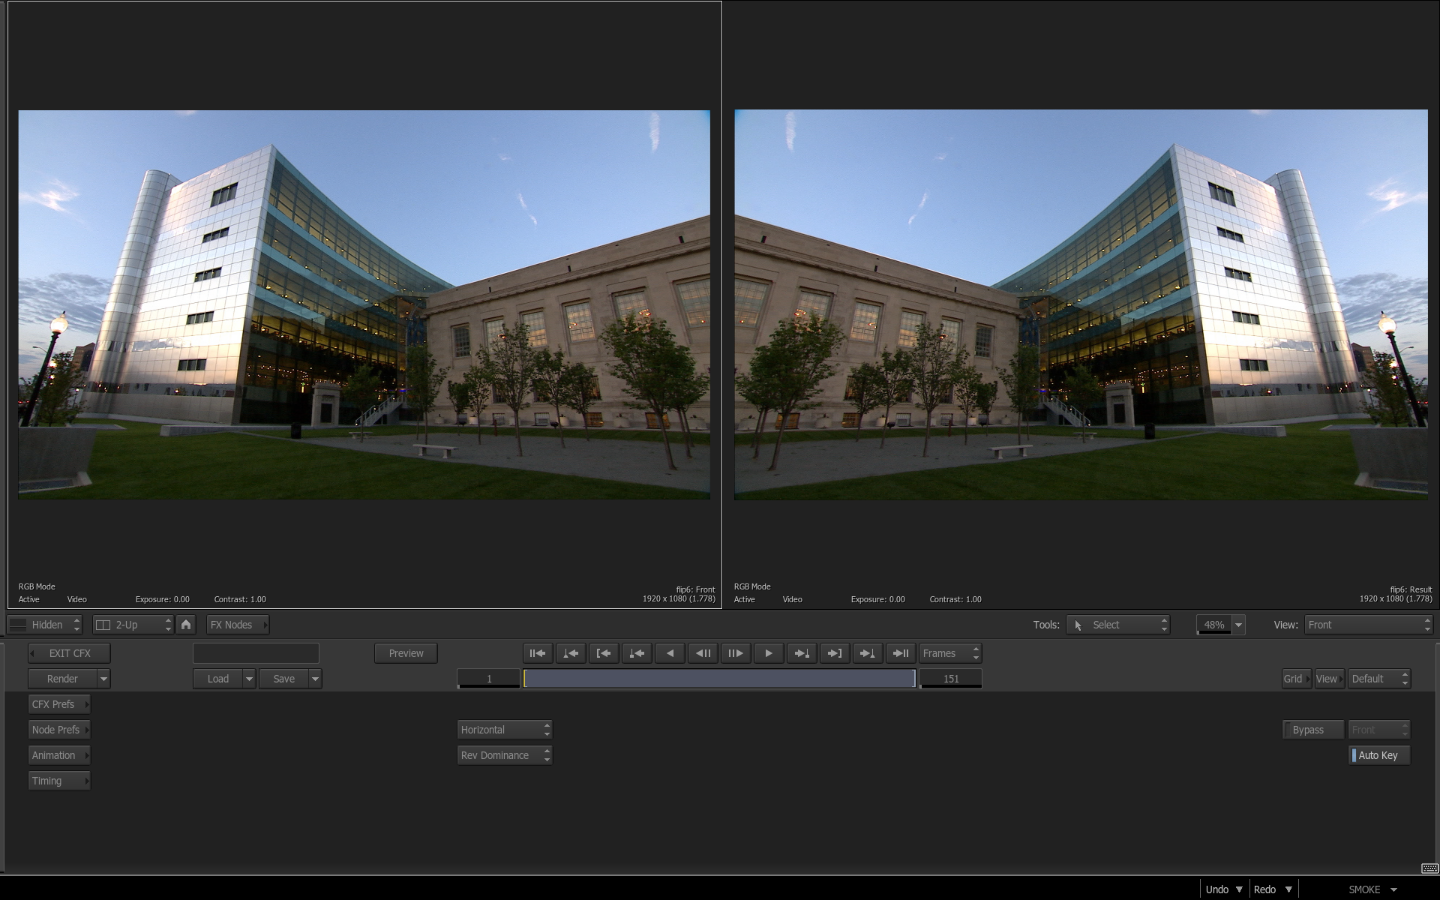
The Flip Node performs a very simple Flip of your image along the Vertical or Horizontal, or Both Axis. When you flip a clip vertically, you may need to reverse the fields so that the clip plays back in the proper field order.
There are many other ways to flip a clip in X or Y, so why would you use this node over 2D Transform or through Action? On my MacbookPro setup, I found no difference in rendering speed between the Flip Node, 2D Transform, Action, or Axis on the timeline. This is an older node, which is why it still exists in the bin. It is fast. When you just need to flip a shot that might be in the middle of a large CFX node schematic you can just pop the node into the flow.
[Click for larger image]
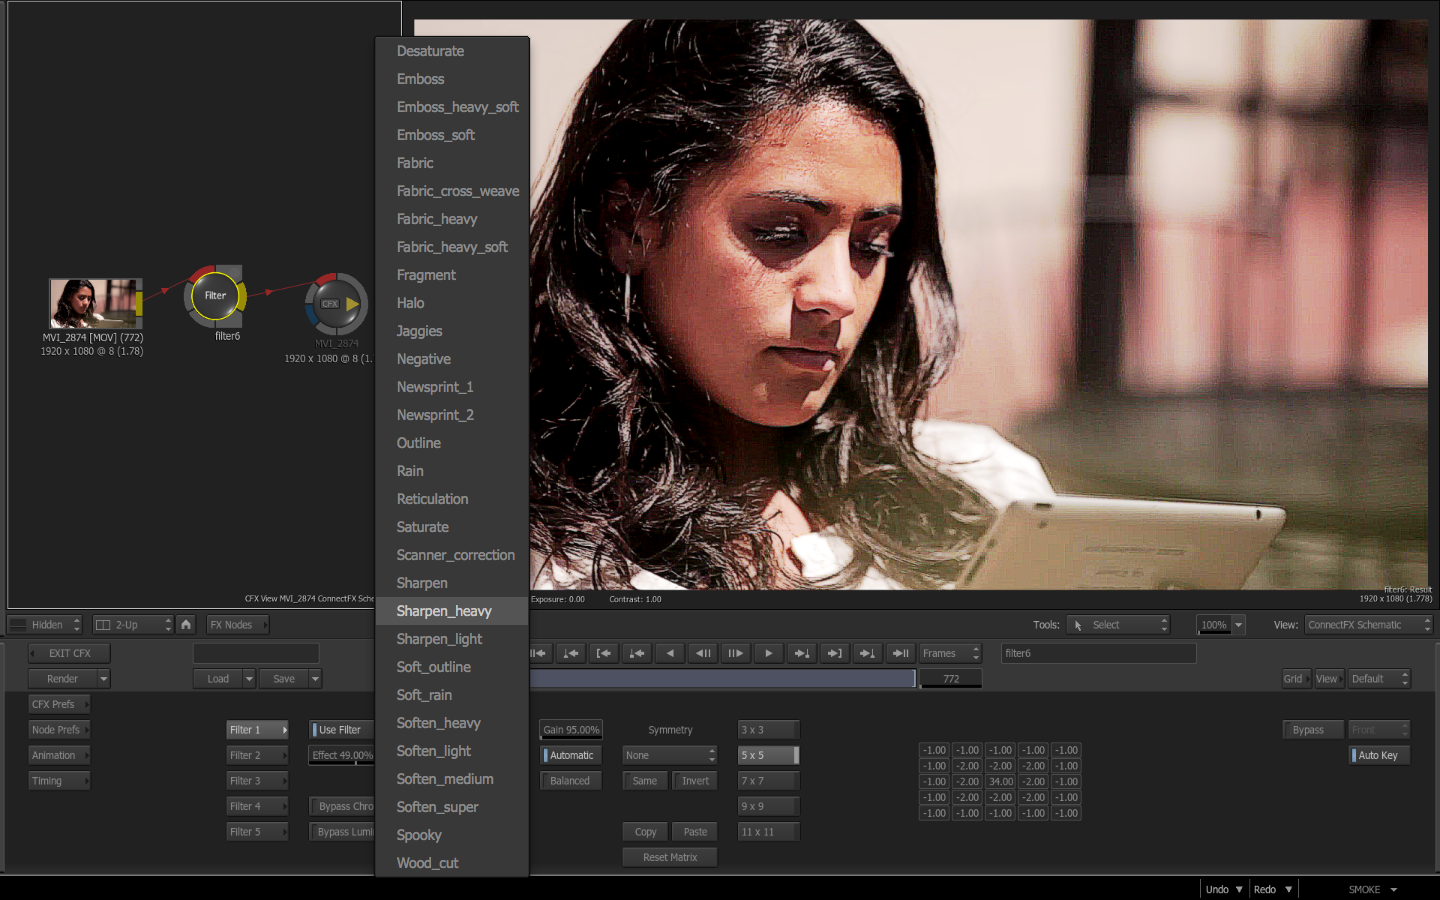
Smoke’s Filter Node
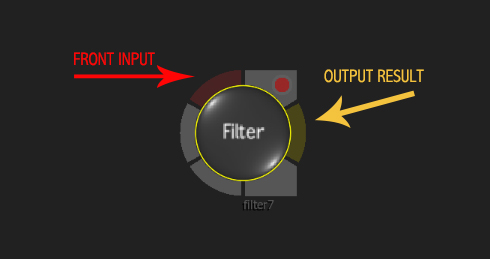
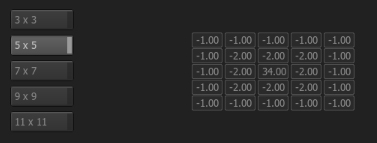
The Filter Node uses old school mathematical matrices on a per pixel bases to perform image processing like Blurs, Edge Detection, and Emboss to a clip. Most of the effects that you can do with the Filter Node can be done better and with more flexibility in other nodes. There are many presets you load to see how the effects are applied. The basic understanding of how a Matrix operation works is that a grid is placed around each and every pixel. The grid can be as small as 3×3 or as large as 11×11. The operation replaces each pixel with the weighted average of the pixels around it, where the weights are given by the matrix.
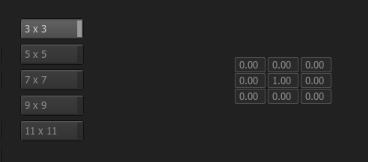
A Matrix that looks likes this produces no change in the image.
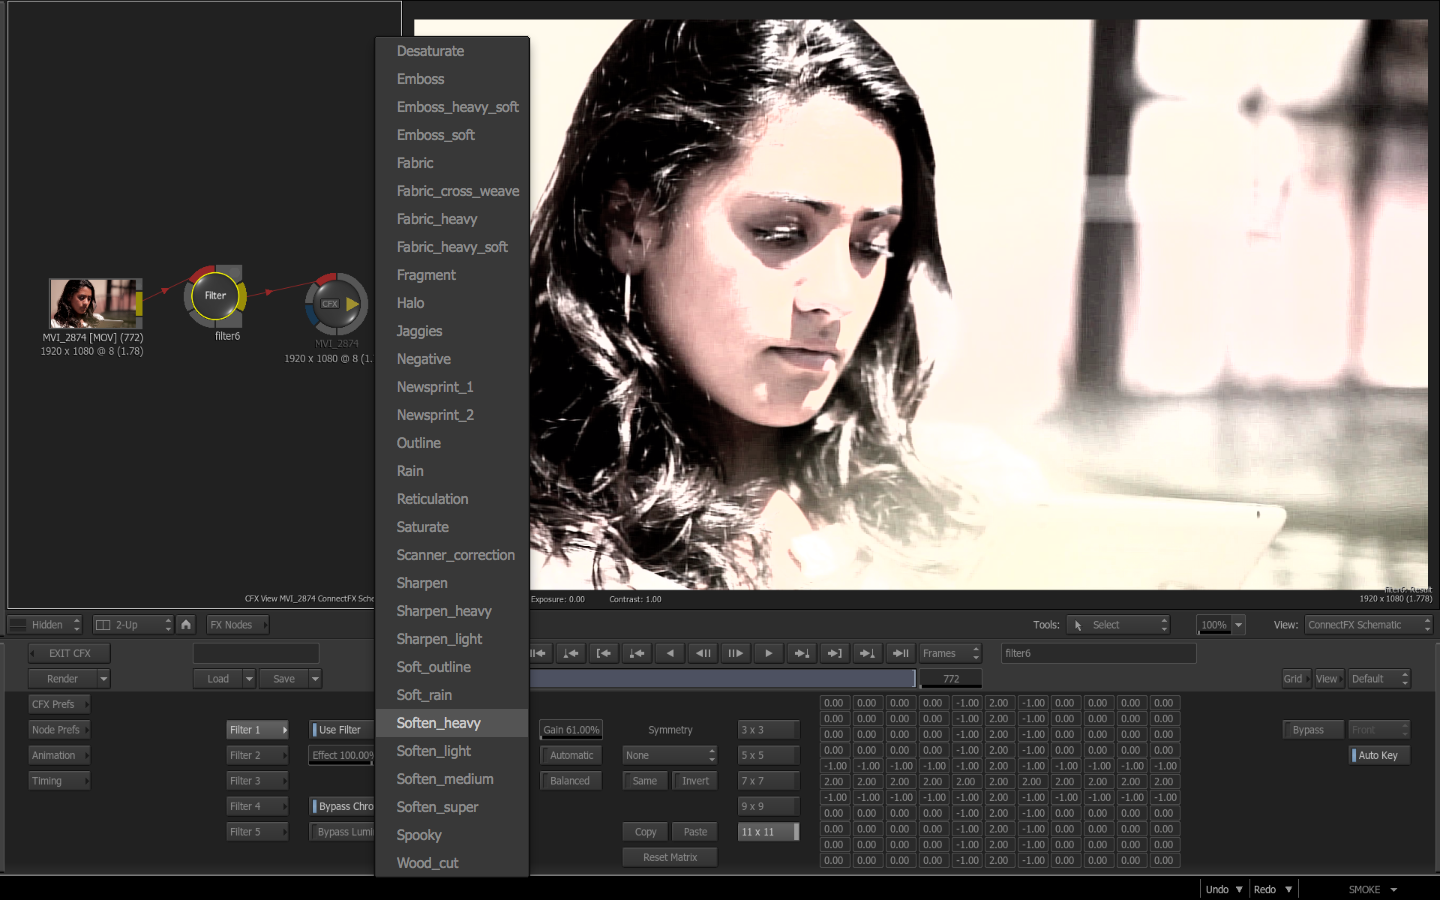
To be honest, this type of image processing was great in the 1990’s, but it has long since been practical. Smoke’s other nodes like Blur, Glow, & Bump Displace are tools built in the modern era. I am sure some old school users relied heavily on this node in the past, but not anymore. It’s my guess that this is a node you won’t ever use. If you are mathematically inclined, you may find more creative uses as you can define your own pixel comparison matrices. If you look through the presets you can find a few of the settings that still produce a unique look. Check them out and see if you can find some use for them. When dealing with softer video shot with DSLR and compressed to H.264, I do find the Sharpen Filter does do a nice job of making the edges crisper.
[Click for larger image]
Follow all of our coverage of the new Autodesk Smoke. Please let me know your Smoke questions/thoughts/experiences in the comments!


