
Video Editing Quick Tip: Stack Timelines in Premiere Pro

Knowing how to stack timelines in Premiere Pro can really expedite your video editing workflow. Here’s how it’s done.
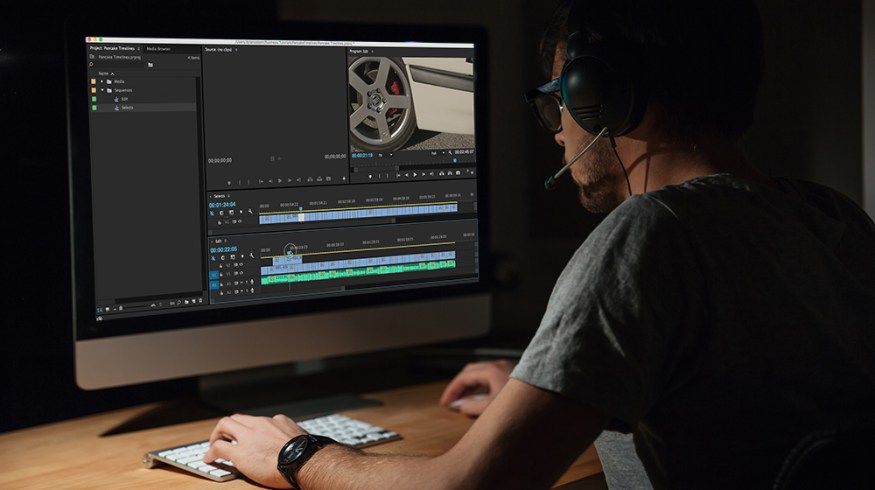
Top image via Shutterstock
Premiere Pro provides the ability to stack (aka “pancake“) timelines on top of each other. This simplifies the act of moving sequences and clips back and forth in a seamless “drag and drop” and benefits you by stopping interruptions to the flow of your edit.
Below, Dylan Osborn provides an excellent walkthrough of the steps needed to stack timelines in Premiere Pro. The tutorial also dives into how you can edit clips from one sequence to another instead of copying and pasting. (After the video, we’ll go through the process step-by-step.)
1. Drag Edited Sequence

To begin, drag the edited sequence you wish to pull from over to your source monitor.
2. Open in Timeline

Click on the Source Monitors Settings and hit Open Sequence in Timeline. This will open the sequence and move your Project Timeline over.
3. Drag and Drop

Finally, simply click and hold on the Source Monitor tab and drag/drop it on top of your project timeline! Voilà!
Have multiple timelines helped you in the past? Share your experiences in the comments below!


