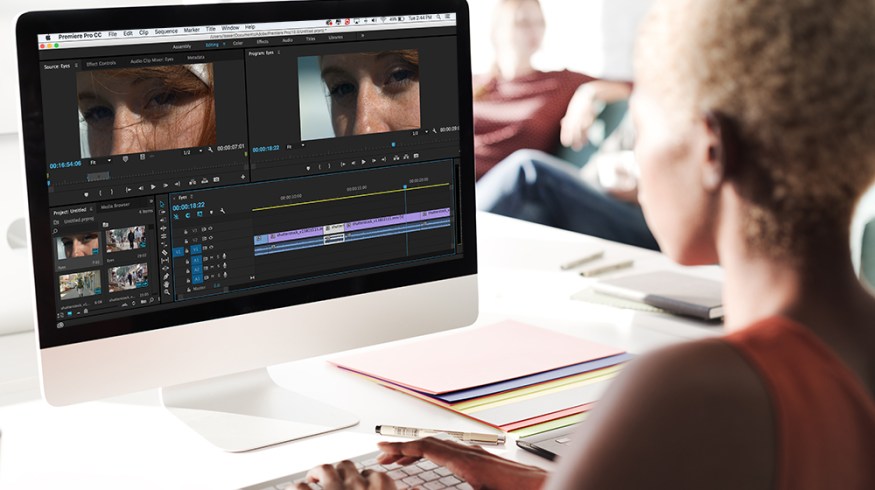
Video Editing Quick Tip: Swapping Clips in Premiere Pro
Swapping clips in Premiere Pro is exceptionally easy and quick thanks to this helpful shortcut.
Ready for the easiest quick tip ever? The Swap Clip feature in Premiere Pro is as useful as it is simple and easy to remember. For the times when you’d like to move a clip to different place in your timeline without leaving empty gaps, this shortcut places the clip where you want and fills in the space you left empty.
How to Swap Clips in Premiere Pro
1. Choose the Intended Clip

First, just find the clip you wish to relocate.
2. Swap the Clip

Next, hold down Command+Option (or Control+Alt for PC) and drag the clip to where you’d like and drop it down. You’ll see the rest of your work move over and fill in the left-open space. As you can see, the space where the clip was previously is now filled by the clips before it that have been pushed back in the timeline. It’s magical, don’t you think?
This quick tip is easy and practical for your workflow when doing any type of work in Adobe Premiere. Check out our previous post — How to Trim Clips to the Playhead — for another quick blast of timeline knowledge.
Know of any other quick shortcuts for moving clips around in Premiere Pro? Share in the comments below!


