

10 Time Saving Tips for Video Editing in Premiere Pro CC

These tips will save you time and you get up to speed quickly with the changes and new features in Premiere Pro CC!
More and more editors are checking out Premiere Pro and the new version has a lot to offer former FCP & Media Composer editors. In this post, I share my 10 favorite Premiere Pro Creative Cloud tips that will get you up to speed editing in Premiere Pro.
For more Premiere Pro quick tips, check out my previous post on 10 Premiere Pro Tips for FCP Editors.
Premiere Pro CC will be available June 2013 via Adobe’s Creative Cloud.
Project & Scratch Disk Changes
You can now change the location of your Auto Save folder to anywhere on your computer or external HD. Under the Scratch Disk tab assign your “Auto Save Folder” where you’d like.
Click image for larger view:
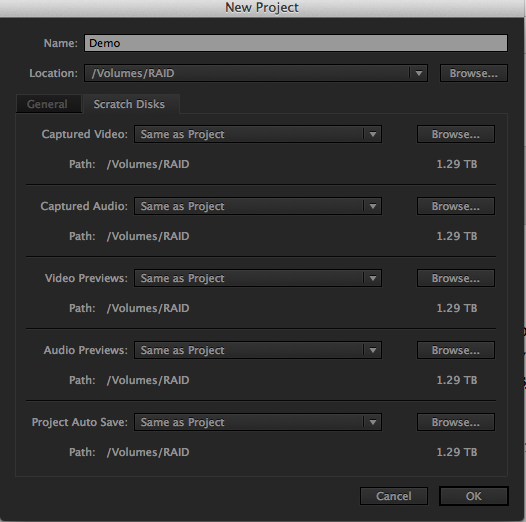
Make your desired changes, click OK and Premiere Pro CC will launch. Previously this opened a “New Sequence” window. However, this new approach seems a more streamlined way of setting up your video editing projects and less intimidating to new users.
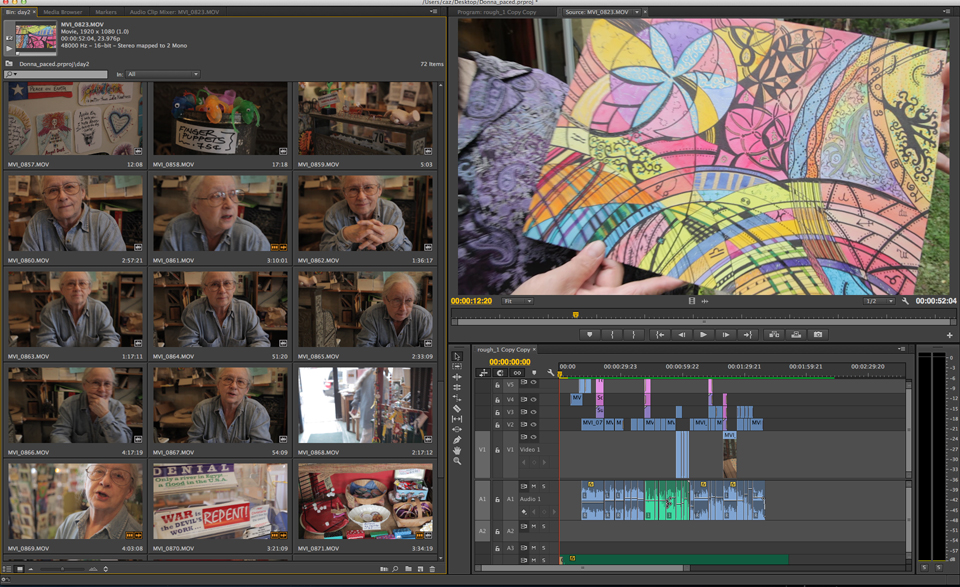
Assembly Workspace
Premiere Pro CC adds the new Assembly Workspace. This is a workspace layout that has a large Project area with the Program & Source Monitors sharing space. This is a handy workspace if you like to use Premiere Pro’s Hover Scrub, then set In & Out and use shortcuts to quickly Insert or Overwrite edit.
As the name suggests, this workspace is designed for quickly creating a rough cut in Premiere Pro.
Click image for larger view:
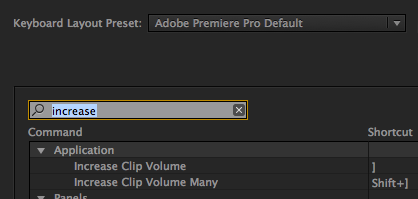
Increase Clip Volume
Modifying clip audio levels was one of my most used shortcuts when I used Final Cut Pro 7.
Premiere Pro CC adds shortcuts for increasing the volume of one clip or selected clips. This is a big addition, as I often want to quickly raise or lower the volume for clips.
The shortcut for adjusting audio levels on clips in the timeline is left bracket “[“ for decrease and right bracket “]” for increase.
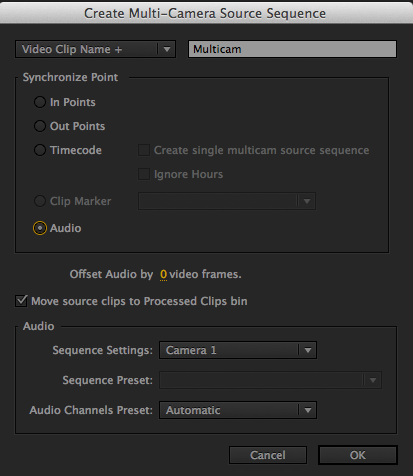
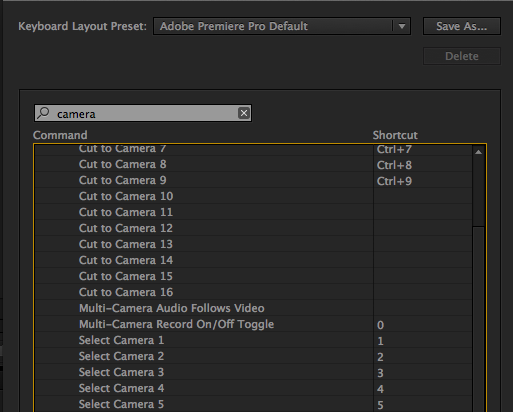
Improved Multicam
Their are several new time saving multicam features in Premiere Pro CC. Andrew Devis covers the new features in more detail here.
In Premiere Pro CC you can mix different media, frame rate and sample rates. You have the new option of “sync to audio” which is handy if you have audio from a separate audio recorder that you want to sync to video clips (the video clips need audio). This gives you some of the features of Red Giant’s PluralEyes without needing a plugin. There are shortcuts for multicam and you can add additional ones as needed.
Click images for larger view:
CUDA and OpenCL GPU support
The list of supported video cards has increased, which gives you more choices for GPU acceleration.
This is big, as having a supported card offers noticeable performance improvement.
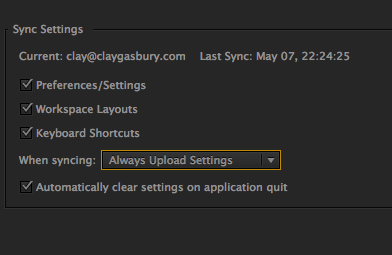
Sync Settings
I previously mentioned the new Premiere Pro sync settings here, but it is a big enough feature to mention again. This lets you sync custom settings/presets/layouts to the cloud and access them from anywhere.The sync settings can be found on the Welcome Screen, in Preferences and from the Premiere Pro Menu (File Menu on PC).
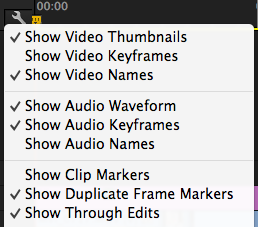
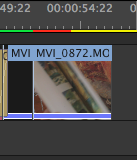
Add Edit & Duplicate Frames
You can access settings for “Show Through Edits” & “Show Duplicate Frame Markers” from the wrench (the Timeline Display Settings in the Sequence).
Now you can choose to see through edits (from using add edit or the razor tool) and duplicate frames when you have used part of a clip multiple times. I used this often in Final Cut Pro and it is nice to have this option in Premiere Pro CC.
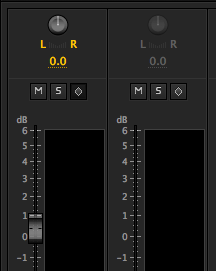
Write Keyframes in Audio Clip Mixer
Premiere Pro CC adds a Clip Audio Mixer to make working with clip audio easier. They also add the ability to record audio keyframes by selecting the “write keyframes” button. Click the button and then move the Fader to record keyframes while the clip is playing. There is a Preference for thinning out keyframes so you can then modify them as needed.

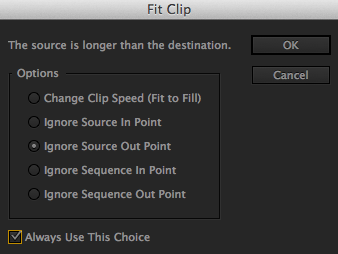
Fit Clip
Previously in Premiere Pro, when you had In & Out points in both the Source & Program, you got a dialog box that asked what In &Out points you wanted to use. This was confusing to FCP users as its behavior was to ignore the Out in the Source. Now Premiere Pro gives you the option to remember your choice so you only see the “Fit Clip” dialog once.
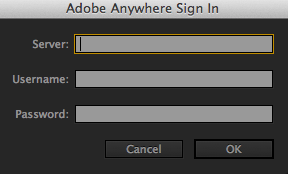
Adobe Anywhere Integration
Adobe Anywhere is Adobe’s enterprise collaborative workflow platform.
Designed for teams it works on standard networks and doesn’t require proprietary hardware.
Team members work with files on a shared server that doesn’t require downloading.
This could be a game changer for those that need to work remotely with other team members.
Will you be using Premiere Pro CC for video editing?
Share your thoughts/experiences in the comments below!


