Video Tutorial: 5 Ways to Use Markers in Premiere Pro
Make your video editing projects infinitely more manageable by utilizing markers in Premiere Pro. Here’s how to go about it.
Markers in Premiere Pro are among the best tools available for video editors working in Adobe’s NLE. Versatile, easy to use, and exceptionally handy, markers are perfect for workflow optimization. In the video tutorial below, we’ll look at five ways to incorporate them today. (If you’re more of a reader, we’ve broken down the points after the clip.)
1. Label
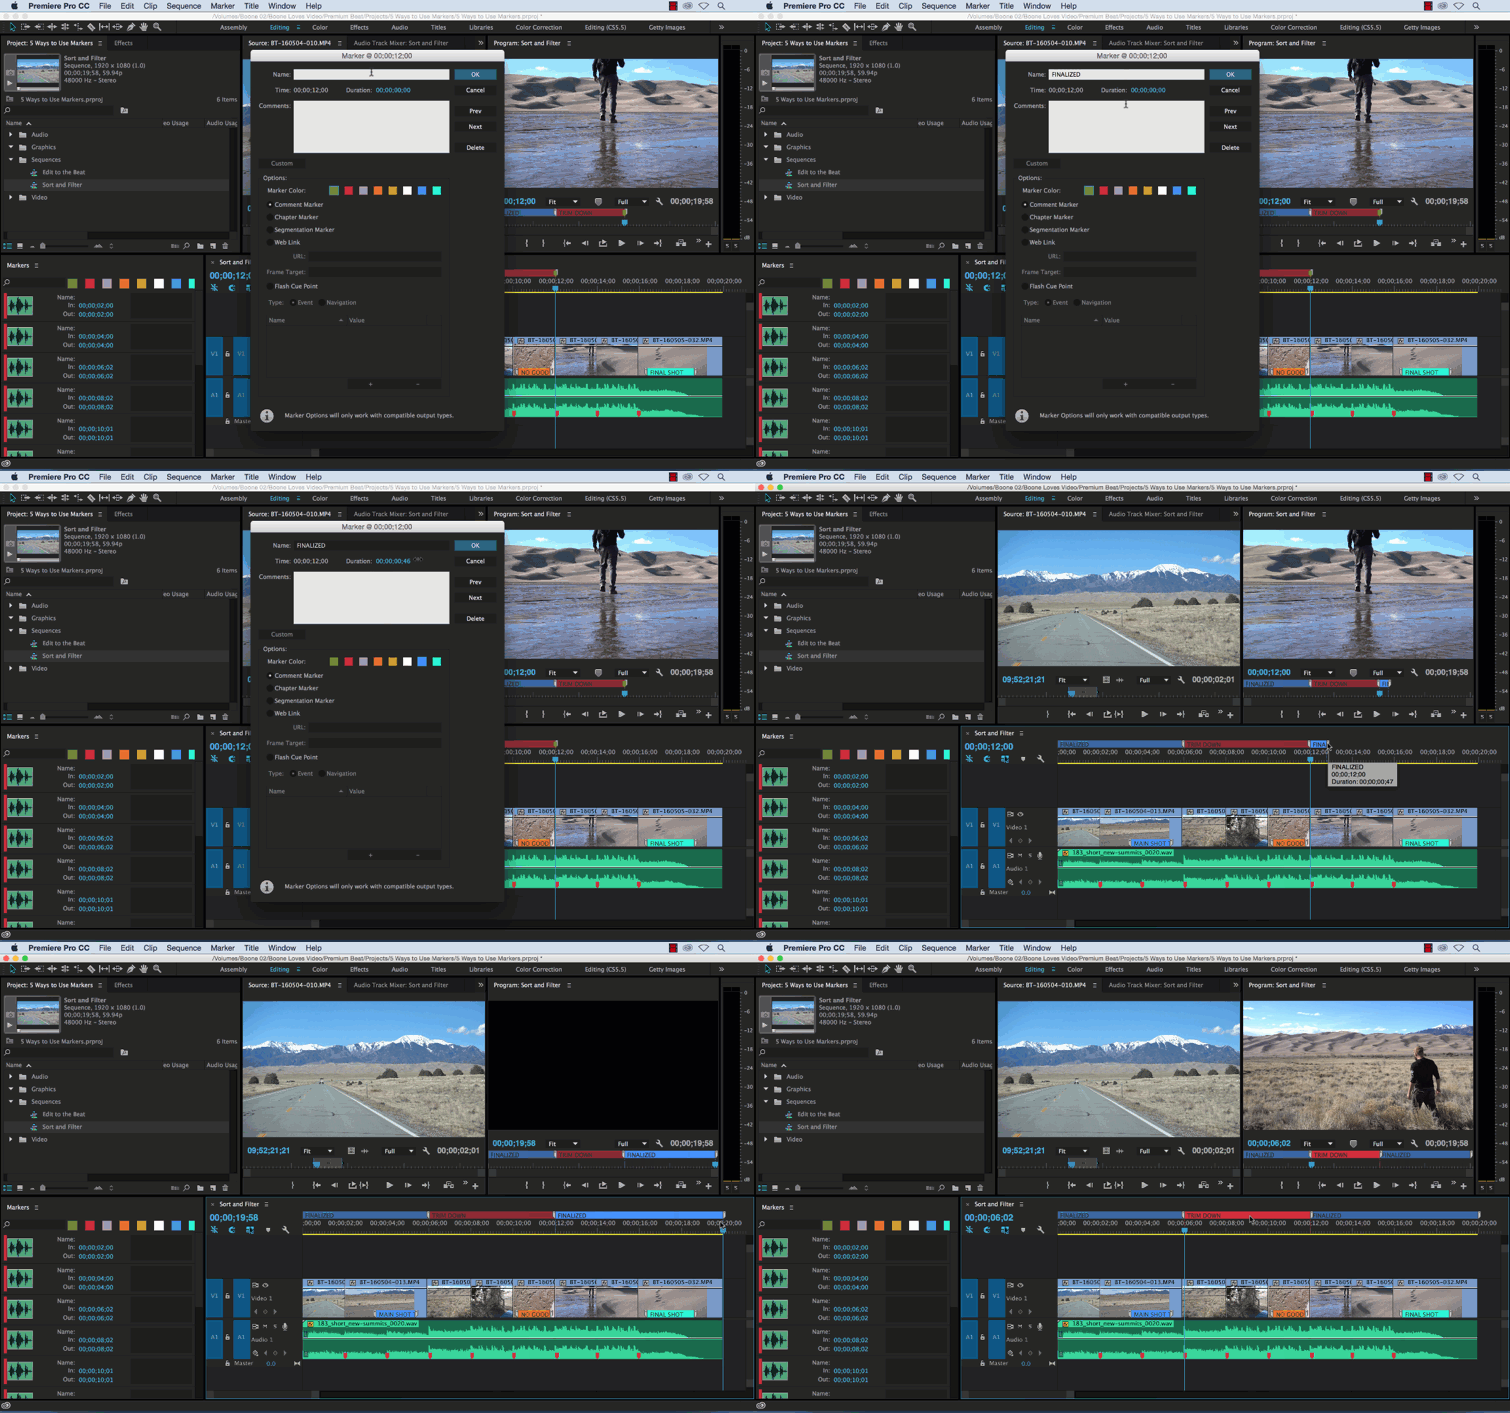
Utilize both timeline and clip markers to add color, text, and descriptions to your timeline. Labeling with markers helps you quickly visualize what’s going on throughout the edit. It is especially useful if you’re passing along the project to another editor. A person taking over your edit can quickly see what’s going on with proper labeling throughout the timeline. You can even give them specific instructions through marker titles and descriptions.
2. Navigate
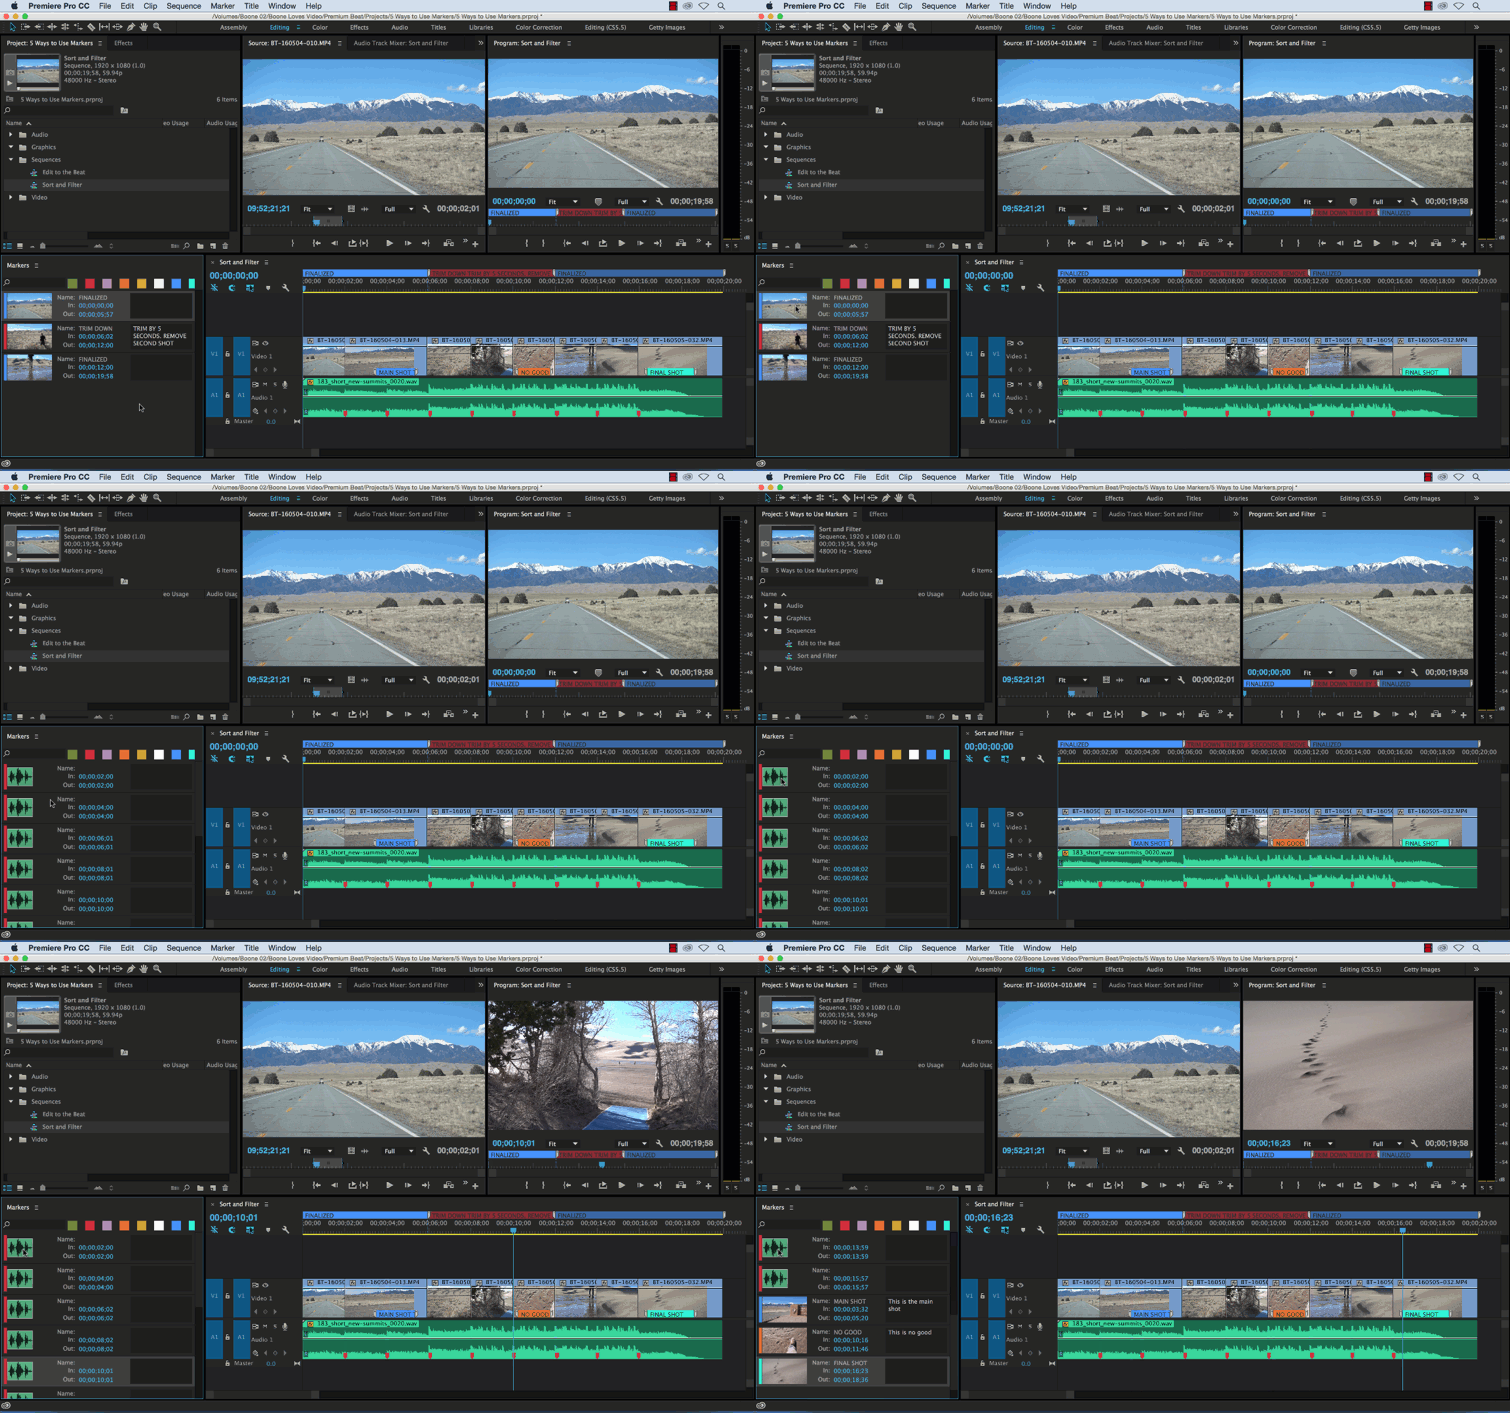
Quickly make your way around the timeline by using the Markers Panel. To jump between markers, select a marker in the Markers Panel and press the up and down arrow keys. The playhead will move on the timeline to the selected markers. You can specify if you want to show all clip markers or just the timeline markers by making adjustments in the Markers Panel drop-down menu.
3. Sort and Filter
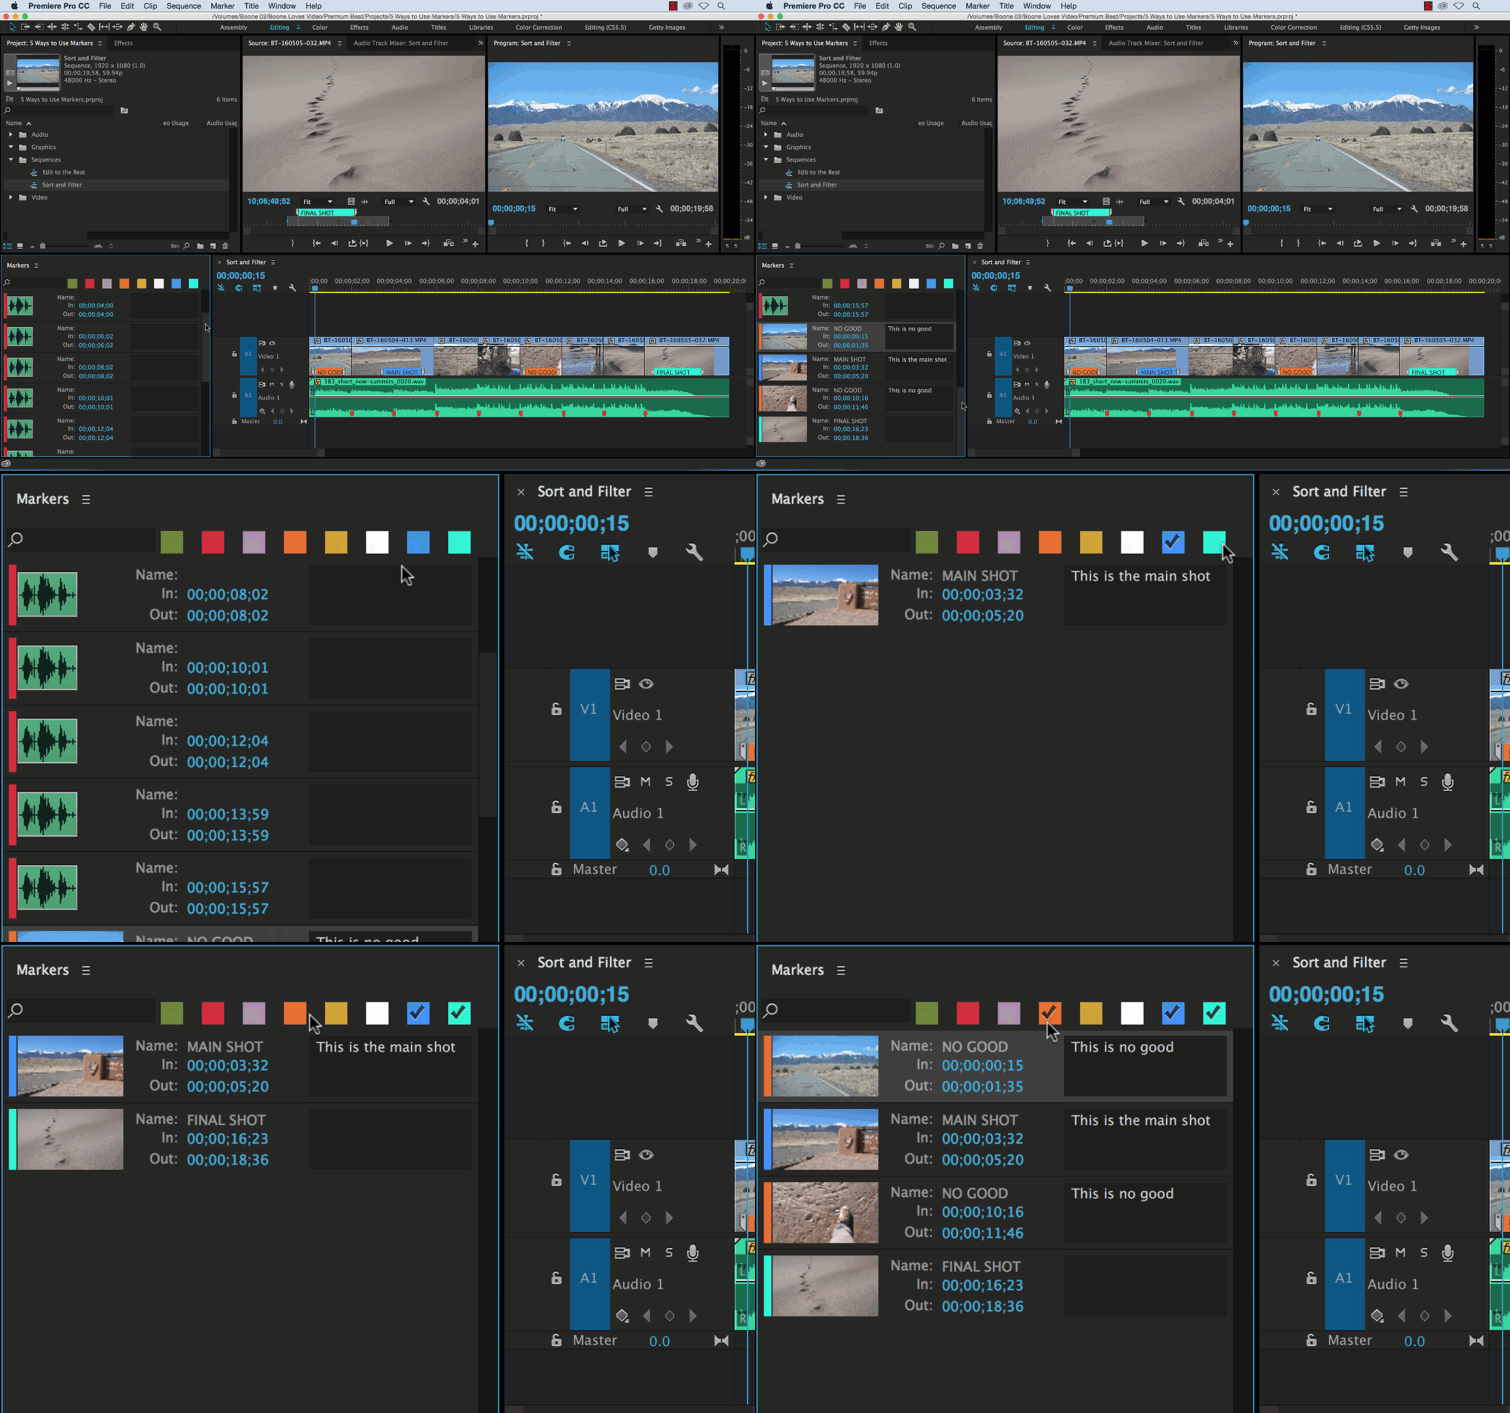
If you use color schemes while adding markers throughout your timeline, you can quickly sort and filter your markers by color in the Markers Panel. You can use colors to mark good b-roll takes or interview sound bites and then quickly sort, filter, and jump between good selects all on one timeline in the Markers Panel.
4. Synchronize
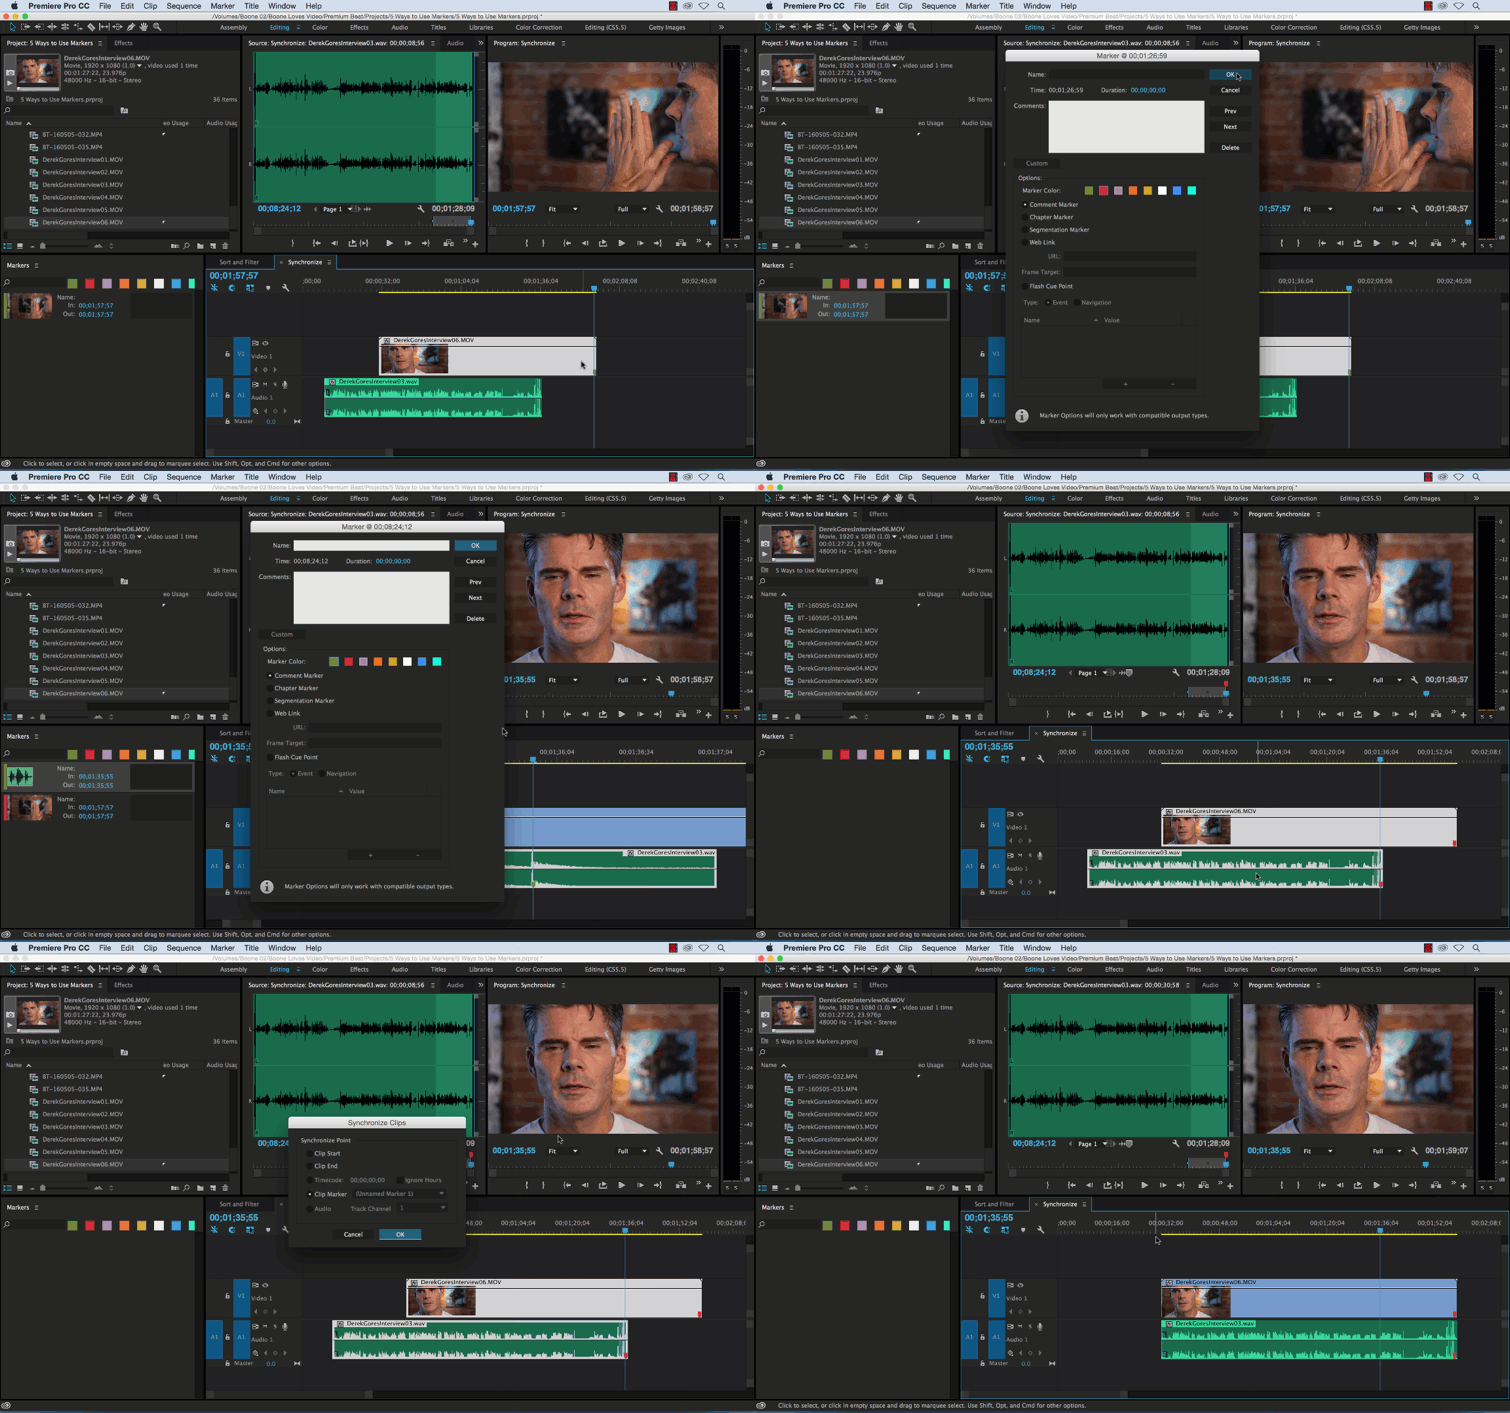
If you’re having problems syncing up audio and video, try using markers. If you have audio and video where an interviewee clapped, simply add a marker to the audio hit and the visual clap. Then Synchronize with clip markers.
5. Edit to the Beat
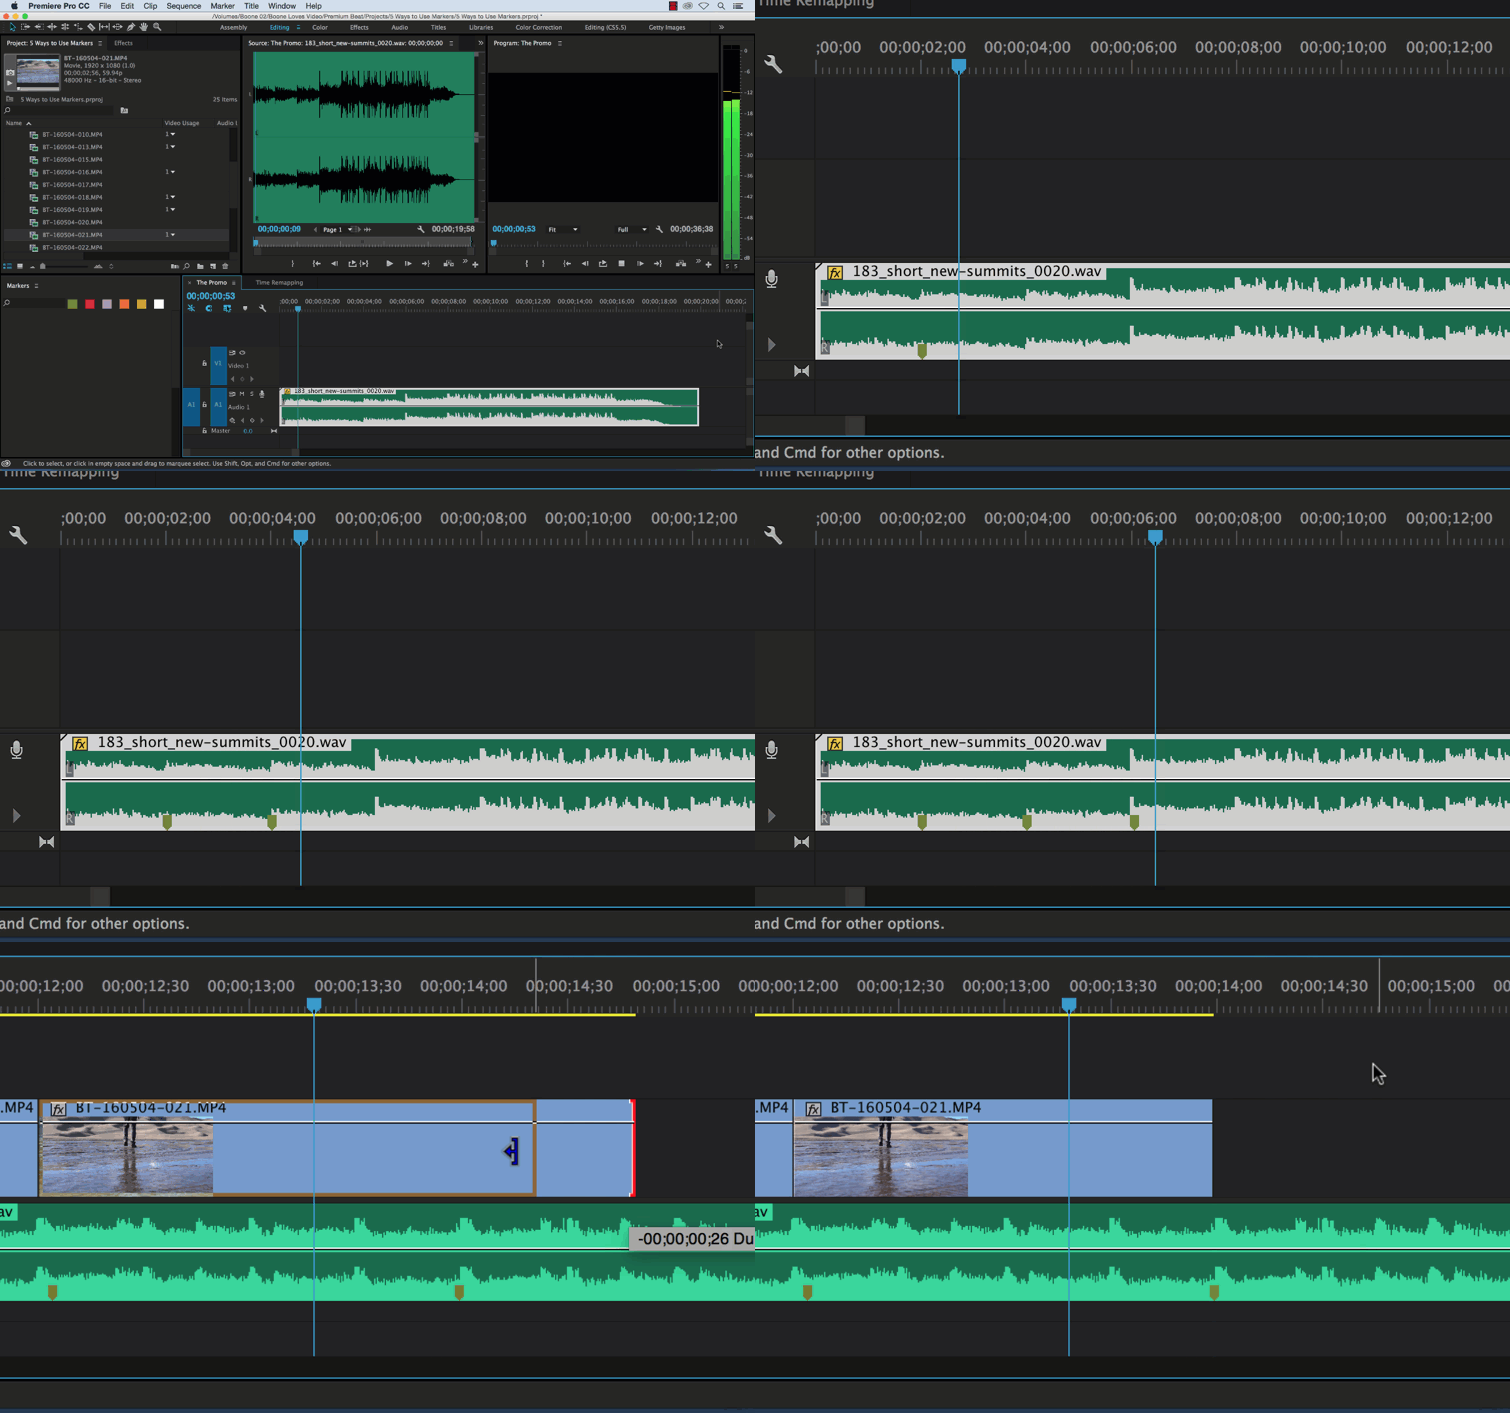
Adding markers to a music track can help you quickly edit your video to the beat. To add markers, simply select the music track, play it back, and add markers on the fly by pressing the M key. I usually tap my foot or count out loud to add markers at distinct intervals. Once I have markers on my music track, I can quickly edit video to the beat by snapping my In and Out points to the audio markers. I can also match action by adding another marker at the point of action on the video clip and then snapping that to a marker in the music track.
How do you use markers in your Premiere Pro workflow? Share your tips in the comments below.


