
How to Animate a Text Stroke in Adobe After Effects

In this video tutorial, learn how to create a customized animated stroke effect in After Effects for your next video production project.
When it comes to working with text, the stroke can be a powerful design element. Adobe After Effects has a number of tools that allow you to quickly add and modify a text stroke. These tools, however, are often lacking something. The Character panel gives you color, width, and positioning options, but not much else. Animating attributes of a stroke can be a bit more complex, so let’s take a closer look at a unique method that will bring a text stroke to life in just a few simple steps.
Step 1: Create the Text Layer
For the first step, I will create some text. I can use the Type tool and start typing, or I can highlight the Timeline panel and select Layer > New > Text. An After Effects text layer is a simple vector file, meaning the layer will continuously rasterize as I change the scale or font size. This will preserve the sharp edges of my text no matter how many adjustments I make.

Step 2: Convert to Shapes
Next, I will convert my text to shapes. While After Effects has a lot of tools for text, shape layers provide a bit more versatility. By converting my text to shape layers, I’ll open up a number of animation features that weren’t previously available. To create my shapes, I’ll grab the text layer and select Layer > Create Shapes from Text. You can tell the difference between Shapes and Text layers via the symbol next to the layer’s name in the Timeline panel. Shapes have a star, while text layers have a T.

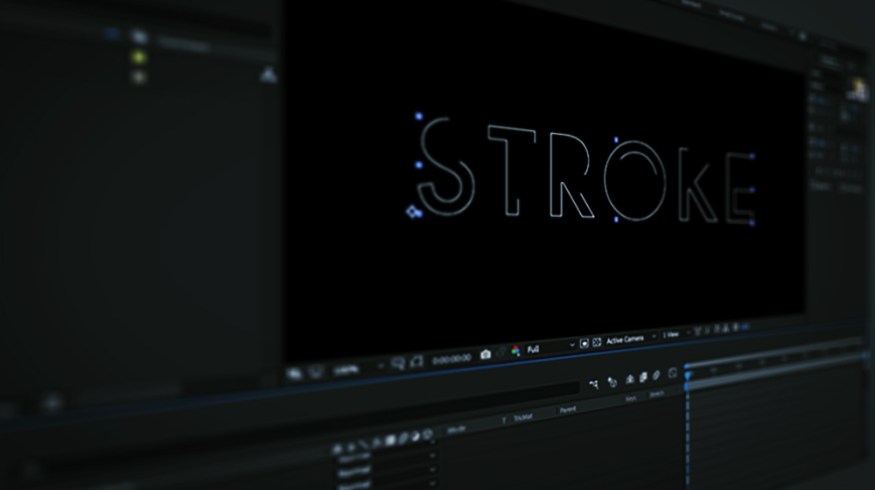
Step 3: Add the Stroke
My new shape layer contains every letter as an individual shape element, each with its own path, stroke, fill, and transform properties. While all of the letters have their own stroke attribute, I want to control all of them at the same time. To do this, I need to add a new stroke attribute. I’ll go to the Add button and select Stroke. This adds a new stroke that applies to the entire word. Since I’m just creating an isolated animated stroke, I’ll turn off the fill property for each letter.

Step 4: Animate
It’s time to bring the stroke to life. The new stroke attribute contains a number of keyframable properties, including color, opacity, width, and a handful of others. However, I just want to animate the path of the stroke in and out. To do this, I’ll add a Trim Paths attribute via the Add button in the Timeline panel. This is a powerful tool that provides me with a keyframable range selector. Once applied, I can animate the Start, End, and Offset properties of the stroke path for some cool results.

Step 5: Customize Design
In addition to fine-tuning the animation, I can adjust a plethora of stroke attributes to customize the design, including color and width. Changing the stroke cap and joints can give me a smoother and curvier look. I can even change the stroke to dashes and keyframe the offset property of the dashes to bring them to life. Be careful here, though, as the multitude of choices can lead to way too much fun in After Effects . . .


Looking for more After Effects Tutorials? Check out these articles.


