
Archive Your Project With the Premiere Pro Project Manager

Learn how to archive and share your projects with the helpful Adobe Premiere Pro Project Manager.
You can do a lot with Adobe Premiere’s Project Manager. You can easily collect and copy all of your assets to pass off to a client or a fellow editor, or consolidate one of your projects to save space on a full hard drive. Whatever the situation, the Project Manager is a helpful tool. Let’s take a closer look at the various features of the Premiere Pro Project Manager by going step by step through the process of saving a project to share with another editor.
Step 1: Choose Your Sequence(s)

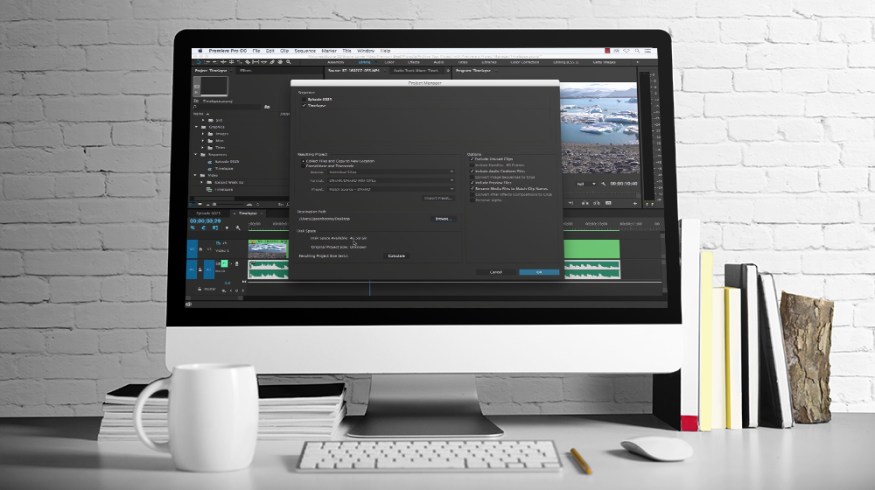
You can find the Project Manager at the bottom of the File menu. First, at the top of the Project Manager dialog box you’ll notice the Sequences area, where you can specify individual sequences you would like to include in your archive.
Let’s say we’re archiving this project for another editor, and they only want to work on our Timelapse sequence, which consists of one video and one audio clip. Simply select the Timelapse sequence and deselect all others.
Step 2: Select How to Manage the Resulting Project

You have two options under the resulting project section — you can Collect Files and Copy to a New Location, or you can Consolidate and Transcode. I want to hand off all of the assets in their original format, so I’ll select the Collect Files and Copy to a New Location option.
With Consolidate and Transcode, you can choose to actually render out your original content to a new format. You can transcode Sequences or Individual Clips, and you have a variety of different format and preset options available to you when going this route. But again, we’ll stick with the Collect Files and Copy to a New Location option.
Step 3: Customize Your Options

The Project Manager offers you a number of options when archiving your projects.
Exclude Unused Clips: Use this feature when you only want to include the media used in your selected sequences.
Include Handles: When utilizing the Consolidate and Transcode option, you can choose to include frame handles on each clip which will provide room to add transitions or retime clips.
Include Audio Conform Files: You can choose to include audio conform files or just re-conform them later on.
Convert Image Sequences to Clips: A nice feature, the Project Manager can instantly convert image sequences to clips.
Include Preview Files: You can choose to include preview files, or re-render them from your archived project.
Rename Media Files to Match Clip Names: If you’ve spent time renaming clips in your project, it’s nice to be able to change the name for your archived project.
Convert After Effects Compositions to Clips: If you choose to Consolidate and Transcode, you can have the Project Manager convert After Effects comps to clips.
Preserve Alpha: Another feature available with the Consolidate and Transcode method, preserving alpha is important if you’re passing a project on to another editor or if you’d like to make changes in the future.
Step 4: Destination Path and Disk Space

Our final step includes selecting a location for our archived project. After you select a destination, the Project Manager will show you the disk space available. You can click on Calculate to find out the estimated size of your archived project, as well as the size of the original project.
After you’ve finished the archive, open up your Premiere Pro project file in the archive and take a look. Make sure you have everything you need before you hand anything off or go deleting original projects.
I hope you enjoyed the tutorial, and be sure to check out PremiumBeat for high-quality royalty free music and sound effects for all of your media and video projects.
Got any helpful Premiere Pro workflow tips? Please share them in the comments below!


