Audio Automation Can Save You Hours in Premiere Pro
Make audio editing a breeze with automation modes in Premiere’s audio track mixer panel.
Top image via Shutterstock.
Working with automation modes is a somewhat advanced topic. Let’s go over a few of the fundamentals of working with audio in Adobe Premiere Pro, and then dive into the five different automation modes.
The Fundamentals
Each channel in the Audio Track Mixer corresponds to an audio track in the timeline. If I change the name at the bottom of a channel in the mixer panel, it will change in the corresponding track of the timeline.
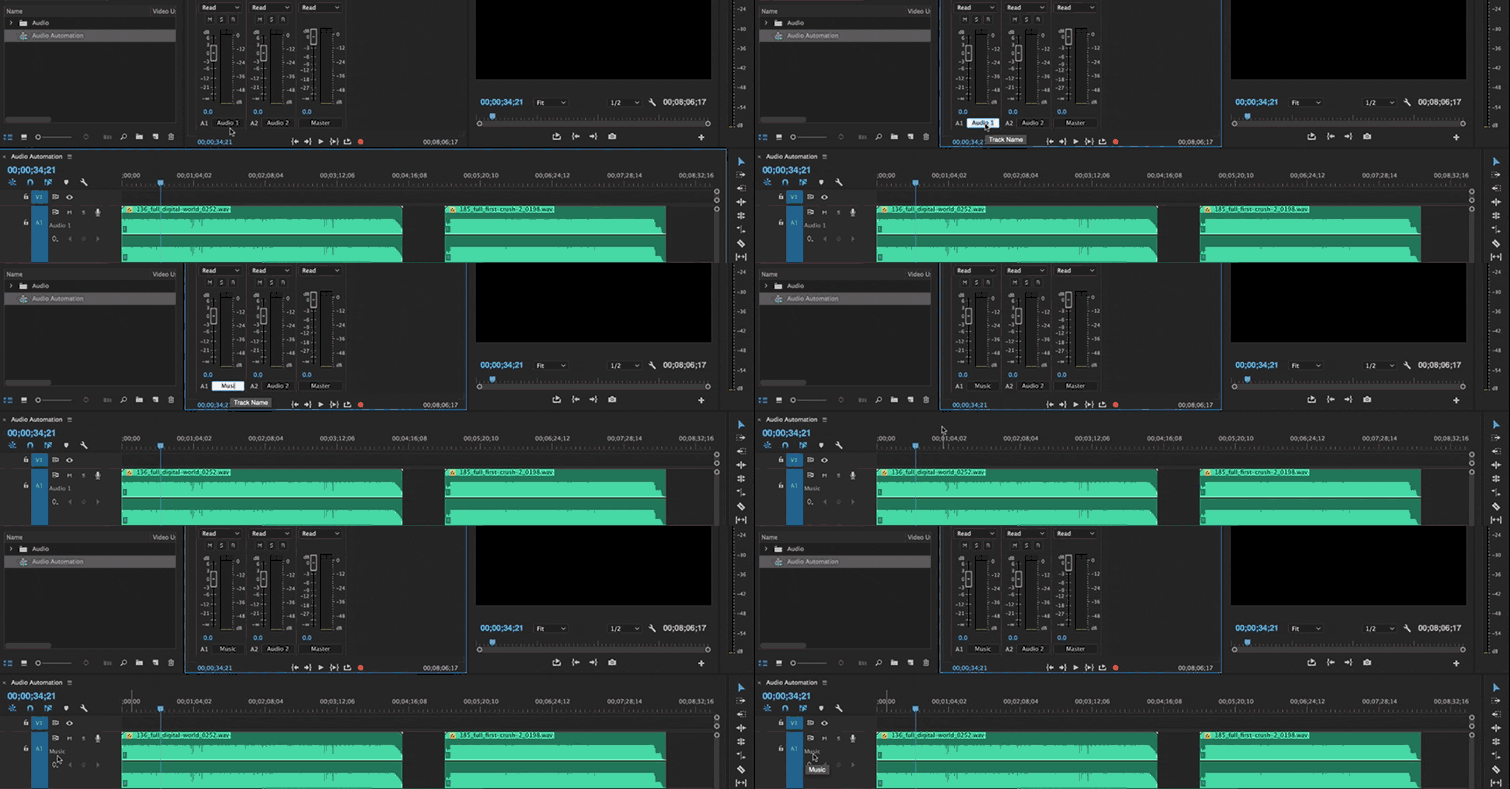
The automation modes drop-down menu is located at the top of the fader bars in the Audio Track Mixer panel. You have five different automation modes to choose from.
Three of the five automation modes in the Audio Track Mixer record changes on the fly. Premiere records these changes as track keyframes in the audio tracks — it doesn’t make changes to the source clips themselves. It’s important to understand the difference between clip and track keyframes. I can switch between clip and track keyframe view in the audio header area of the timeline panel.
Now that we’ve covered some of the basics, let’s take a closer look at each automation mode in more detail.
Off
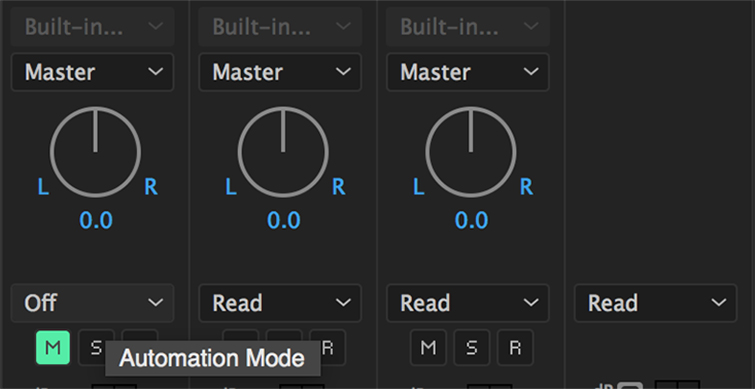
When set to Off, Premiere ignores the track’s stored settings during playback. Off enables real-time use of the Audio Track Mixer controls without interference from existing keyframes. However, Premiere does not record changes to the audio track in Off mode.
Read
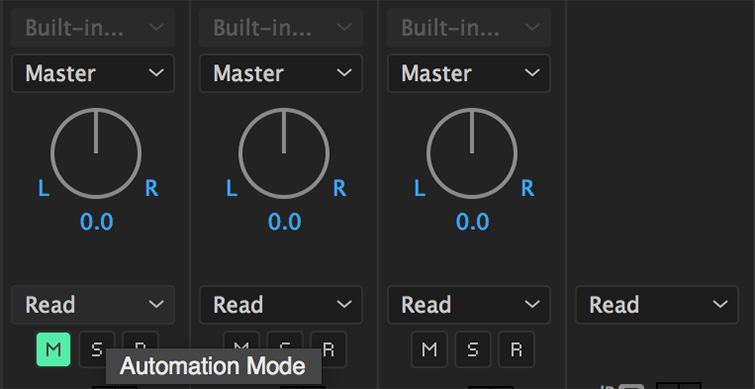
The Read mode is the default automation mode. It reads the track’s keyframes and uses them to control the track during playback. If a track has no keyframes, adjusting a track option (such as volume) affects the entire track uniformly. If you adjust an option for a track that’s set to Read automation, the option returns to its former value (before the current automated changes) when you stop adjusting it. The Automatch Time preference determines the rate of return.
Write
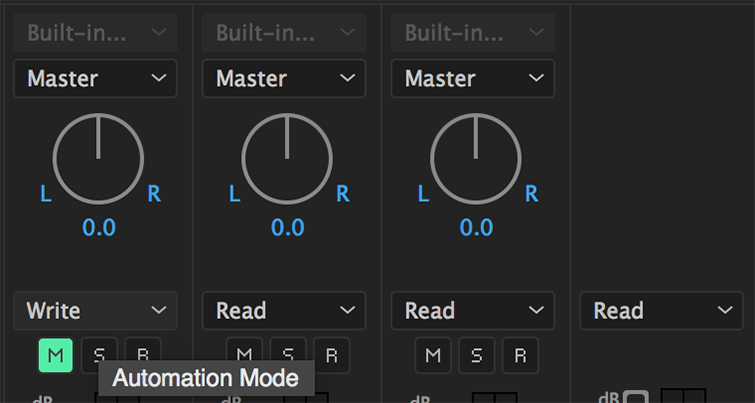
Write mode records adjustments you make to any automatable track settings that aren’t set to Safe During Write, and creates corresponding track keyframes in the timeline panel. Write mode writes automation as soon as playback starts without waiting for a setting to change. You can modify this behavior by choosing the Switch To Touch After Write command from the Audio Track Mixer menu. With this command selected, Premiere will automatically switch the automation mode from Write to Touch after playback stops.
Touch
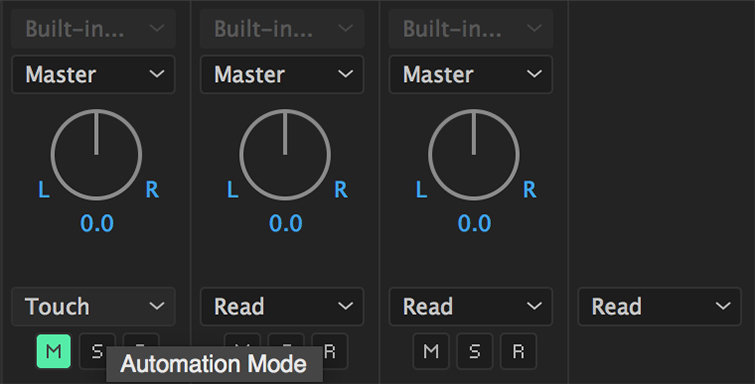
This mode is similar to Write, except that automation doesn’t start until you begin adjusting a property. When you stop adjusting a property, its option settings return to their previous state before the current automated changes. The Automatch Time audio preference determines the rate of return.
Latch
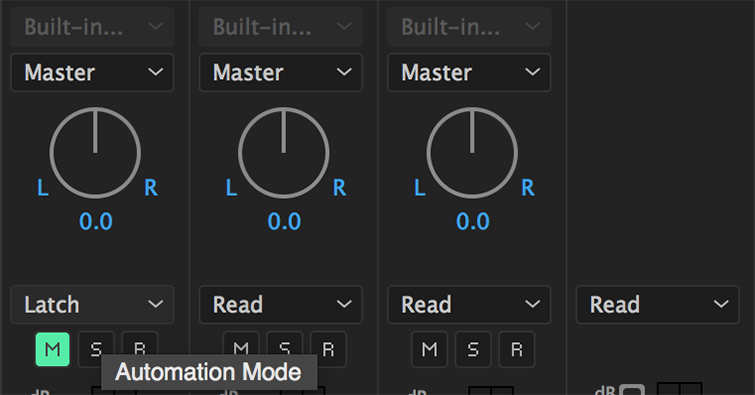
The Latch mode is also similar to Write, except that automation doesn’t start until you begin adjusting a property. The initial property settings come from the previous adjustment.
Note: Change the Automation Keyframe Optimization preference to minimize the number of keyframes. If you’ve ever gone back and tried to edit audio keyframes created in an automation mode, you’ll find that it’s nearly impossible due to the number of keyframes automation mode creates.
How do you prefer to edit audio in Premiere Pro? Let us know in the comments.


