Add Camera Shake With This Free Premiere Pro Preset
Give a little shake to your footage with these free Premiere Pro presets.
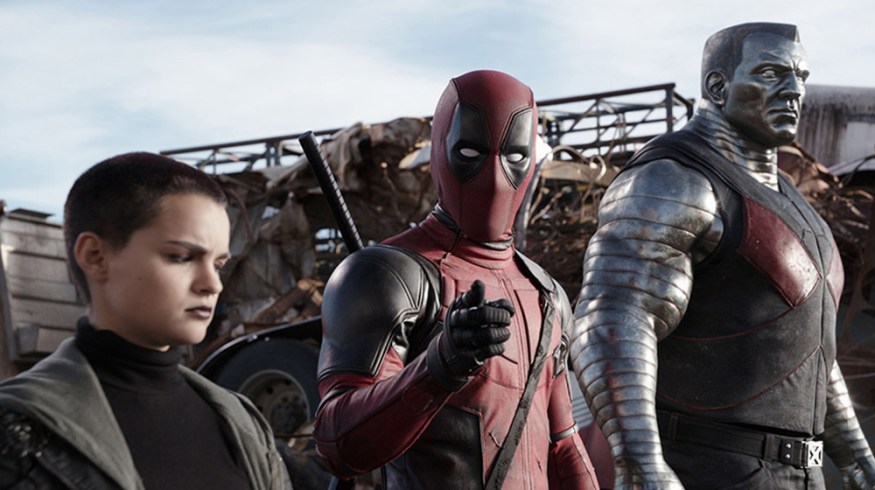
Top image Deadpool via 20th Century Fox
The built-in camera stabilizer within After Effects has become incredibly powerful over years of its operation. In 2011 it got even better when Warp Stabilizer feature was introduced. It very quickly became a favorite tool for those who could net yet afford tracking or stabilization equipment. Of course, stabilization tools do have their limitations. You cannot expect a handheld shot from camera operator who is running to be fixed in post.
But what if you need the opposite effect? What if you have stable footage and need to introduce camera shake? Can you do this within your NLE?
There could be a number of reasons you would want to do this. If the edit isn’t creating the emotion you want to convey, adding handheld movement to a static shot might help bring the scene to life.
Check the short film below, Apricot by Ben Briand, for an example of a static scene moving to handheld. Throughout the course of the dinner table conversation the shots are static and have fluid movement, but towards the end when Madeline becomes unsettled with the direction of the conversation the static cinematography switches to handheld to help convey her emotion. Camera movement can be a character itself.
Being able to add a camera shake leaves you two paths to travel down, whereas shooting handheld will likely only leave you with handheld footage. Remember, stabilizing footage only works to an extent.
There are several ways to achieve the camera shake. Andrew Kramer of Video Copilot covered a tutorial on introducing camera shake using the wiggle expression in After Effects. You’ll find the method of using the presets a lot faster and you are able to stay within Premiere Pro.
Camera Shake Presets Courtesy of Deadpool

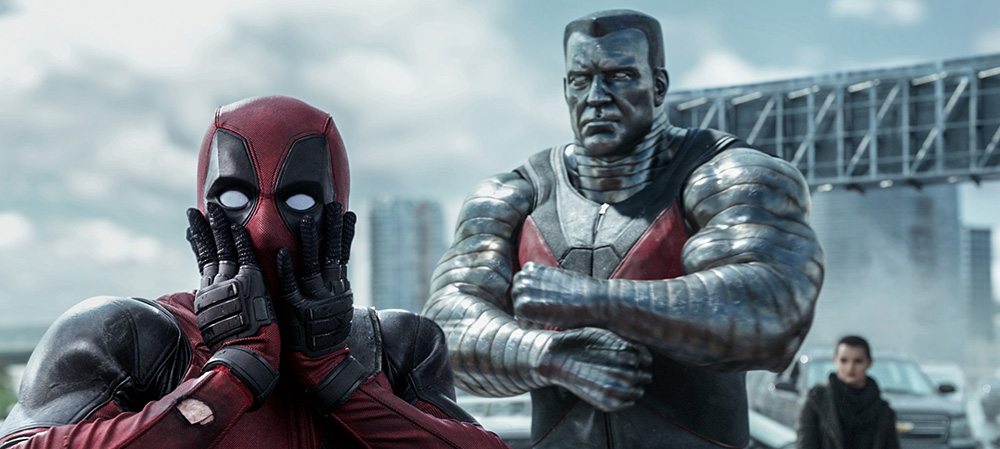
Image Deadpool via 20th Century Fox
Vashi Nedomansky, of vashivisuals.com, was hired as a consultant to work alongside Julian Clarke on the 20th Century Fox superhero production Deadpool. The film was cut on Premiere Pro, and although you can achieve a camera shake within Premiere by animating the key frames, that method is ineffective and slow and the team needed a real-time solution.
Vashi reached out to Jarle Leirpoll, an editor and founder of PremierePro.net, to see if he could create custom presets for the production. The result was seven fantastic Premiere Pro presets. Three presets can be used on footage with matching resolution, and the remaining presets are for sequences which incorporate oversized footage. As a side note, it is recommended to use the largest resolution available. That way you’re not upscaling footage if your output render is 1080p.
The presets were created by organically capturing handheld footage and converting the movement into thousands of keyframes. As Vashi puts it,
The difference between human and computer generated data may not look different viewing the keyframes… but there is an inherent honesty and palpable naturalness to ACTUAL human handheld movement compared to computer-generated randomness.
Here’s a quick demo of the presets in-action:
You can download the presets for FREE from Jarle’s website.
Other ways to Add Camera Shake
If you also happen to have After Effects, you can use these FREE Camera Shake presets from PremiumBeat. They are perfect for HD or 4K footage and look great with motion graphics too.
You can download the 15 free camera shake presets from PremiumBeat here.
How do you add in camera shake in post? Share you techniques in the comments below.


