
Cinema 4D Video Tutorial: Morphing Between Objects

Learn how to morph between two objects in this Cinema 4D video tutorial.
The ability to create smooth transitions between objects really makes your animation flow more naturally. Of course, getting this effect is easier said than done.
The following video tutorial was inspired by the award-winning People’s Car Project commercial that WeAreFlink made for Volkswagen. If you haven’t seen the video, check it out:
Typically, when you want to morph an object, you will actually use separate objects that morph together through a combination of motion blurs, frame blending techniques, and misdirection.
However, when you are trying to perform this action with slow morphing objects, it’s much more difficult because you can’t simply cover the edit points with fancy transitions. This is where the following video tutorial comes into play.

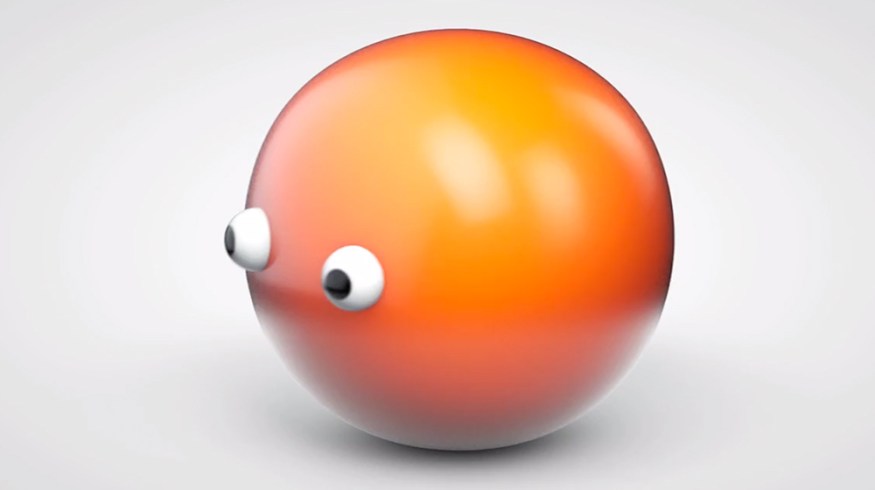
This video tutorial by Greyscalegorilla offers a glimpse into how to perform this action using effects and tools that are 100% native to Cinema 4D. The tutorial covers:
- Using the Spherify Tool
- The Pose Morph Effect
- Creating Metallic Textures
This video was first shared by Greyscalegorilla. Thanks for sharing, guys!
If you want to learn more about how to create this awesome effect, check out the corresponding blog post on Greyscalegorilla’s website.
Have any tips for morphing objects in Cinema 4D? Share in the comments below.


