
Take Control Of Your Transitions with The Effects Panel
Customizing transitions is essential for every video editor. Here’s what you need to know about Premiere’s Transition Effects Panel.
Cover image via Shutterstock.
The dissolve is one of my favorite transitions. It’s a timeless classic, although unfortunately, it is becoming more uncommon in contemporary cinema. Nonetheless, it’s a very easy transition to employ. If you want to use one in Premiere Pro CC, you very simply drag a cross dissolve/film dissolve from the effects library over to your edit point on the timeline. You can then click the end of the transition and drag it away from the edit point to extend (or decrease) the duration. Holding shift will extend only one side. The degree to which you can expand the transition depends on available coverage between the two clips.
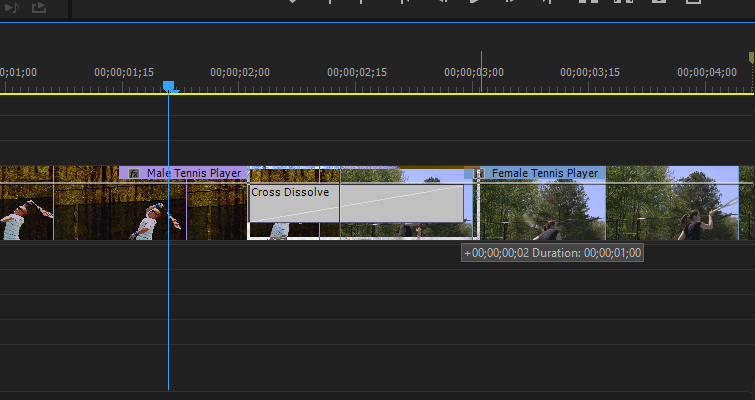
Applying a transition to an edit point is a pretty simple task. However, one thing that often gets missed in video tutorials and articles is the transition effects panel. If you’re a veteran Premiere user, I’m sure you know where this panel is and what it does, but if you’re fairly new to Premiere, and you’ve been searching for how to customize a transition, look no further.
The Steps
In Premiere Pro, when you apply an effect to a clip, it appears in the effects control panel here.
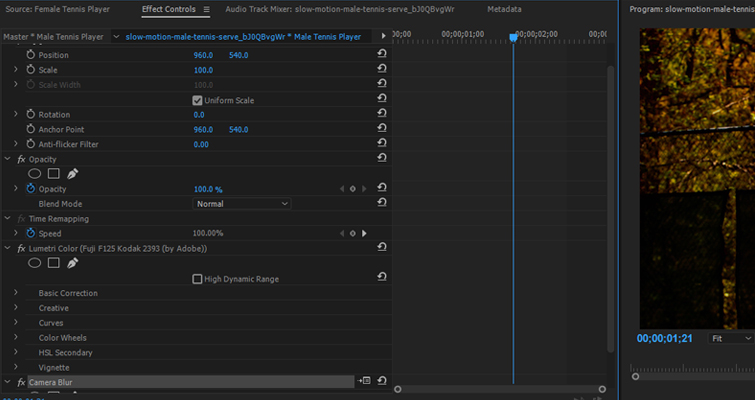
Although there is a cross dissolve on this clip, it doesn’t appear in the panel with the other effects. This is because a dissolve, or any transition, affects two clips. The customizable parameters don’t actually appear on the clip; rather, they appear in their own panel, which will appear when you click the transition itself.
Since most cross dissolves or transitions are simple, you don’t often need to do anything other than extend the duration. However, when you do need to customize specific elements of a dissolve, the transition effects panel is where you would do so.
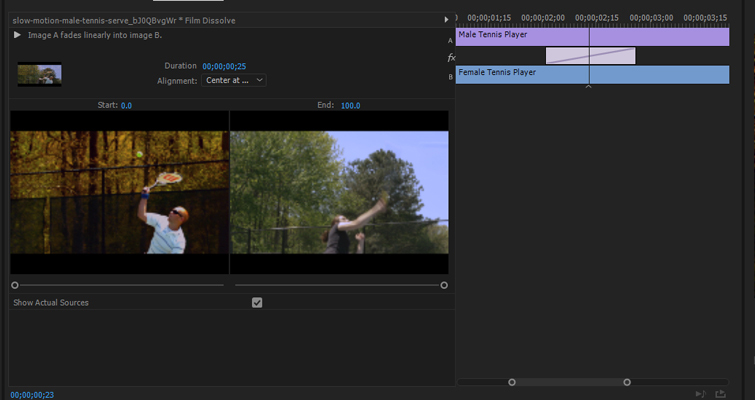
At the very top, there is a play button that will render a small preview of how the transition will look. In all honesty, this is completely redundant. The thumbnail preview is incredibly small, and since a dissolve isn’t that CPU intensive, it’s more efficient to just hit play on the timeline.
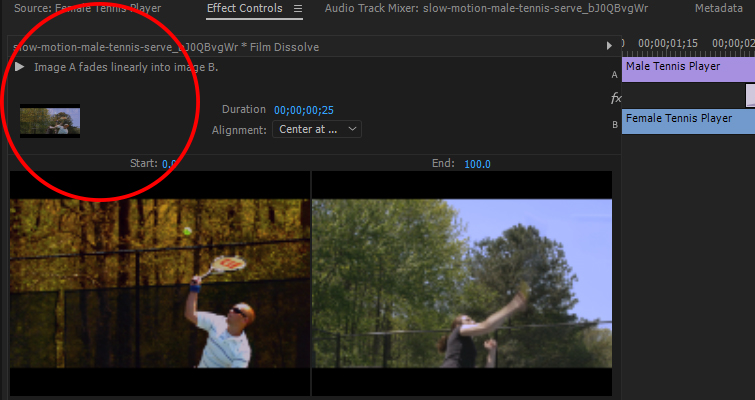
To the right, we see a duration input where you can increase and decrease the length of the dissolve. This is the same function you get on the timeline by double-clicking or right-clicking the transition.
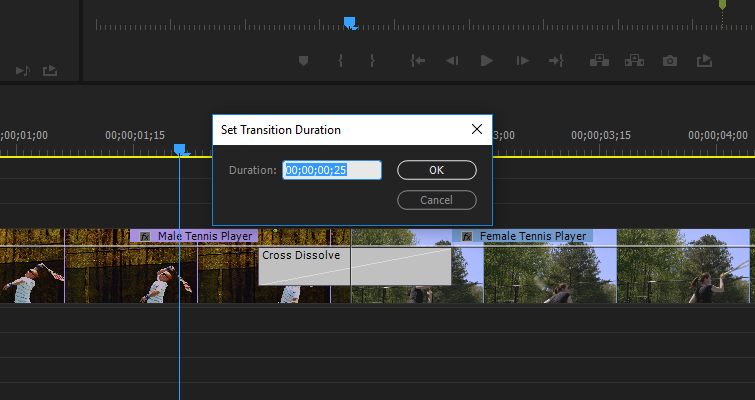
Underneath, you’ll see “adjust transition alignment.” Again, this isn’t anything we cannot do on the timeline. We can change the dissolve so it starts or ends on a clip, rather than between both of them. The wonder of the transition effects panel comes into play when you want to fine-tune the transition. You do this by using the effects panel timeline.
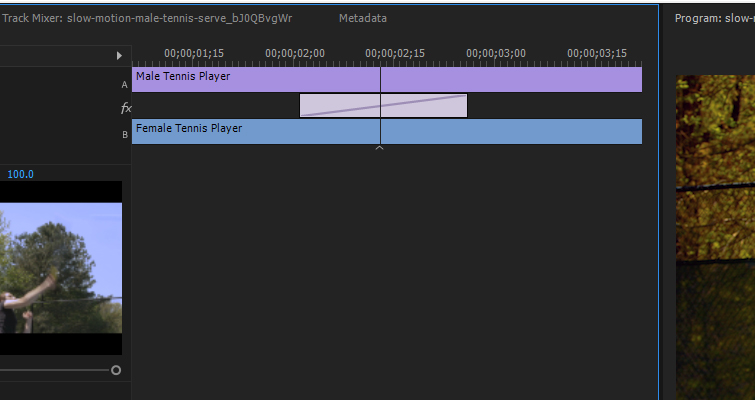
Here we can do several things.
We can extend a single side of the transition, setting it to last longer on that side. You do this by simply dragging the edge of the transition.
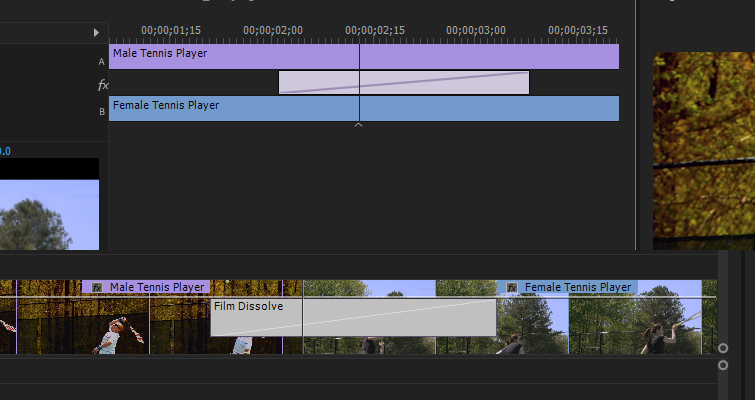
If you hover over the dissolve transition, the slide icon will appear. Now we can move the transition backward or forward slightly. This will offset where the dissolve begins and ends, but it will maintain its duration.
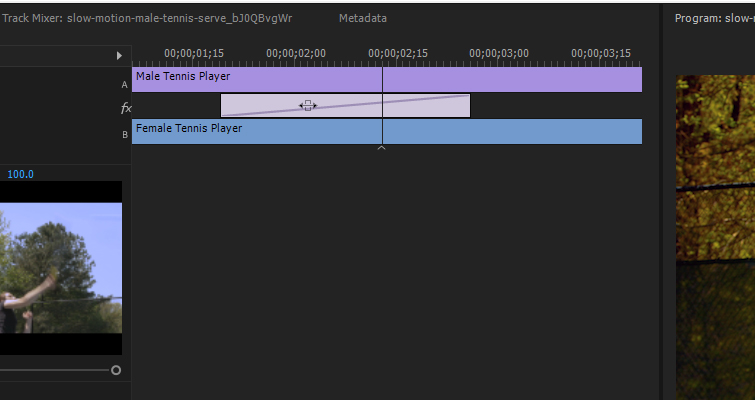
If you move your cursor directly over the play head in the effects panel, a rolling edit icon will appear. You can now move the transition completely, which, in turn, will decrease the length of one of the clips, increasing the length of the other — depending on which way you move the transition. The result of this edit will appear directly in the timeline.
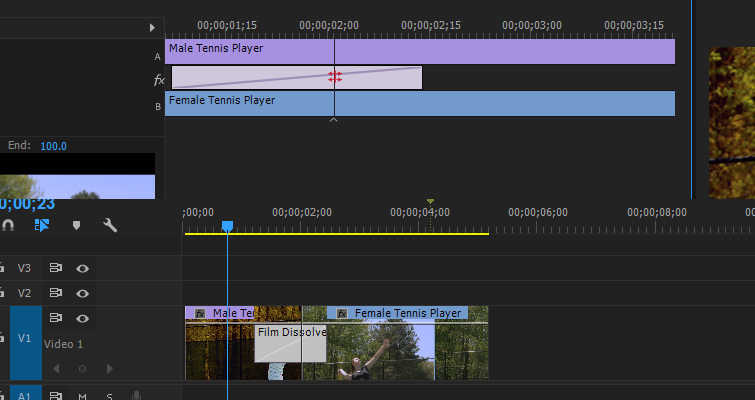
You can also ripple edit the clips directly in the effects panel timeline by hovering over either clip. This doesn’t affect the transition, but it will affect which part of the clip dissolves.
Finally, we have the start and end sliders.
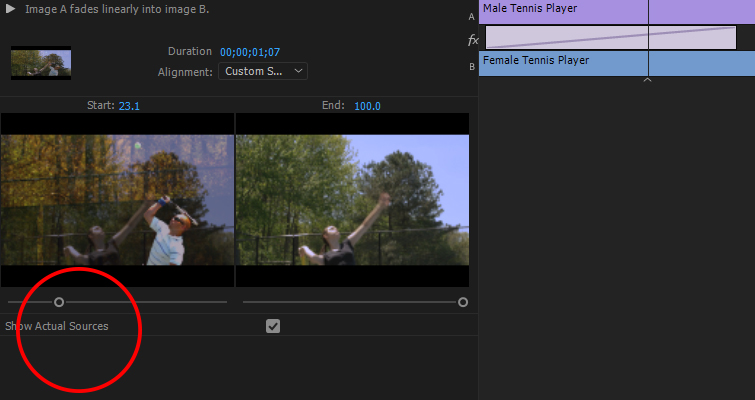
These sliders control the percentage of the transition’s completion. Therefore, instead of staring the dissolve at 0 percent opacity, the dissolve could start at 23.1 percent. This would make clip A cut into the dissolve, rather than gradually appear from 0. I’m not too sure when this would be useful because it’s diminishing the principle concept of a dissolve, but every technique has its application somewhere.
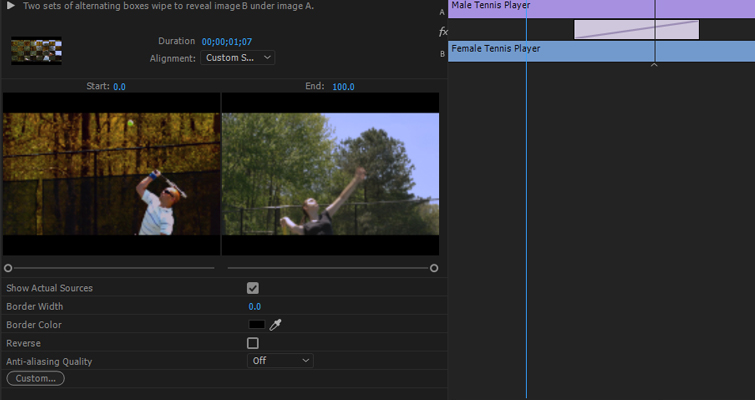
The control parameters above are just for the dissolve transition, which, by nature, is simple. If you were to use a more complex transition such as the classic checkerboard wipe, you get a lot more options to play around with.
95 percent of the time, I’m sure you’ll be able to just drag the dissolve transition from the effects library onto your edit point and move forward. But for that 5 percent when you need extra creative control, you now know where to look.
Do you have tips for using the Transition Effects Panel? Let us know in the comments.


