
DaVinci Resolve: Enhance Your Sky in Under Five Minutes

Plenty can go wrong when you’re trying to capture a perfectly exposed shot of the sky. Fortunately, DaVinci Resolve makes it easy to nail your desired look in post.
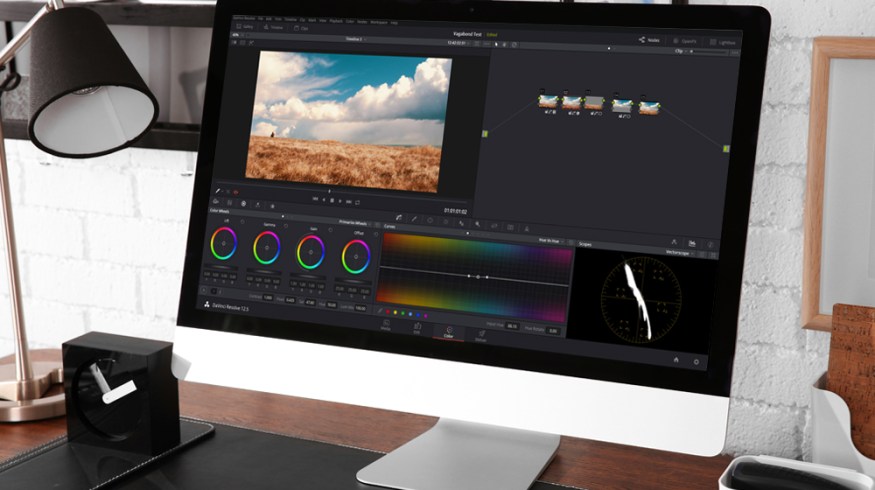
Top image via Shutterstock
Beautiful skies are an essential ingredient of landscape shots. However, depending on the density of clouds, sometimes getting the correct exposure can be tricky.
If you expose for the clouds to retain all the white details, your foreground may fall too far into the shadows. Expose for the landscape, and your clouds instantly blow out. It’s also worth mentioning that keeping a certain blue hue in the sky can be compromised by adjusting for either of these.
Grading and sky enhancements is something all editors and colorists have their own way of doing. This technique is simple enough for a novice user of DaVinci Resolve to pull off in five minutes.
The Basics of ND Filters

Image via CBS
There are cinematography tools — like ND filters — to help you capture a bright sky and keep details exposed correctly. A graduated density filter and polarizer filters are popular options. We won’t be diving too far into filters, as we will be replicating the results digitally in DaVinci Resolve by enhancing the sky. That said, here are some basics worth knowing.
A graduated natural density filter has a density coating on one half of the glass — which will blend smoothly toward the center, allowing a soft transition within the image. By placing the coated half on the top of the lens, it will drop the sky a stop or two less than the landscape.
Sometimes this might leave a visible gradient in the composition, so it’s important to carefully compose your images. In the image above, you’ll see a graduated ND filter used on the television series CSI: Miami.
Color Grading the Sky in DaVinci Resolve

Image via Ugly McGregor
First, let’s look at the color. Above is the original and color graded footage I am working with. The contrast and color looks great — however, the grade has applied too much of a teal tint to the sky. I want to get my fantastic Welsh blue sky back — as most days here have a rainy gray sky.
I’m going to use the Hue vs. Hue curve to correct the color. This tool will allow you to select a very specific hue without altering any other color range within the image. (It’s much faster than using the HSL qualifier or any other tool that can pull a key.)

I’m going to create three control points in the cyan to blue section, and the middle point will be where you make most of your adjustments.
Hue vs. Hue graph. Use your mouse to hover over the sky in the preview window, and once your mouse cursor changes to an eyedropper icon, select the sky. Resolve will automatically create three points based on your selection.

As you can see from my Vectorscope above, the sky is leaning more toward cyan and green rather than blue. To fix that, I’m simply going to increase the amount of blue in the sky. A small adjustment to the Hue vs. Hue curve is the easiest fix.
Now, the result is a very blue sky. As it is too rich, I’m going to reduce the exposure of the sky — the same as a graduated ND filter would.

Since we have a perfectly horizontal horizon without any trees or obstructions, this will be a pretty easy fix. First, add a gradient and position it along the horizon. Then lower the Gamma (not the Lift or Gain).

We now have a better-looking blue sky at this point. If your footage has clouds like this one, you can enhance the clouds themselves by adding a new node.

Open the luma curve control to add a luma curve effect. Then add two control points to the top part of the curve (as seen above).
Slightly push the highlights up to create a more intense brightness from the cloud. Then slightly bring the center of the two points down a notch (as seen below).

This whole fix takes just minutes to do when grading, and it can add a whole lot of blue back to your sky. The result is a nice vibrant view.

Got any quick color grading tips you’d like to share? Do so in the comments below!


