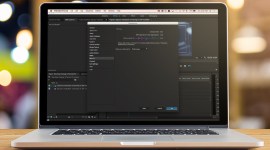
Final Cut Pro X Video Tutorial: Creating Custom Frame Sizes

Break free from 16:9 with custom frame sizes in FCPX.
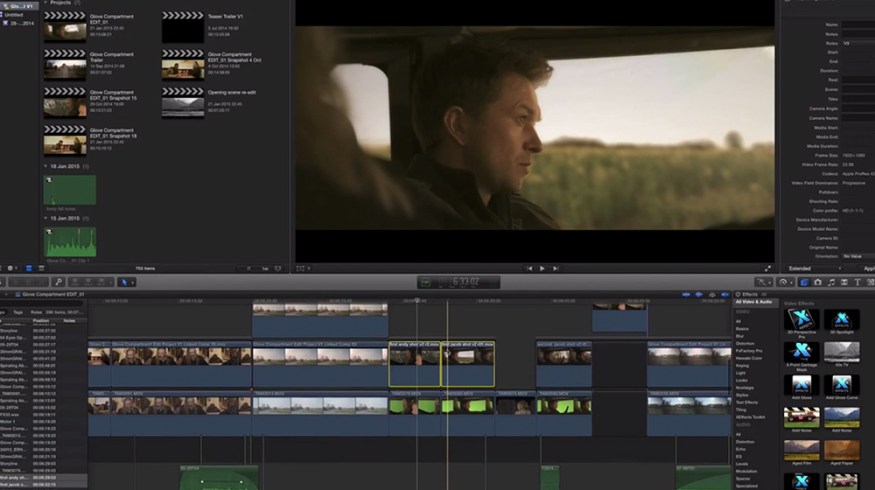
Whether you are editing a video that will be viewed on a video wall, a phone or an IMAX screen, creating a custom frame size may be necessary for your project. It’s not a complicated process to modify the frame size in FInal Cut Pro X, but it’s important to know where these settings are and how to change them. The following video tutorial by editor Dan Allen demonstrates how it’s done:
- Custom frame sizes
- Creating phone resolutions
- Panning
- Cropping anamorphic frame bars
- Pasting clip attributes
This video was first shared on Dan Allen’s YouTube channel. You can see more of Dan Allen’s work on his website.
Video Resolutions Chart
Not sure what resolution you need? The following chart has a few popular resolutions that you should know.
| SD | 640 × 480 |
| HD 720 | 1280 × 720 |
| HD 1080 | 1920 x 1080 |
| Digital Cinema 2K | 2048 × 858 |
| Ultra HD | 3840 × 2160 |
| 4K | 4096 × 2160 |
| 6K | 6144 × 3160 |
| IMAX | 5616 × 4096 |
| 8K | 7680 x 4320 |
If you are interested in learning more about resolutions check out the following resources:
- List of Common Resolutions – Wikipedia
- Video Technology’s Formats Page – Video Technology
- The 4K War: Thoughts on the Future of Video Resolutions – PremiumBeat
Have any other tips for creating custom frame sizes? Share in the comments below.