Final Cut Pro X Video Tutorial: Tilt-Shift Effect

Learn how to make an animated tilt-shift effect in this Final Cut Pro video tutorial.

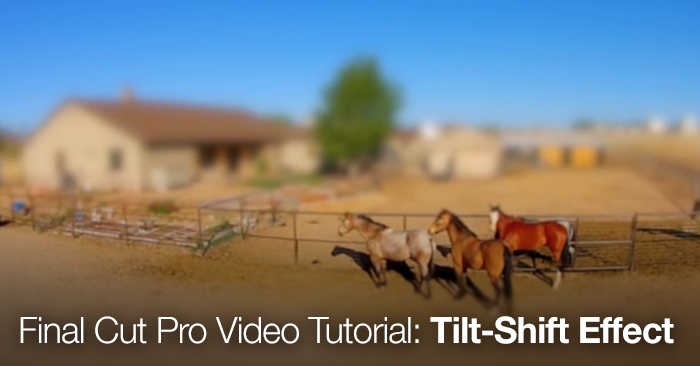
We’ve seen an extreme influx in the popularity of tilt-shift effects over the last few years. But instead of going out and buying a specially designed lens for thousands of dollars you can create your very own animated tilt-shift effect using FCPX.
Luckily for us Steve and Mark from MacBreak Studio are here to show us how to create a realistic tilt shift effect in FCPX. You will need to download Coremelt’s SliceX plug-in for this particular tutorial. Read below for price and download instructions.
The video covers:
- Working with drone footage
- Using Coremelt’s SliceX plugin
- Working with masks
- Tracking moving objects
- Depth of field shape masks
If you don’t use FCPX as your native software don’t worry. Check out our Adobe After Effects tutorial where we demonstrate how to do the same thing.
If you don’t already have Coremelt’s SliceX plugin you can download it from Coremelt’s website. The plug-in is a planar tracker powered by Mocha that allows users to cut unwanted objects from their video. The plug-in costs $99. However, you can try a free trial of SliceX for free for 15 days. SliceX is only available for Final Cut Pro X.
This video was first shared by MacBreak Studio on the PixelCorps Youtube Channel. Thanks for sharing guys!
Other Tilt Shift Plugins for Final Cut Pro X
SliceX isn’t the only FPCX plugin that streamlines the process of creating tilt shift. Check out these as well..
Miniaturize from FCPEffects – $39
ProLens from Pixel Film Studios – $39.95
TiltShift for FCPX from CineFlare – $49
How do you create tilt-shift?
Share your tips and advice in the comments below!