
Final Cut Pro X Tutorial: Working with RED RAW Footage

Learn the tricks for a smooth RED RAW workflow in Final Cut Pro X.

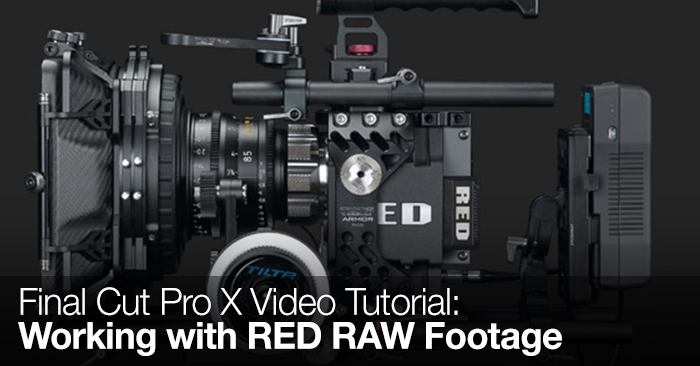
Over the last few years a RAW workflow has gone from being a feature used exclusively by the pros to a viable option for indie-filmmakers and film enthusiasts alike. With new cameras such as the Blackmagic Pocket Camera or the Panasonic GH4, getting RAW footage is a relatively easy process. However, due to the price point and complex setup, RED cameras are still used almost exclusively by the pros.
Working with RAW footage has major advantages over using formats that have been compressed. Namely you can adjust parameters such as sharpness, saturation, and clarity, nondestructively in post. RAW files also give added bit-depth allowing you to have more control when color correcting.
So if you happen to be given footage from a RED what is your workflow going to look like? In the following tutorial presented by MacBreak Studio, the guys demonstrate how to use RED RAW footage in FCPX. The tutorial covers:
- Importing RED RAW Footage
- Favoriting Import Targets
- Adjusting RED RAW settings
- Creating Proxy Clips
The RED Rocket card that Mark brings up in this video retails for an astounding $4,800. You can read more about the RED Rocket Card on Red’s website. This video was first shared on the PixleCorps Youtube Channel. Thanks for sharing guys!
Want more FCPX tutorials? Check out our previous posts here on the PremiumBeat blog.
Do you use RED RAW in FCPX? Share your experience in the comments!


