How to Autofocus Your DSLR in 3 Easy Steps

Having trouble autofocusing your DSLR or mirrorless camera? These three simple steps should clear things up.
Cover image via B&H
One of the earliest challenges many filmmakers and videographers face when they finally get their hands on a camera is setting focus. Luckily, for those shooting digital on a DSLR or mirrorless camera, it can be a pretty quick technique to master.
Depending on the make and model of your camera (and if it isn’t from pre-internet days), it’s very likely to have a built-in autofocus function. The majority of your DSLR lenses will have this functionality and compatibility as well.
Let’s use a Canon 5D as an example. Here are the three steps to setting auto-focus on your subject.
Step 1: Set Lens to AF Mode

The only trick here is to find the AF-MF option on your camera lens. It’s usually on the lower left-hand side, but it should’t be too hard to locate. Once you find it, make sure it’s set to the AF mode (demonstrated in the image above).
Step 2: Switch Camera to Live View Mode and Zoom in on Subject

Once your lens is in AF-mode, you can switch your camera to the live view mode (if it isn’t already) and zoom in on your subject. You can move the focus point (the square in the middle of the screen) around with the multi-controller stick to the right.
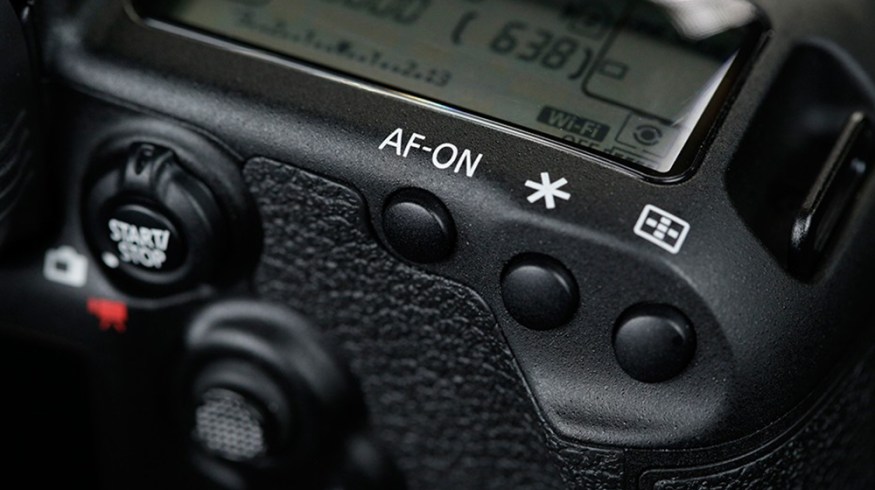
Step 3: Hold the AF-ON Button Until Camera Auto-Focuses

Once you’ve zoomed in on the point you’d like to focus on, you can switch over and push the AF-ON button to set your focus. Hold the button down long enough for the camera to find the focus. If you’re using Auto-White Balance (WB) and Auto-ISO, the camera will calculate and set those as well.
You can see the whole process (along with some tips for manual focusing) in the following video by First Man Photography.
Have any tips/tricks/techniques for finding focus? Share in the comments below!