
How to Perfectly Time Your Music in Premiere Pro

Learn how to perfectly edit and time your music tracks in Adobe Premiere Pro.
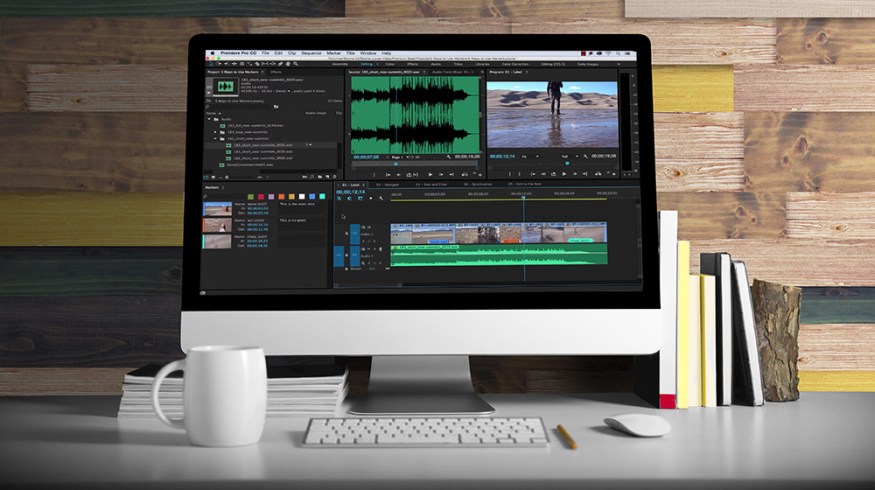
Top image via Shutterstock
For many years I worked as an editor for a PBS affiliate television station in Florida. Working in the broadcast realm, I was often required to edit content to a specific length, down to the frame. I became proficient at adjusting my music tracks to fit 10, 20, 30, and 60 second running times. In this tutorial, I’ll take a 20-second promo and create a short (10 seconds) and a long version (30 seconds) utilizing the same music track. I’ll show you how to both shorten and extend a music track to make it work at various lengths. Let’s get started.
*When you download a music track from PremiumBeat, you are given a plethora of options, including short, long, and looping versions of a music track. This gives you a lot of leeway when editing. However, for the purposes of this tutorial, I want to show you how to perfectly time your audio using only one track.
Add Markers
Before shortening or extending my music track, I first want to add markers. Adding markers will make editing the music track much easier. The best way to do this is in real time. I’ll select my music track, either on the timeline or in the source monitor, and while the clip is playing back, I’ll use the M key to add markers to specific beats. If I look at the waveform of my music track and where the markers are located, I can see the various sections of the song, both the soft and loud parts, including the stinger at the end.

Shorten the Music Track
Now that I’ve added markers to my music track, I’m ready to create the shortened 10-second version of my promo. To do this, I’ve duplicated the original promo sequence and placed a marker on the timeline so I can see where the 10-second mark is located.
To shorten the music track, I’ll start by trimming and moving the music track so that the stinger plays right at the end of the ten-second mark. Then I’ll make slight adjustments to make sure the music track begins on a specific beat. I can quickly use the markers to locate a good spot. Once adjusted, my stinger is going a little long, so I’ll trim it back to the 10-second mark and then add an audio transition.

Extend the Music Track
To extend the music for the 30-second promo, I need to loop part of the track. Once I’ve selected which parts of the track I want to loop, I can then edit and duplicate those sections, and make adjustments to retime the track to 30 seconds. This will be easy, given the fact that I have already placed markers throughout the music track. For this particular track, I had to duplicate two different areas, and then trim back another section to make the track perfectly fit. Once I have the clips in place, then I can add any necessary audio transitions, both to the loop edit points and to the stinger, if the stinger is running too long.

Hopefully this tip will prove to be beneficial. Got any other Premiere Pro techniques you’d like to share? Let us know in the comments below.


