PluralEyes: The Best Workflow for Syncing Audio

Streamline your audio sync workflow in Premiere Pro with PluralEyes.
Cover image via Red Giant.
Syncing audio doesn’t need to be stressful. If you shoot DSLR, mirrorless, or on any mainstream camera that doesn’t offer high-quality in-camera recording options, you know how long it can take to sync your video and externally recorded audio.
PluralEyes is a quality third-party plug-in from Red Giant that simplifies the task. While there are plenty of workarounds, for those who have made the investment and are to streamline, here are some tips for maximizing your PluralEyes workflow in Premiere Pro. If you’re interested, you can get a free trail of PluralEyes on their website before buying the program.
Check out the step-by-step syncing process from FILM IT VFX STUDIOS.
Step One: Import Your Footage into Premiere Pro

Upload your footage onto your computer. For tips on how to organize, here’s a great article. Once you have your footage where you want to work with it, open Premiere Pro as you normally would with your ideal sequence settings.
Note: For newer PluralEyes editions, you can sync directly in PluralEyes or in Premiere Pro — whichever you prefer.
Step Two: Create a Timeline and Lay Out All Cameras and Audio

Create your sequence, and drag all your footage and audio onto the timeline. Be sure to arrange each one (if you’re using multiple cameras) onto their own level. Place the audio in the bottommost level. Make sure all the footage is back to back.
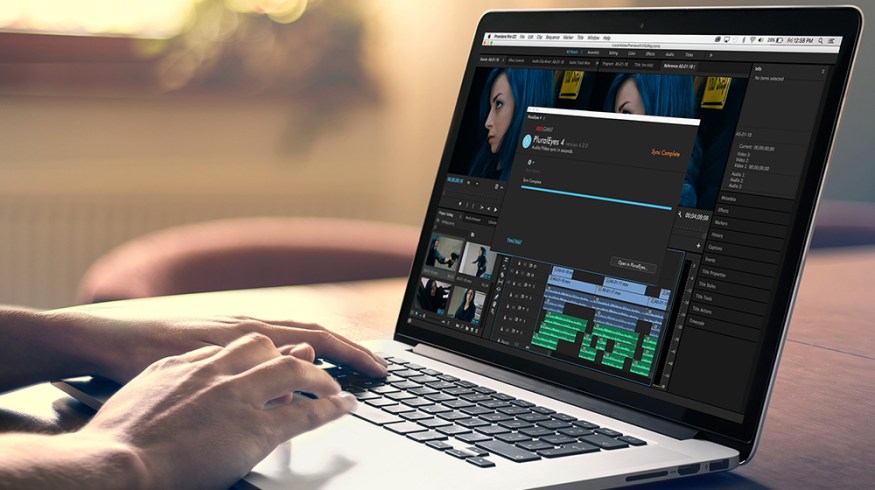
Step Three: Open PluralEyes in Premiere Pro
To open PluralEyes, go to Window -> Extensions -> PluralEyes, and PluralEyes will launch a smaller window in Premiere Pro for your sync. If you have multiple timelines open, it will ask you to choose which one you’d like to work with, so make sure you name your timelines appropriately.
Step Four: Synchronize and Export

One you have PluralEyes open, you’ll see your footage and audio files show up as PluralEyes scans them. You’ll need to wait until they’re all scanned before you can sync (but you can still go ahead and click sync right away). Once they’re scanned and you’ve clicked, you’ll watch as they arrange to match. Next, click export, and a new synced timeline will open in Premiere Pro for you.
In the PluralEyes options, you can choose to have your footage and audio simply matched next to each other, or to replace and connect the external audio with your video.
Do you love to use PluralEyes? Let us know in the comments.