Harnessing the Power of Metadata in Premiere Pro
Utilizing metadata in Adobe Premiere Pro is a fantastic way to stay organized and streamline your video editing workflow.
Top image via Shutterstock
So what exactly is metadata? Metadata is descriptive information about a file. Video and audio files already contain a certain amount of basic metadata information, including file name, type, size, path, date, and duration. You can add metadata information to clips using Premiere Pro’s Metadata panel.
If you work with a lot of media assets, or work with a group of other editors (or both), metadata can help you immensely. By adding information to video and audio assets, you can quickly and easily find the information at a later time with a simple keyword search. Let’s take a closer look at how and why to use metadata in Adobe Premiere Pro.
The Metadata Panel

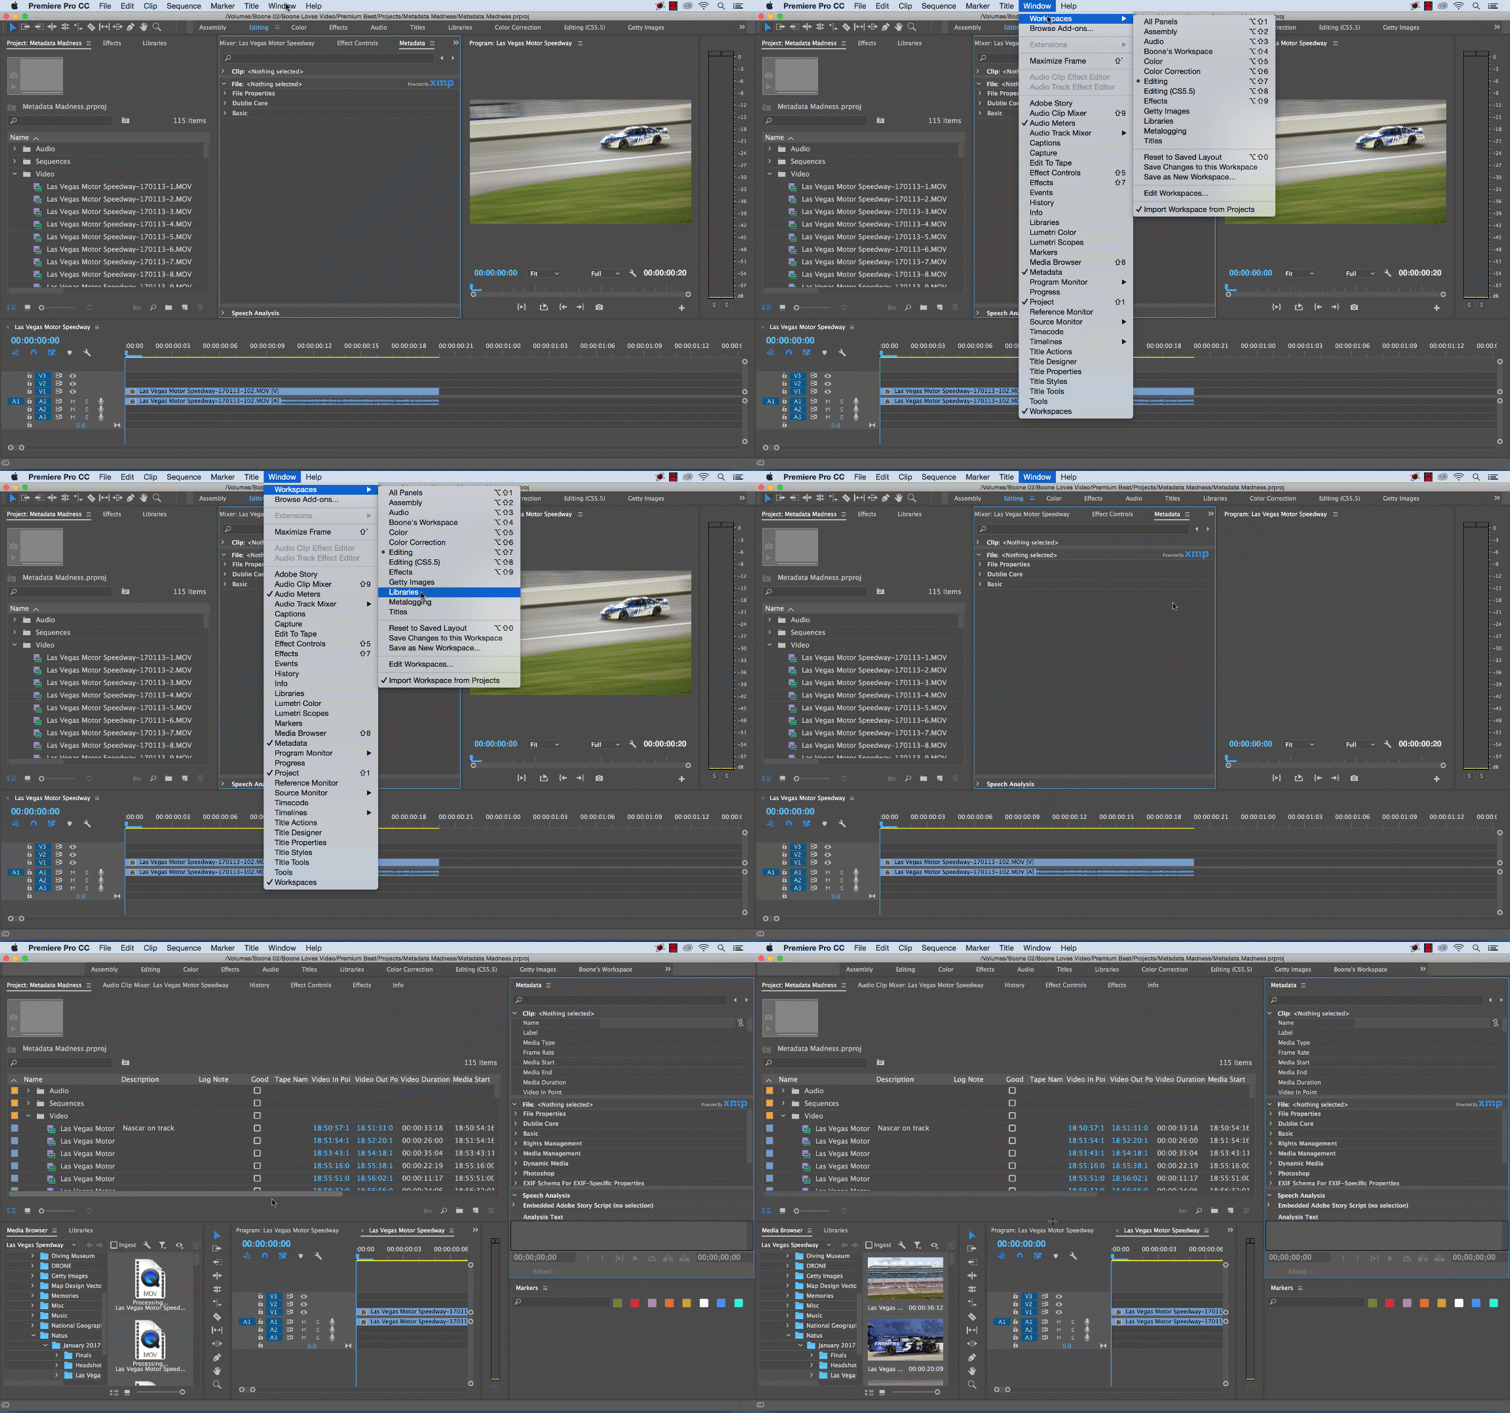
The best way to work with metadata is to select Premiere Pro’s default Metalogging workspace. This workspace is designed to be used directly after you import your footage. Simply go to Window > Workspace > Metalogging. Or you can open just the Metadata panel by selecting Window > Metadata (or keyboard shortcut Alt+Shift+8).
Clip Metadata vs. File Metadata

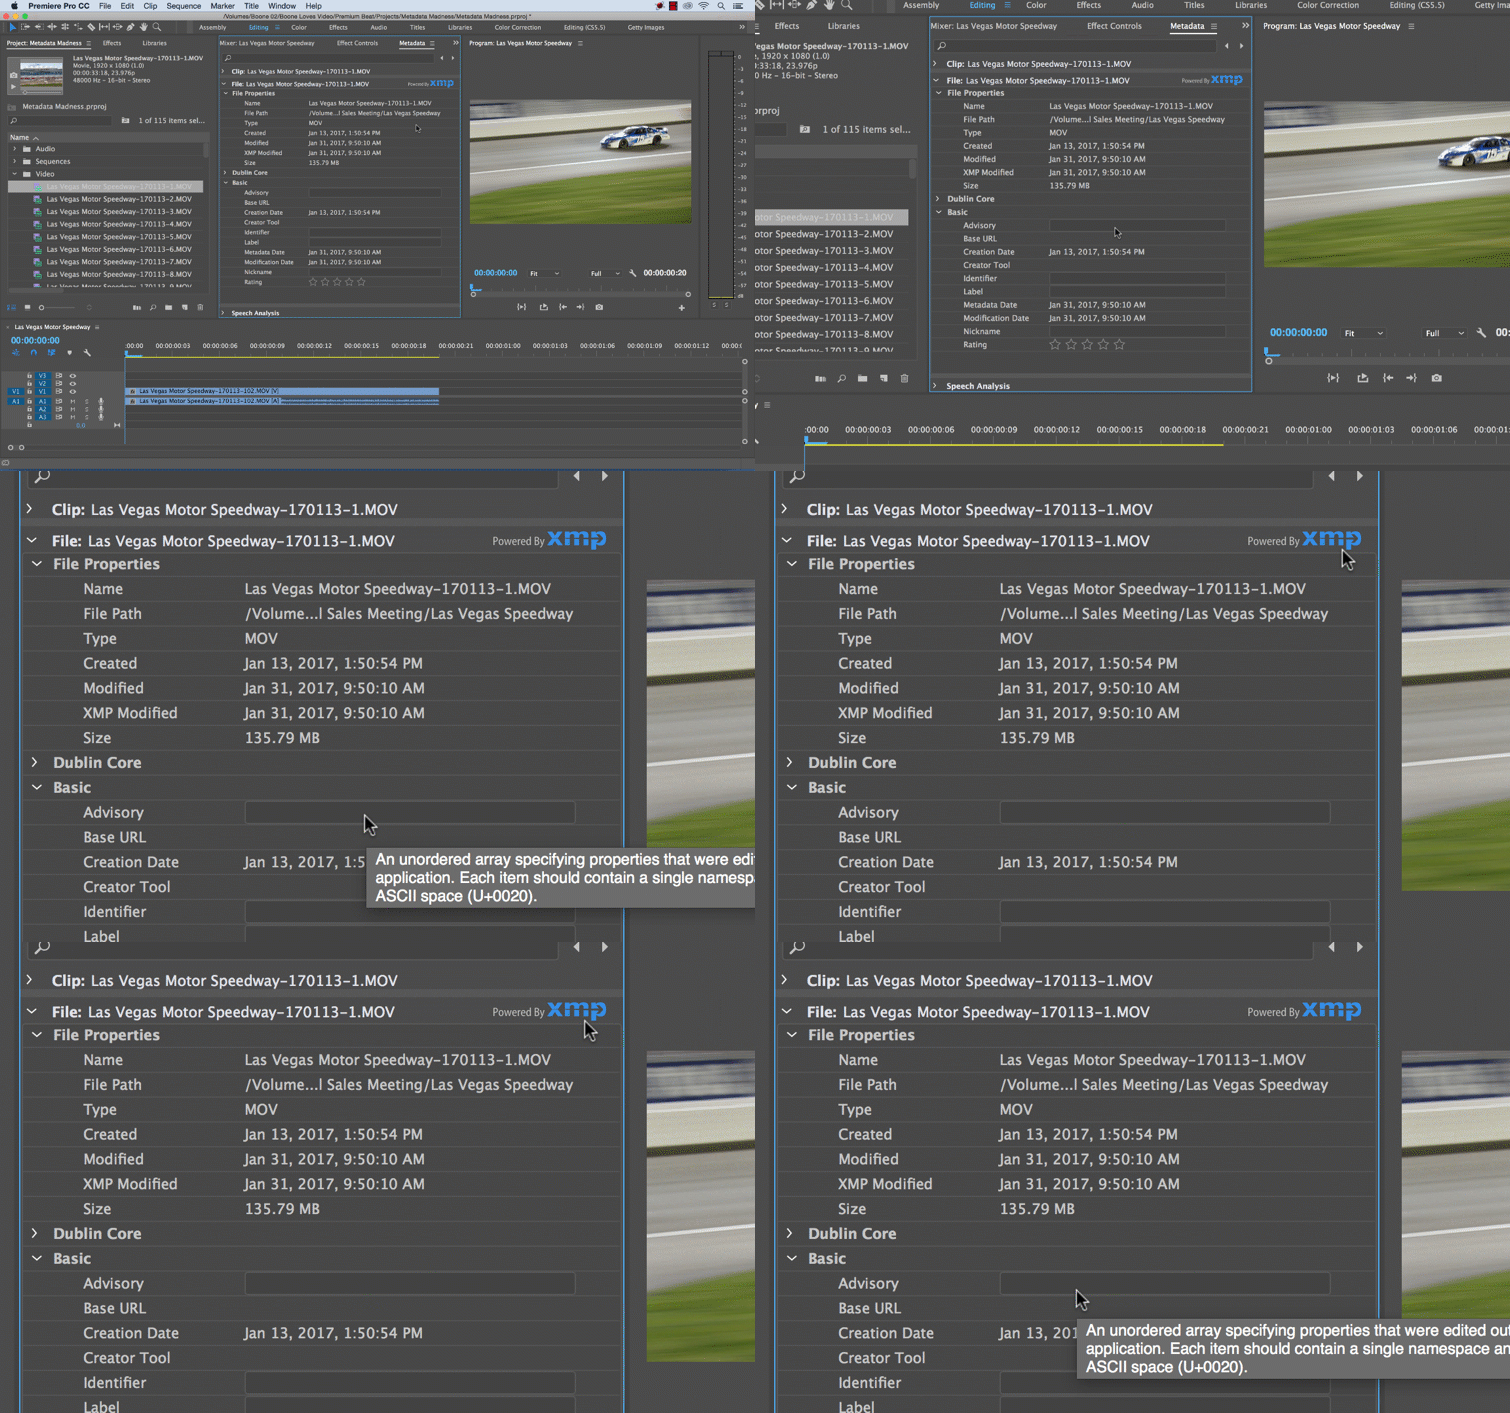
Once you have the Metadata panel open, you’ll notice several sections, including Clip and File. Clip metadata differs slightly from File metadata. Clip metadata provides information about your clip in Premiere Pro, and the information is saved in the Premiere Pro project. File metadata is specific to your actual file, and is saved to the source file or a corresponding sidecar file.
This is important to understand because if you create subclips or import duplicate clips, your Clip metadata will only correspond with your clip in Premiere.
XMP Explained
Extensible Metadata Platform, or XMP, is a standard format for storing and displaying information across applications and platforms. For the most part, XMP metadata is stored within a source file. For file formats that don’t support XMP, an XMP sidecar file will accompany the source file.
Metadata Displays

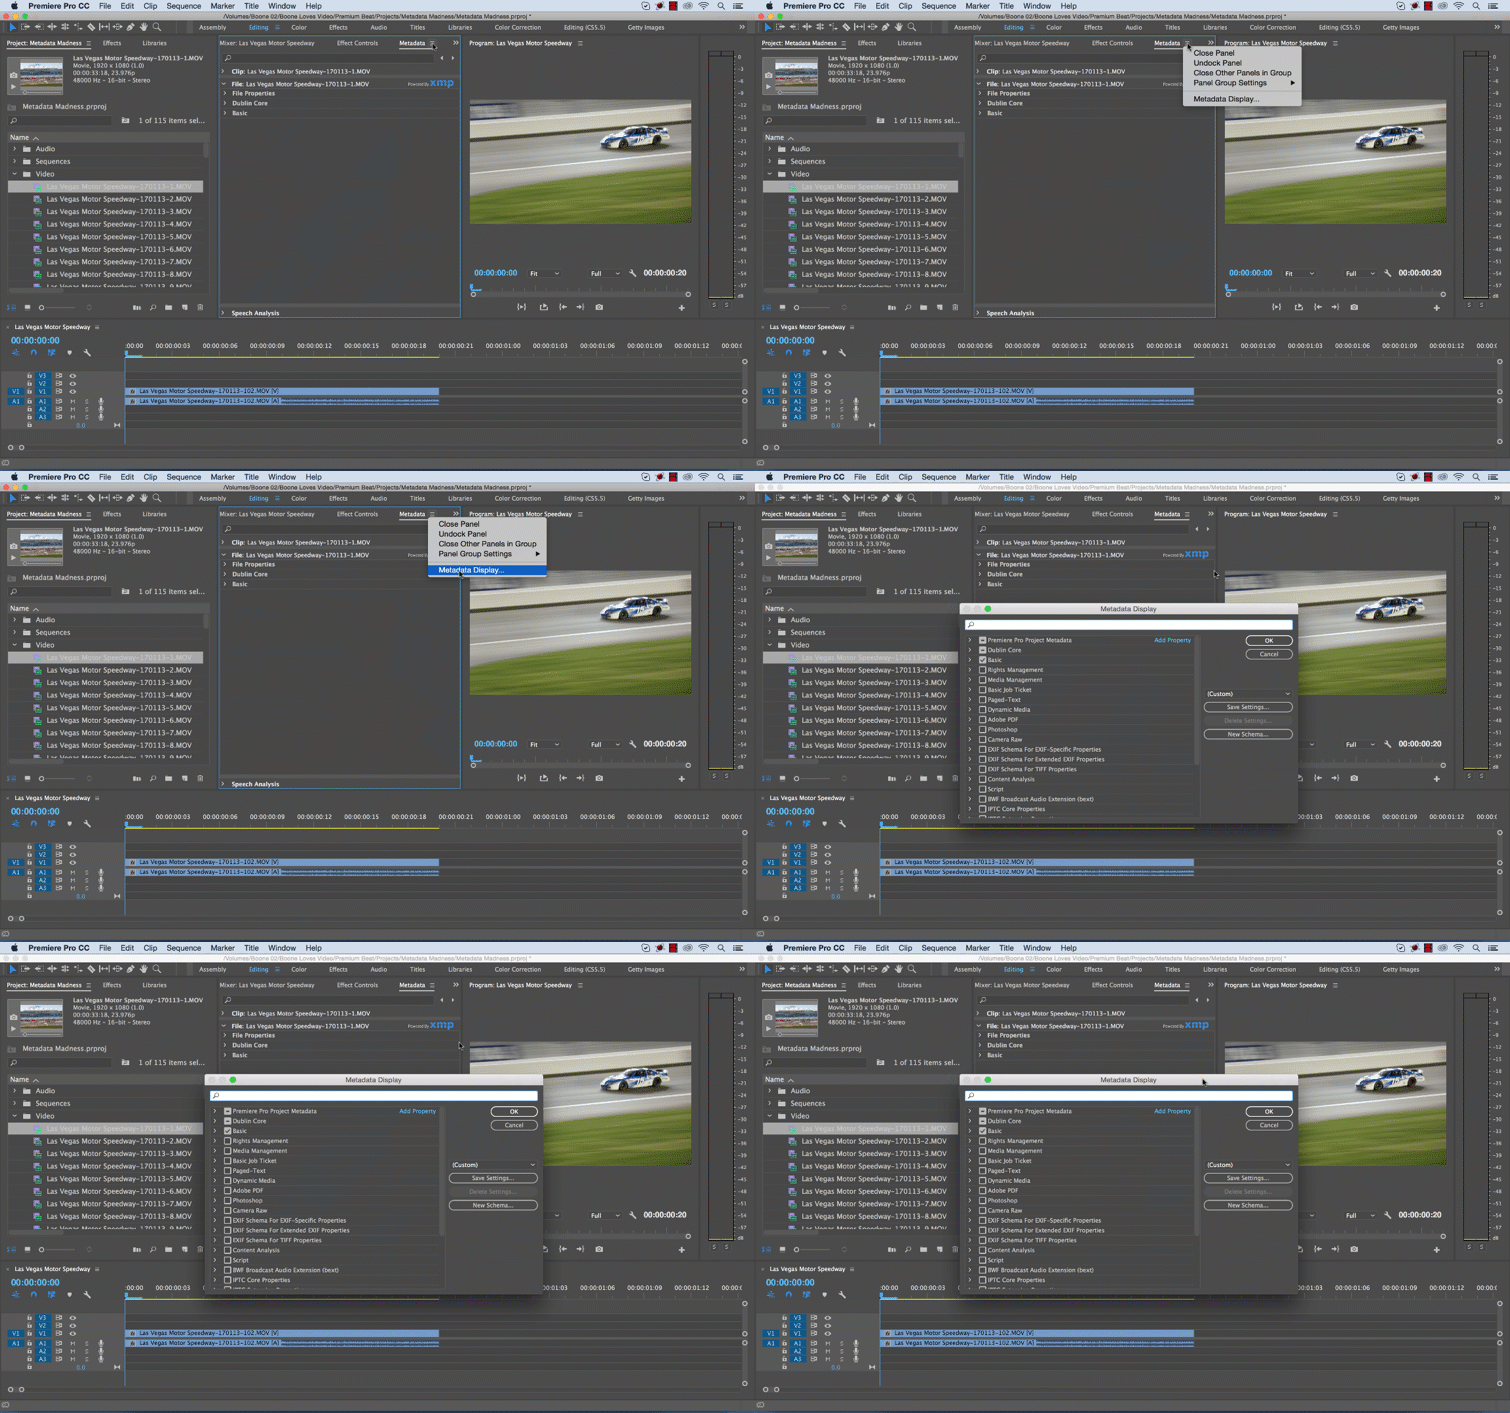
If you look at the File metadata in the Metadata panel, you’ll see a number of different sections. These are called schemas. A schema is a collection of metadata properties specific to a certain workflow, whether that is photography, copyright, script, etc.
Naturally, this is way more metadata information than you would ever need, and some of it is not specific to video. To customize schemas to your own workflow, click Metadata Display in the panel drop-down menu. This will allow you to create your own custom metadata display.
How to Use Metadata

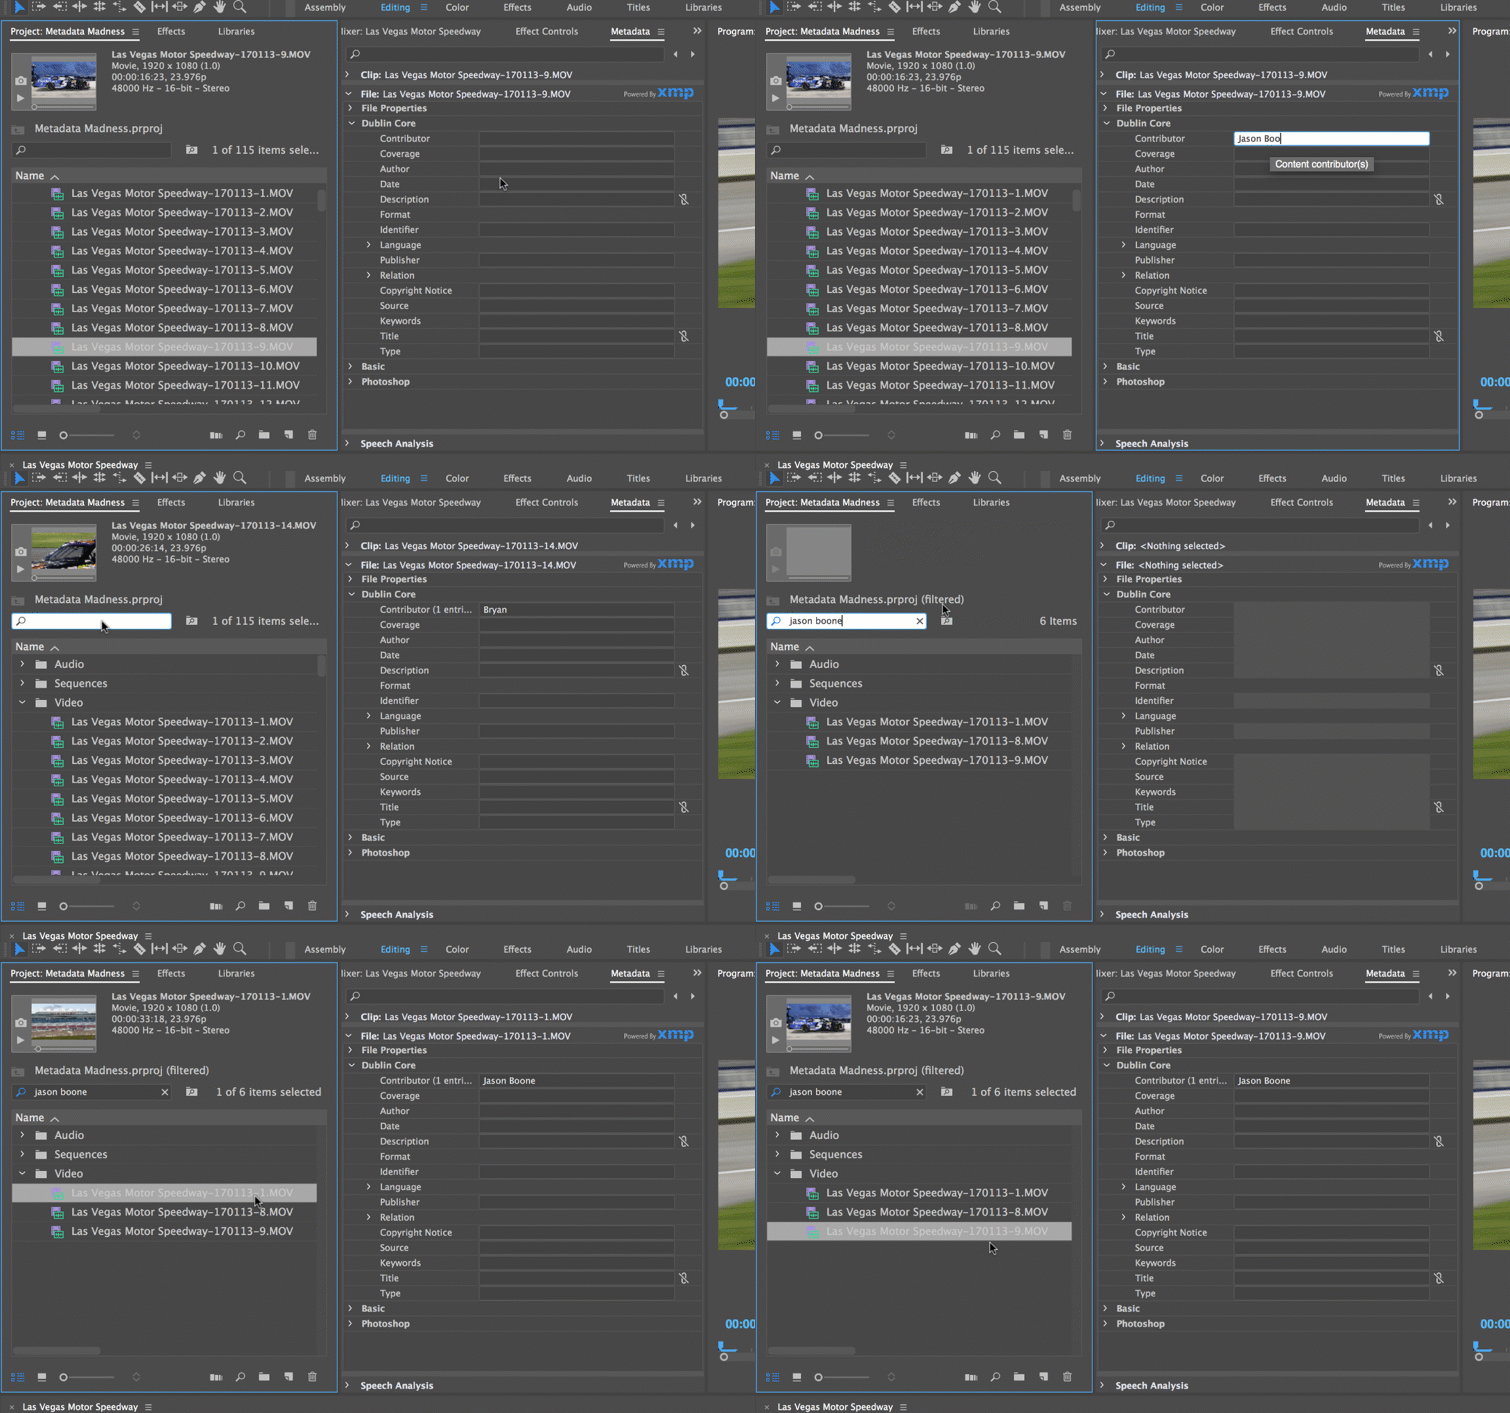
Once you’ve added your desired metadata to your media, you can browse and filter metadata information in Premiere’s Project panel. Simply enter your keyword information in the search bar, and Premiere will filter out your clips accordingly. Or browse and filter your metadata in columns in the Project panel. Lastly, you can customize your columns in the Metadata Display dialog box, which can be found in the Project panel menu.
How has working with metadata impacted your workflow? Share your experiences in the comments below!


