Pro Tip: Change Track Height in Premiere Pro

Need to see your waveforms or video thumbnails? Here’s a quick way to change track height in Premiere Pro.
A little time saved here or there can quickly add up when you’re video editing. One of the best ways to save time is to use keyboard shortcuts. Let’s take a look at a few important shortcuts for changing track height in Premiere Pro.
Changing Video Track Height
Keyboard Shortcut: Command + or –
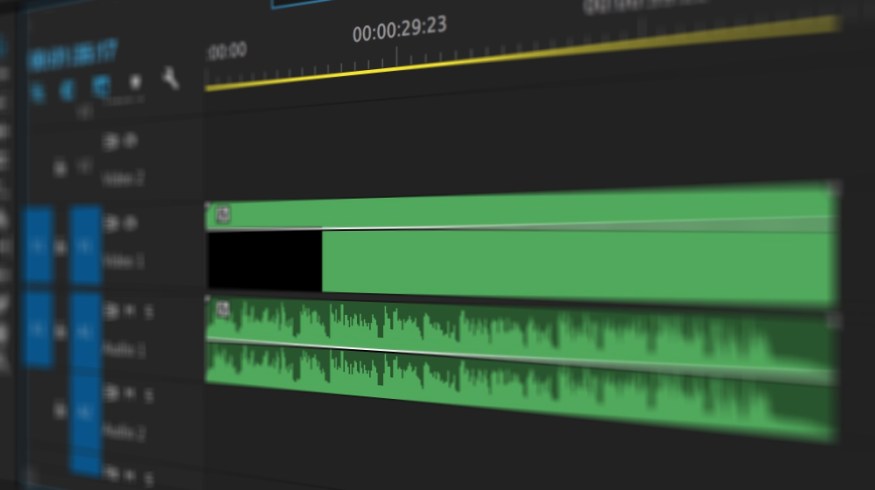
When you drag footage into a new composition it will be ‘flat’ by default, meaning you won’t be able to see a visual thumbnail. If you want to see a visual thumbnail of the first frame, all you need to do is hit Command + or – with your timeline selected. This will allow you to adjust various effects like opacity and time remapping without having to open up the effects panel.

Changing Audio Track Height
Keyboard Shortcut: Option + or –
By default, you won’t be able to see audio waveforms. But if you simply use the Option + or – keyboard shortcut, you can scale the audio track up until the waveforms are visible. I find it much more helpful to have larger audio tracks and smaller video tracks.

Saving Track Presets
Step 1: Adjust Your Timeline

Using either your mouse or the keyboard shortcuts listed above, change your timeline tracks to your desired height. You can also customize the various buttons on the side of the track by right clicking in the blank space in the track editor and clicking customize.
Step 2: Save Preset

To save your track preset, simply hit the gear icon at the top of your timeline and select Save Preset. A dialogue box will pop up that says Save Preset. You will now be able to name your preset and assign a track preset number.

Step 3: Assign Keyboard Shortcut

If you want your track preset to be assigned to a keyboard shortcut (and you should), you will need to go to the keyboard shortcut preference panel. To do so, simply navigate to Premiere Pro>Keyboard Shortcuts… or hit Option+Command+K. In the panel that pops up, type in the word “Track” and you should see ten rows of Track Height Presets. Simply click on your preset of choice and type in your desired keyboard shortcut. You should now be able to recall your Track Height Preset in the timeline.

How does track height contribute to your Premiere Pro workflow? Share in the comments below.