Create a Video Timelapse from an Image Sequence in Premiere Pro

Turn a collection or sequence of photos into a timelapse segment with just a few clicks in Adobe Premiere Pro.
Need to turn an image sequence into a timelapse? It’s super easy in Premiere Pro.
Creating a Timelapse in Premiere Pro
Open Premiere Pro and go to File > Import.

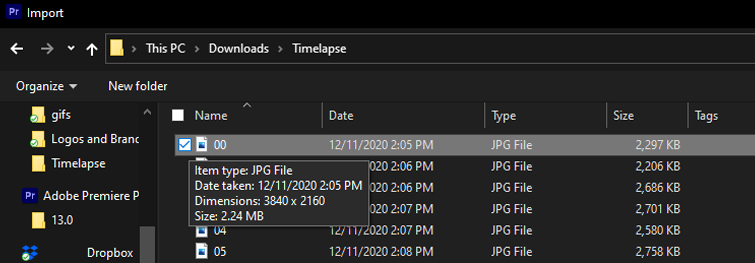
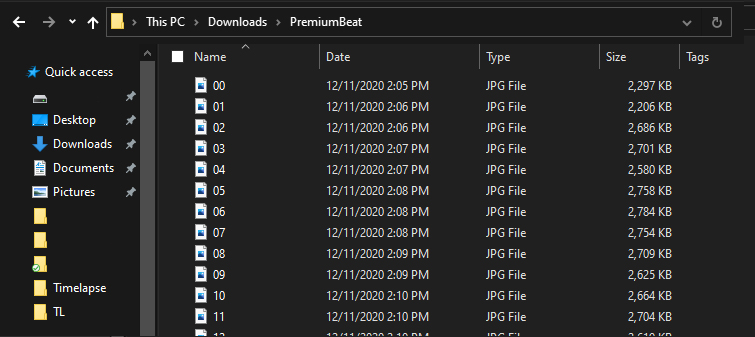
In the File Browser, navigate to the folder with your image sequence.
Click on the first image file. Do not select all files. You only want to click on the first image in the sequence.
In the import browser under your files, click on the checkbox next to image sequence.
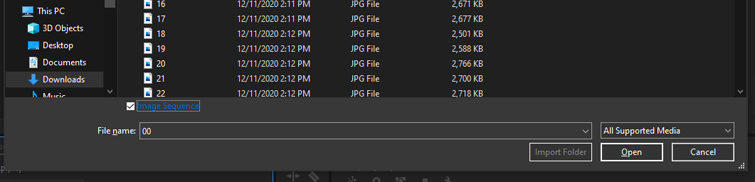
Hit Open.
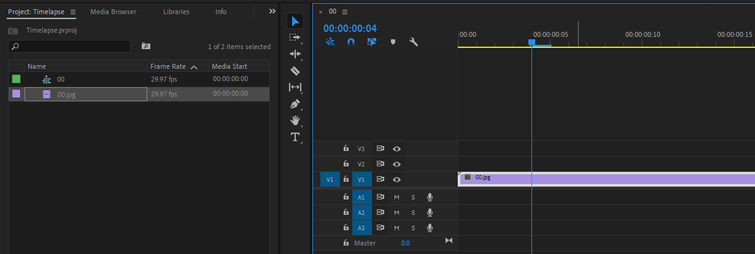
Your image sequence has now been imported as a single video file.
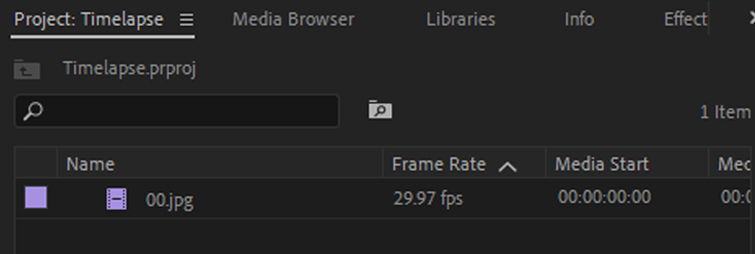
You can now drag this directly into your Premiere Pro sequence timeline.
Problem Solving
Did this not work for you? There are a few things you need to know and check.
Check the Image File Type
Make sure the file type you’re using is compatible with Premiere Pro, like JPG, TIFF, PNG, or even PSD.
If you’re using a different image type, you’ll want to convert your images to a compatible format.
Check the Image Orientation
Make sure all images in the sequence have the same orientation. Your sequence should be all horizontal or all vertical. Having mixed orientations will cause errors.
Edit any photos that may have a different orientation to match the rest of the sequence.
Rename Files in Numerical Order
One of the most common issues occurs if your images are not in sequential numerical order. If not, you’ll want to rename your files.
There are a few ways to “batch rename” your files instead of having to do every file manually.
How to Batch Rename Files Numerically on a Mac
Open the folder with your images.
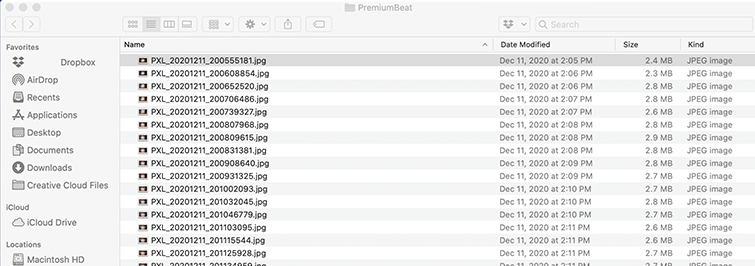
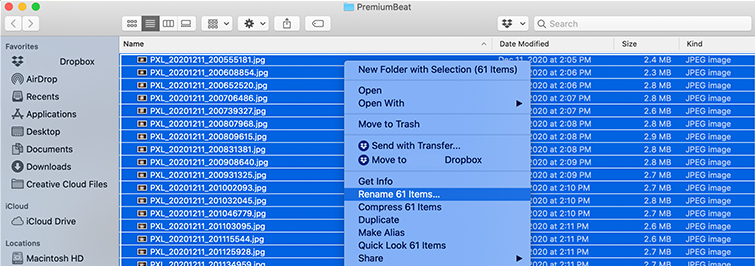
Select all image files with CMD+A.
Right-click or ctrl-click and select Rename ## Items…
Change the first dropdown to Format, then change Name Format to select Name and Counter.
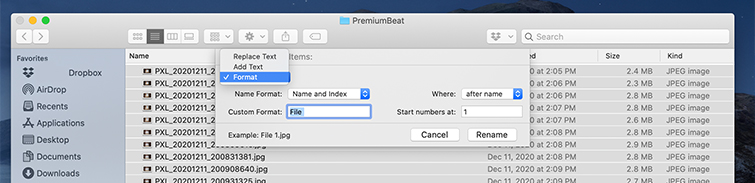
If you want, you can enter a Custom Format to name your files. Then, set your number to start at, whether it’s 0, 1, or any number of your choosing.
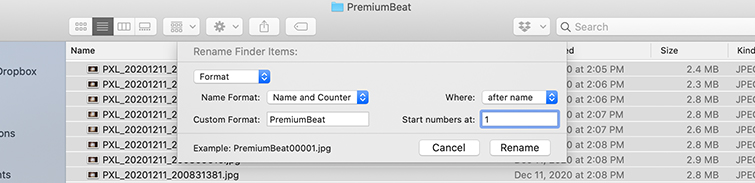
Then, hit Rename.
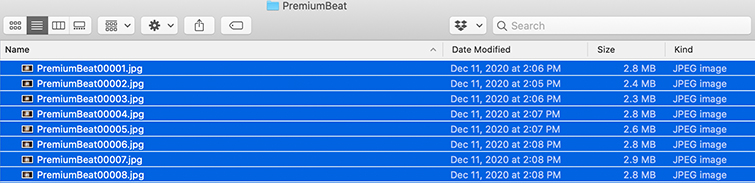
Now, import your files as an image sequence in Premiere Pro.
How to Batch Rename Files Numerically on a PC
Now, you may be tempted to select all the files in the folder and rename the first file. While this will name all your files numerically, it’ll also add parenthesis “( )” to your file name.
Unfortunately, that doesn’t play well with Premiere Pro, and most of the time you won’t be able to import file names with parenthesis as an image sequence.
The best way to rename your files on PC is using a Powershell window.
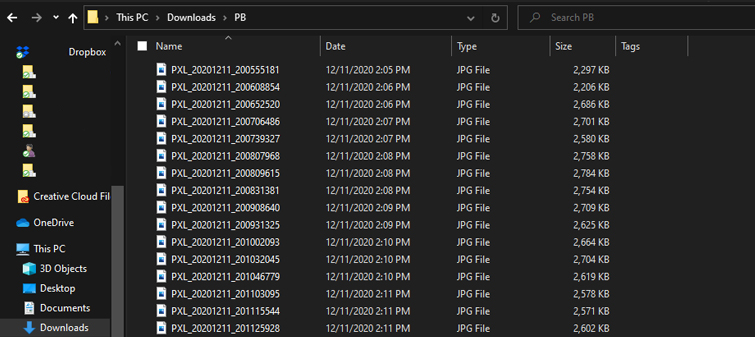
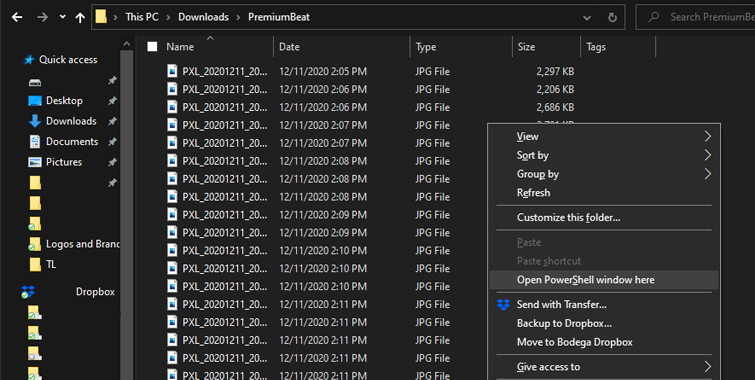
Open the folder with all your images.
Hold shift and right-click in a blank area in the browser. Select Open Powershell window here. (Make sure to hold shift when you right-click or you will not see this option.)
This will open the Powershell window.

Copy and paste the following code into the Powershell:
$i = 0
Get-ChildItem "*.jpg" | foreach-object {Rename-Item $_ "$($i.ToString('D2')).jpg"; $i++}
Hit enter and all your files will be renamed numerically.
Now, you can import those files into Premiere Pro as an image sequence.
Learn more about working in Premiere Pro: