5 Keyframe Animations Every Video Editor Should Know

As video editors, playing with keyframes is absolutely essential for producing better videos. Let’s look at a few key animations you should try out.
I find animated keyframes to be an almost magical post-production tool for cinematography. These simple frame adjustments can elevate a scene’s emotions through basic digital movement.
In this video tutorial, I dive into my top five keyframing moves that you can use to make some magic in your next project.
How to Make a Keyframe Animation
Before we get into the different ways you can creatively use keyframes, we need to know how to actually make a keyframe animation.
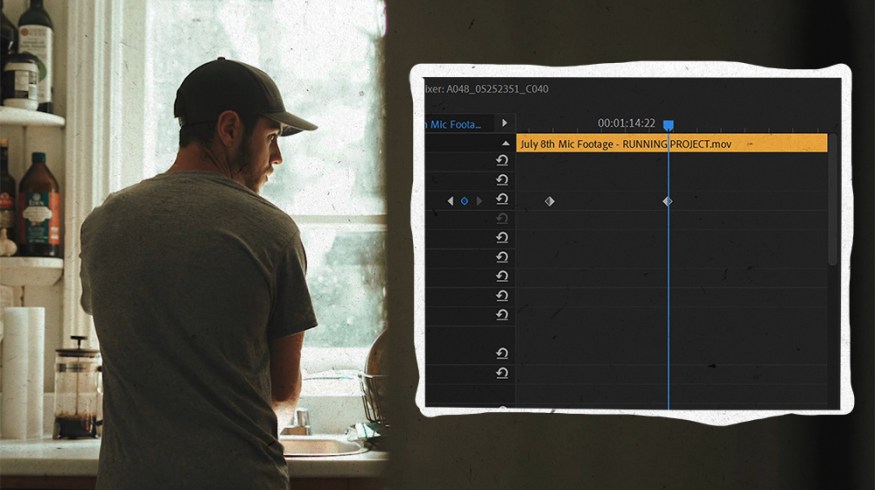
Step 1: Find the clip you want to animate, then go into its Effects panel. Under the Motion section, press the small stopwatch beside scale and position. On your Effects timeline to the right, two tiny diamonds will appear. These are your keyframes.
Step 2: Play your clip a few frames forward and change the scale and positioning to your desired parameters.
Step 3: Slide the last keyframe marker to the tail of the clip and your first keyframe marker to the top. Then, watch as your clip magically moves.
Now that you know the steps required to make this magic, I’m going to share my five favorite keyframing aces to keep in your sleeve. Since most of the steps are rinse and repeat, the only one we’re going to adjust is Step 3.
1. The Slow Zoom

Slowly increase the size of the clip – adding movement – with the zoom effect.
This is basically just setting two keyframes that slowly increase the scale of the image, creating a “zoom” effect. I do this all the time to spice up the flow of the edit when I’m using a shot that’s static.
To do this, place a keyframe marker at the beginning of the clip. Then, scroll to the end, place another, and set the scale to 110 instead of 100. This will slowly increase the size of the clip. You can turn this into a zoom-out by switching the first keyframe with the last keyframe.
2. The Fast Zoom
The fast zoom is exactly that — a way to quickly zoom into your shot. Be careful when using this one, as it could be a bit jarring for your audience. Like anything with editing, try it out and see how it flows. And, if you like it, you can leave it in! To add a fast zoom, simply follow the exact same steps as the slow zoom, but instead of setting the scale to 110, set it to 200.
3. Slider or Tracking Motion of Actor
The slider will create a panning effect in your video.
The idea of this animation is simple — crop into your 4K footage, set position keyframes moving the image from left to right or vise versa. This will give you a panning effect, as if someone is operating the camera. While this mostly applies to 4K footage, you can also do this with 1080p — just expect some serious loss in quality.
To pull off the effect, scale in your image by 150 (do not press the stopwatch), then drag your position either left or right. Then, set your next keyframe at the end of your clip and drag your position back to where it started.
4. Rotate Effect

The Rotate effect creates a gentle, otherworldly sensation.
This is for when you want to get a little dreamy — trippy, if you will. To do this, first zoom into your image by increasing the scale to 150. This is to give your image the ability to fill the entire frame once you start rotating. Then, just follow the steps of zooming in, set your keyframes from the beginning to the end of your clip, and then change the rotation amount. You’ll see your image start to spin as your clip plays out.
5. Apply Keyframes to Every Clip
Finally, you can make a keyframe montage by copying the settings in your animated clip and pasting them (using Paste Attributes) into other clips in your timeline! This is just a fast way to apply keyframes to every clip.
To do this, right-click on your clip and hit Copy. Then, right-click on the clip you’d like to apply the keyframes to and hit Past Attributes. Once you’ve copied and pasted, you can go in and tweak the speed of the zoom or whatever effect you’ve applied. This allows you to bypass going through each clip and applying the same workflow.
Looking for more post-production video tutorials? Check these out: