
Video Tutorial: Time Remapping in Premiere Pro

Master the fine art of Time Remapping in Premiere Pro by controlling and manipulating Speed Keyframes.
As you’ll see in the following video tutorial, altering the flow of time is exceptionally easy in Premiere Pro. By learning how to utilize Speed Keyframes, you’ll be slowing down, speeding up, and reversing time in no time!
Now that you’ve seen how it all works, you can solidify your understanding of the Time Remapping technique by following the steps below.
Prep the Workspace

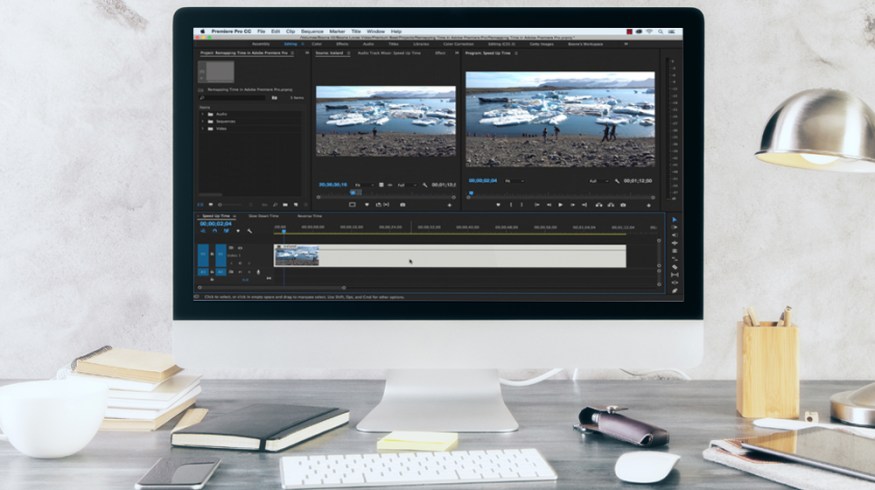
Before we begin working with Time Remapping, we need to quickly prep our workspace. In the timeline, right or control-click your clip and select Show Clip Keyframes > Time Remapping > Speed. This will allow you to see the Speed Keyframes on your clip. You’ll also want to open up the Effect Controls panel and flip open the Time Remapping area at the bottom of the Video Effects section.
Working with Speed Keyframes
The Speed Keyframes for Time Remapping are very different from regular keyframes. Confusion can set in very quickly if you don’t know what they do and how to work with them. Let’s take a look at how to use these keyframes through a few examples of Time Remapping.
1. Speed Up Time in Premiere Pro

For this example, I’m going to slowly ramp up the speed of a clip. I want it to start out regular speed and then speed up to a fast speed. First I’ll add a Speed Keyframe where I want my speed change to start. To speed up or slow down time, grab your rubberband on the clip and move it up or down. Moving up increases the speed while moving down decreases the speed. I’ll drag the area to the right of the keyframe up to speed up this part of the clip. As we change the speed of the clip, you’ll notice the Out point adjusting accordingly.
After we adjust our speed, we need to change the amount of time the speed change takes place. To do this, simply grab your keyframe and move the right side of the keyframe further down the clip in time. The gray shaded area between the two parts of the keyframe is the transition area. You can control the bezier curves of the transition by clicking on the gray area and then adjusting your curve.
2. Slow Down Time in Premiere Pro

To slow down time, simply do the opposite. Add a Speed Keyframe and then move the rubber band to the left of the keyframe up and right of the keyframe down. Drag the right side of the keyframe out to split the keyframe and add a speed transition.
3. Reverse Time in Premiere Pro

In this example, I’m remapping the time of my video clip to match a DJ scratch sound effect. To make this effect work, I’ll be reversing the time in several areas of the clip. First I’ll add a Speed Keyframe to the area where the sound effect starts. By holding the Command key while dragging the keyframe to the right, I can create a section of the clip which will play in reverse. You can see the areas playing in reverse by the arrow symbols pointing to the left in the clip’s white speedbar section.
See? Nothing to it. You have now started to master the art of manipulating time in Premiere Pro. Remember, there’s plenty more you can learn about the technique — like utilizing keyboard shortcuts!
Got any Premiere Pro tips to share with the community? Do so in the comments below!


