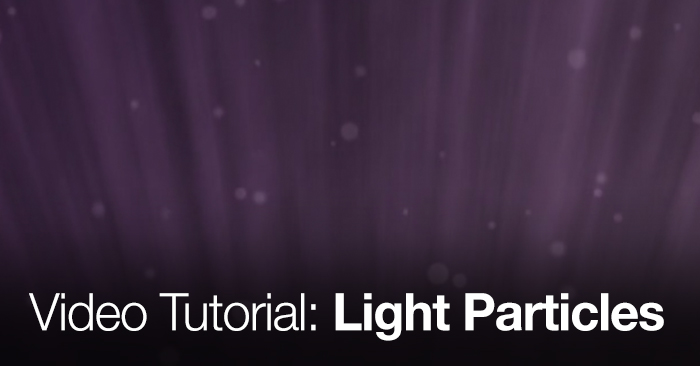
In this Premiumbeat exclusive tutorial we take a look at how to create an awesome particle based background.

Don’t purchase animated backgrounds – make them! In this After Effects video tutorial we show you a workflow for creating a particle background with a high-end look. The After Effects fundamentals covered in this tutorial include:
- Using Particle Generators
- Using Radial Blurs to simulate light
- Using Gradient Ramp’s to simulate depth
Particle backgrounds are versatile and can be used for a wide variety of projects and subject matter. How will you use them?
Don’t want to watch the video? Follow along with the step-by-step tutorial below. Click any image for larger view.
| 1 |
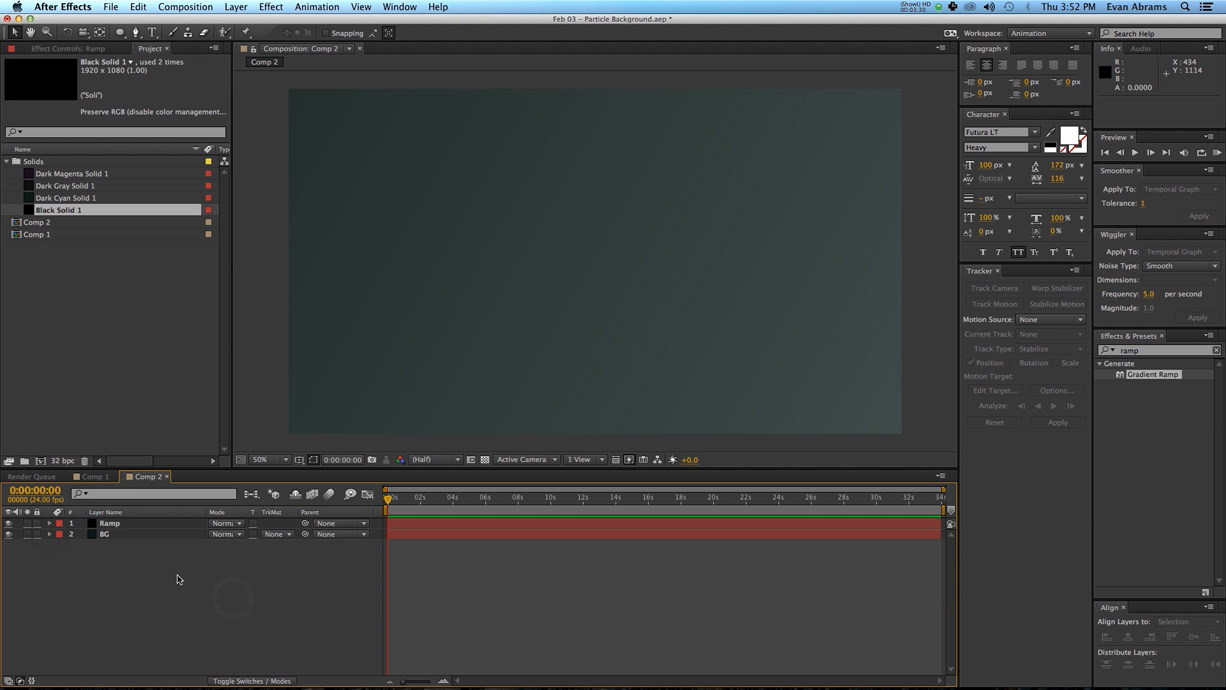
Create a new composition with a dark solid background layer. |
| 2 |
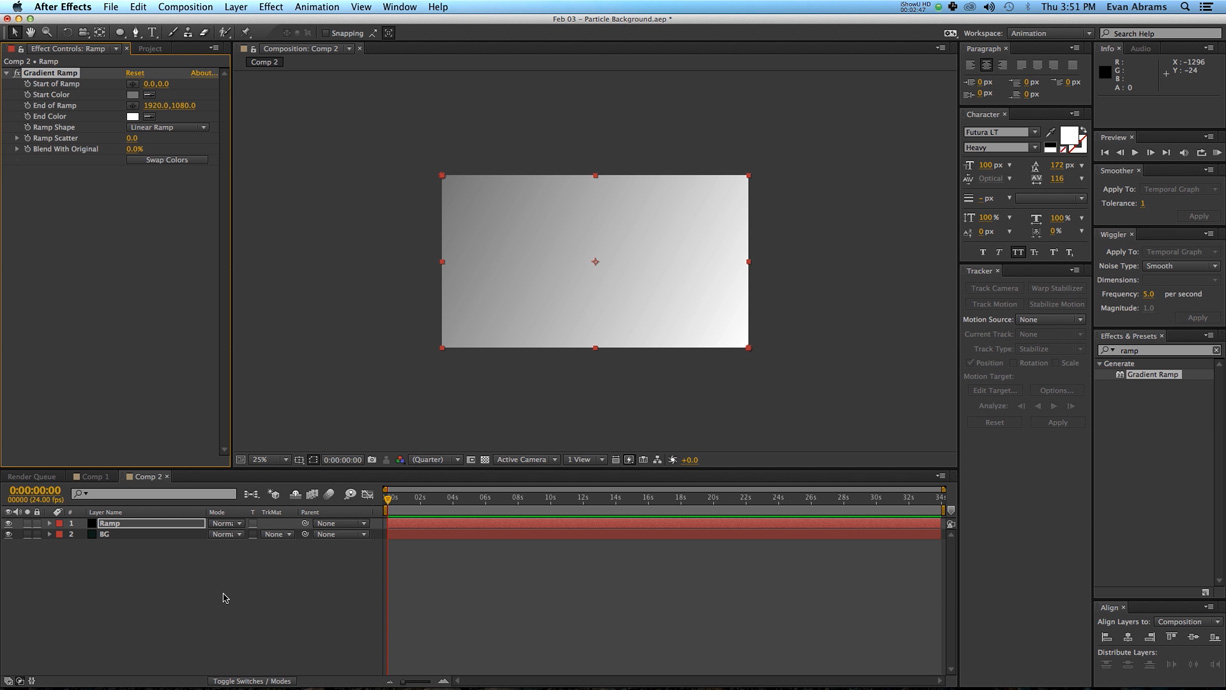
Create another new solid and label it ramp. Add in a gradient ramp with a degradation from 50% grey in the upper left corner to 100% white in the bottom right. |
| 3 |
Set the opacity of the ramp layer to 10% and change the color profile to 32 bits per channel to alleviate some of the inevitable banding. |
| 4 |
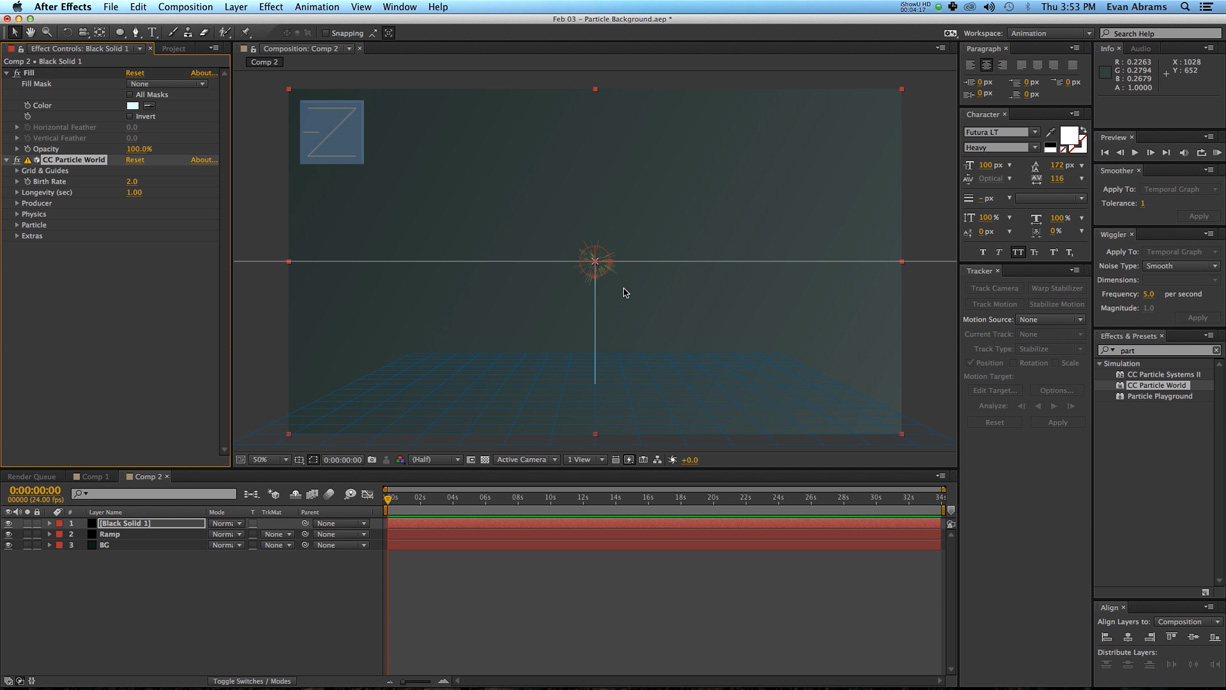
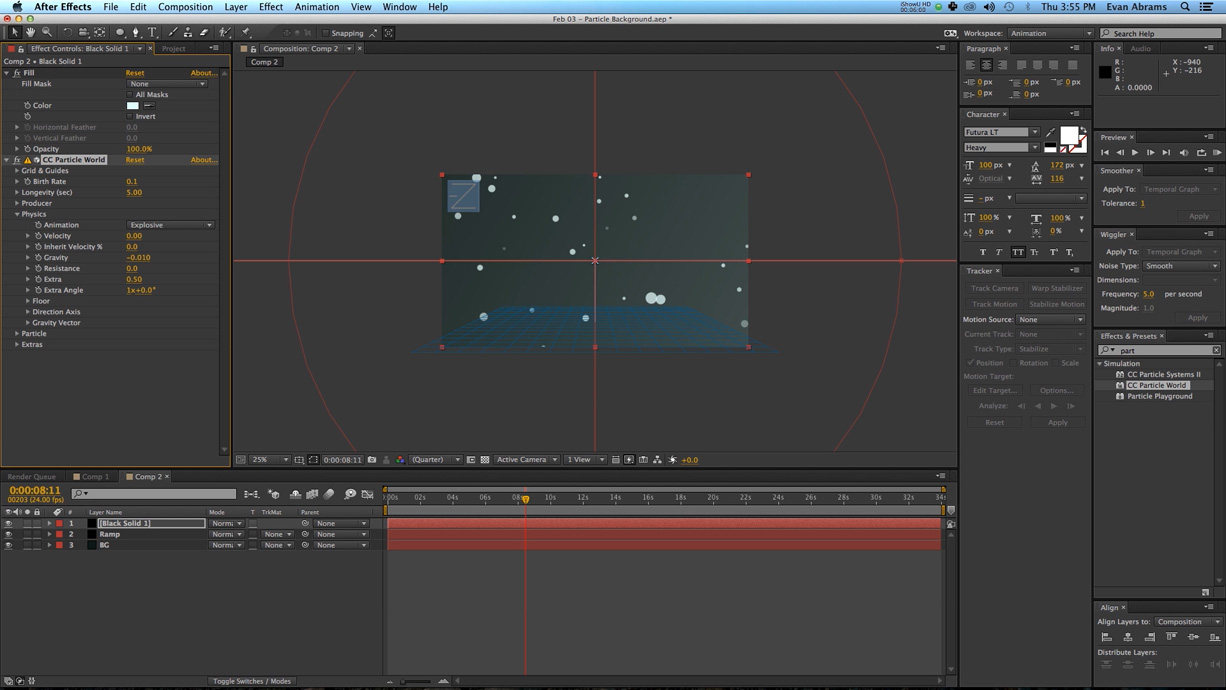
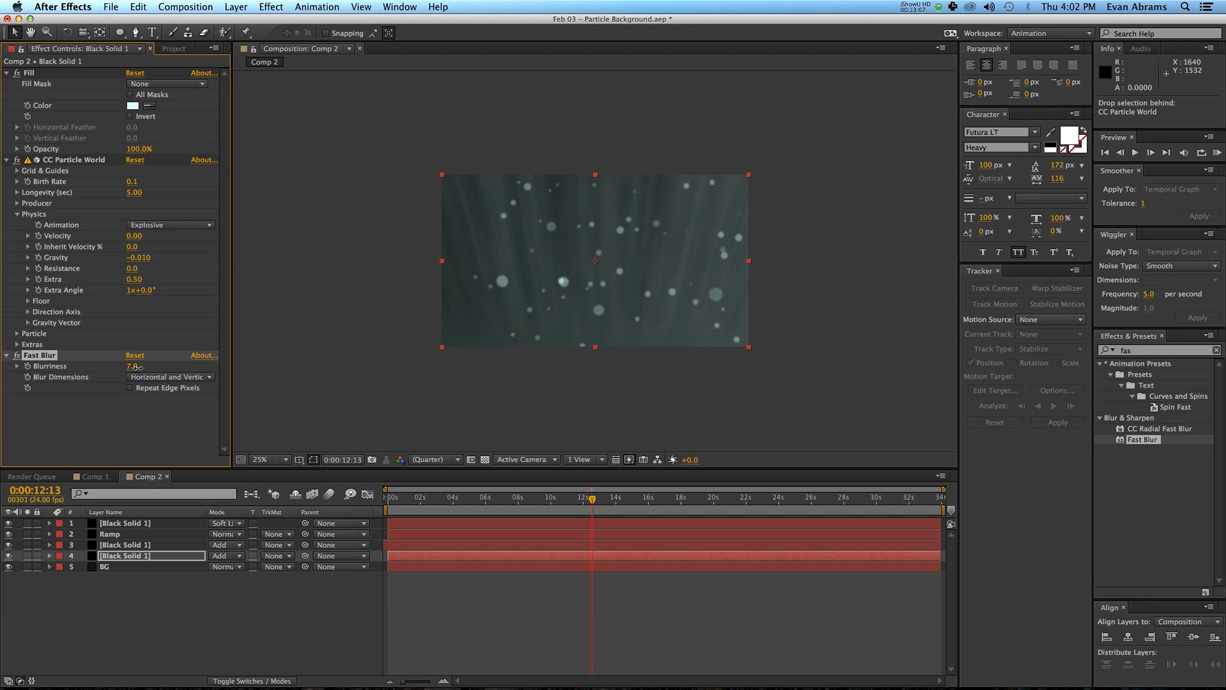
Create a new black solid. Add a fill effect and make it a brighter/white color. Add in CC Particle World. |
| 5 |
Change the radius of the producer to 1 on the x,y, and z. |
| 6 |
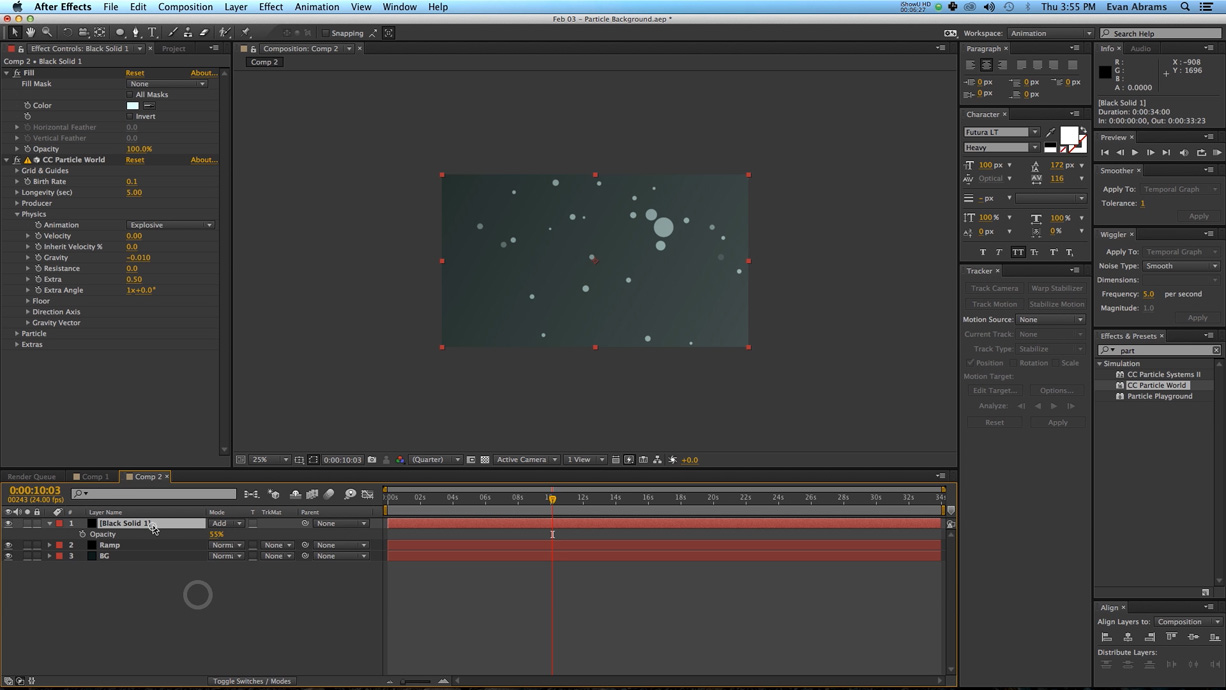
Change the velocity to 0, the gravity to -.001, the birthrate to .1, and the longevity to 5. |
| 7 |
Set the opacity of the particle layer to around 50% then change the transfer mode to add. |
| 8 |
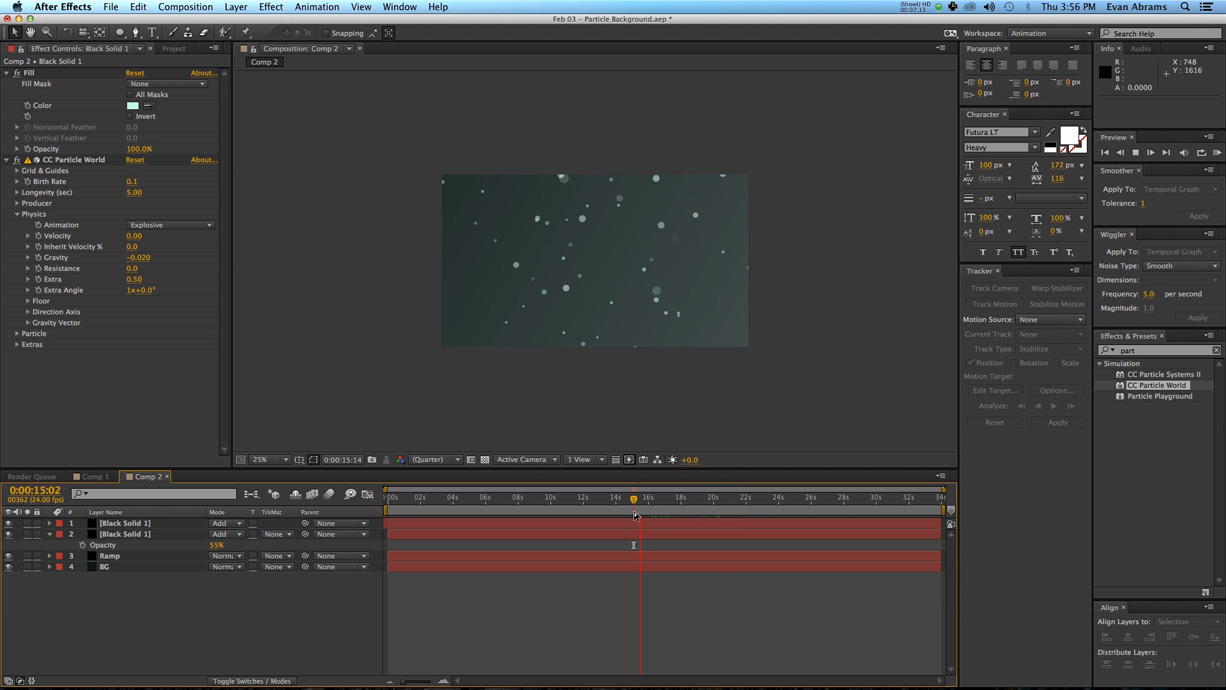
Duplicate the particle layer and offset the time by a couple seconds. You can also change the gravity to make the particles float faster. |
| 9 |
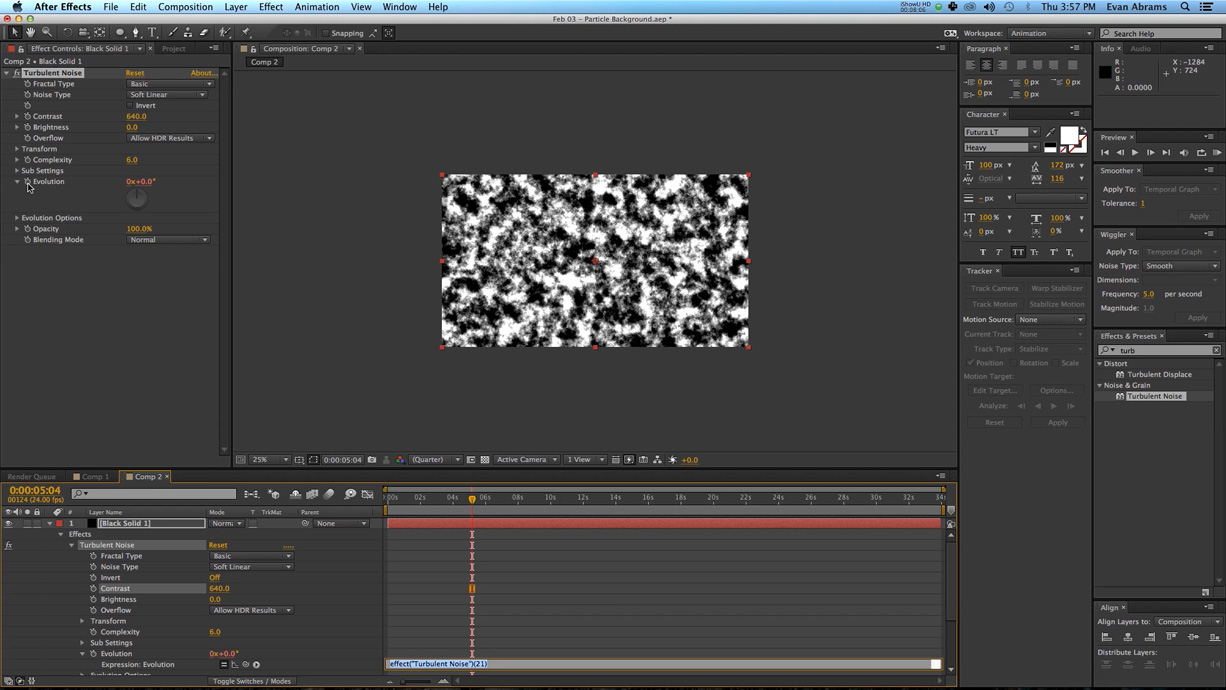
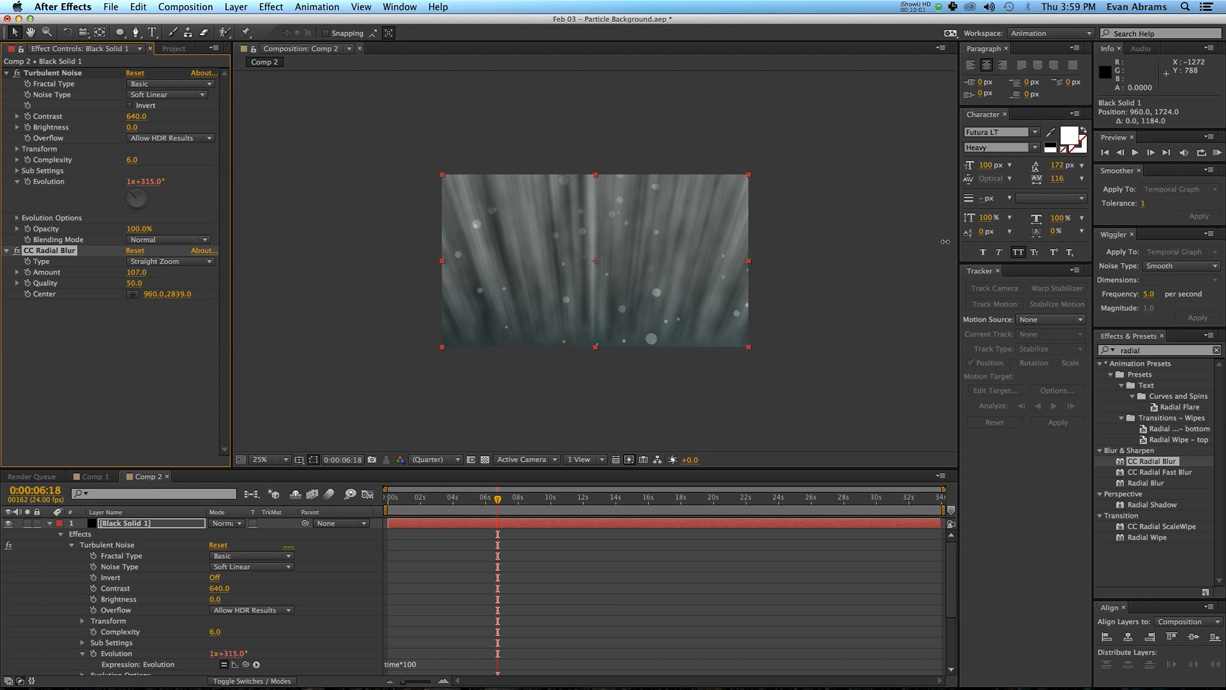
Create a solid with a turbulent noise effect added. |
| 10 |
Option click the stopwatch of the evolution keyframe. Add the expression time*100 to make the turbulent noise move over time. |
| 11 |
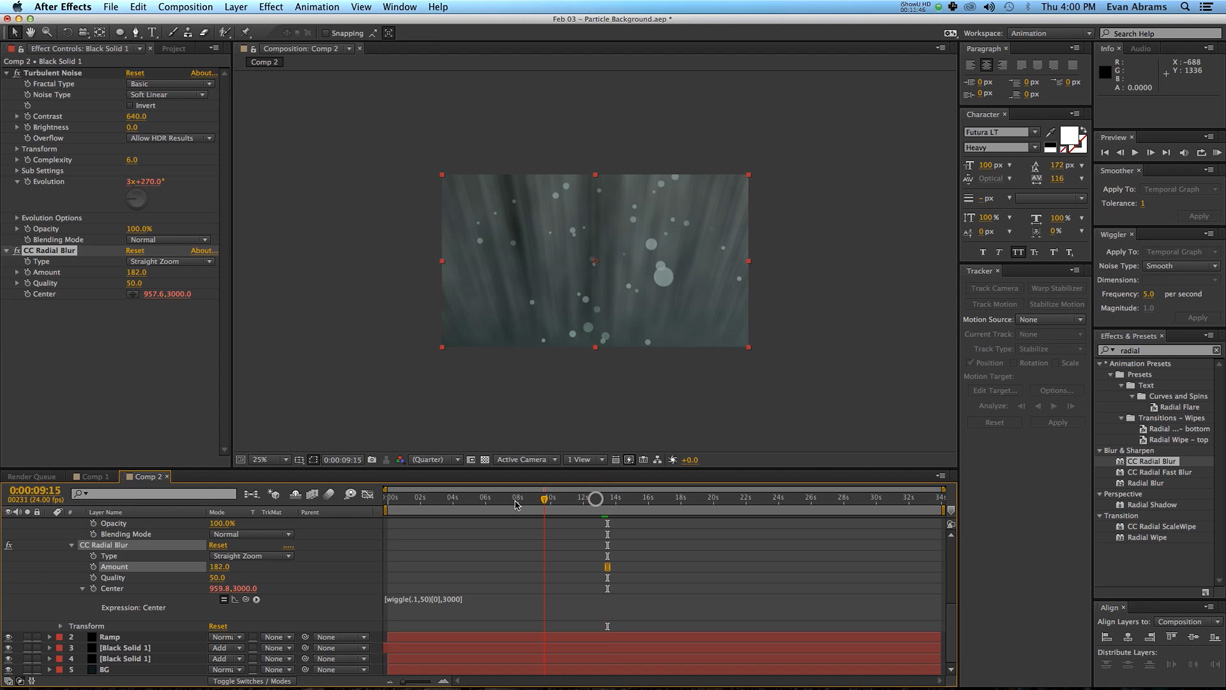
Add a radial blur to the noise. Set the amount to around 100, the position to be far below the composition, and the type to any one of the three zoom patterns. |
| 12 |
Add an expression to the center parameter:[wiggle(,1,50),3000] |
| 13 |
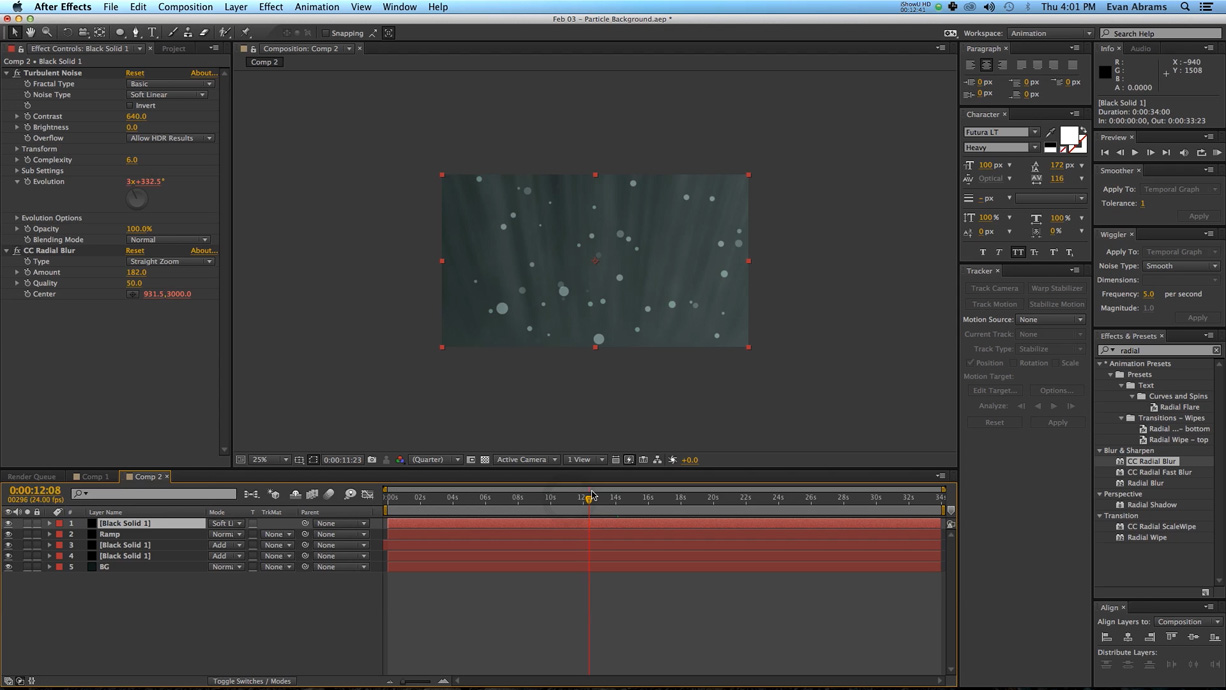
Set the transfer mode of the light layer to soft light. |
| 14 |
Blur out the particles using a fast blur. |
Know of any other ways to make professional background designs? Share in the comments below.
