Animated Titles with Text Presets in After Effects
Premiere Pro video editors should take advantage of the great titling and lower-thirds tools in After Effects. Discover how the text presets in AE can help you get professional results.
The text tools in Premiere Pro are sufficient for basic titling, but if you want a more robust toolset, After Effects is the way to go. This tutorial lays out the basics of creating animated text in After Effects using presets. Once you’ve got the basics down, experiment and create your own unique text effects. Let’s jump in!
Premiere and AE Text Workflow
Open a Premiere Pro Project, and then select File > Dynamic Link > Create New After Effects Composition. Save the Project, and a new After Effects composition is created for you. From the Layer Menu in Adobe After Effects, select New >Text, which creates text centered in the composition.

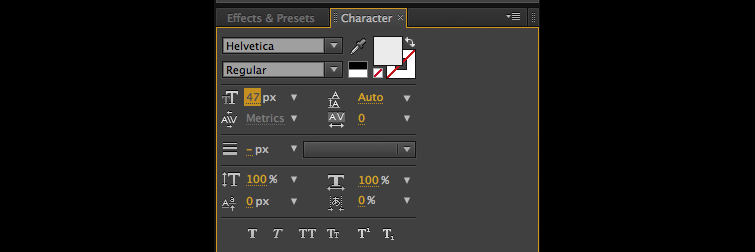
Start typing to create your title. Click on the text layer in the After Effects composition to select it and now you can adjust your text in the Character Palette.

From the Animation Menu select Browse Animation Presets. This launches Adobe Bridge, which lets you see the various presets that ship with After Effects. Note: The Text category only works with After Effects text.

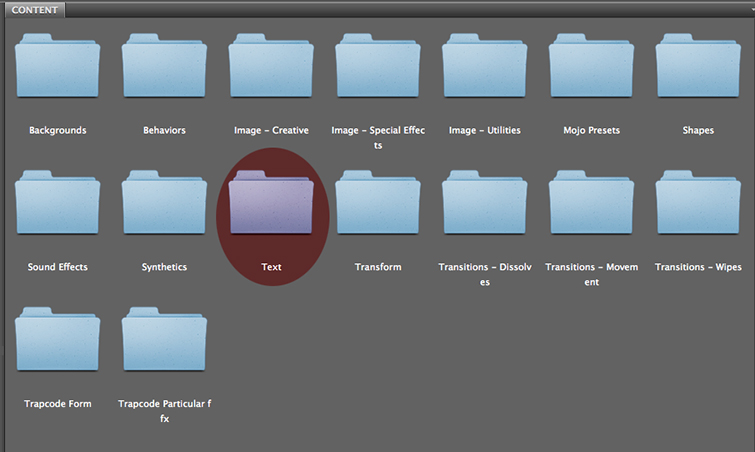
Double click on the Text folder…

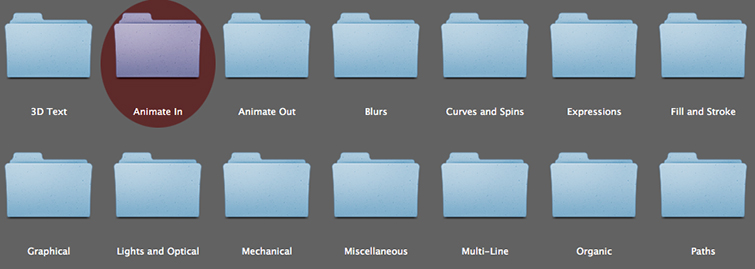
Then Double-click on the Animate In Folder.

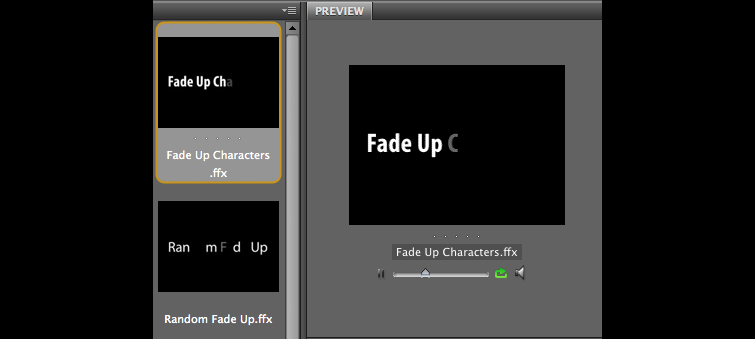
For this example, we’ll use the preset called Fade Up Characters. Click once on this preset to see a preview of the animation.

Now, double-click on Fade Up Characters and this will apply the preset to your selected layer in After Effects.
Important: Make sure the layer is selected before you go to Adobe Bridge or it will create a new text layer with the placeholder text “Adobe After Effects.”
Use the shortcut Command + Tab (Mac) or Alt + Tab (PC) to quickly get back to After Effects.
In the After Effects Preview Panel, click the RAM Preview button and watch the text animate on.
With the layer selected in the Composition, Press U (uber key) to reveal the keyframes created by the preset. To change the length of the animation, click on the second keyframe and move it closer (faster) or further apart (slower). Select both keyframes by clicking on Start, right-click and choose Keyframe Assistant > Easy Ease.

Once you save the file in After Effects, it will save back to your Premiere Pro project via Dynamic Link. This is a quick and easy way to harness all the text presets in After Effects in order to spice up your Premiere Pro video edits.
If you’re looking for more AE insight, be sure to visit PremiumBeat’s After Effects archive! Your motion design game will thank you.


