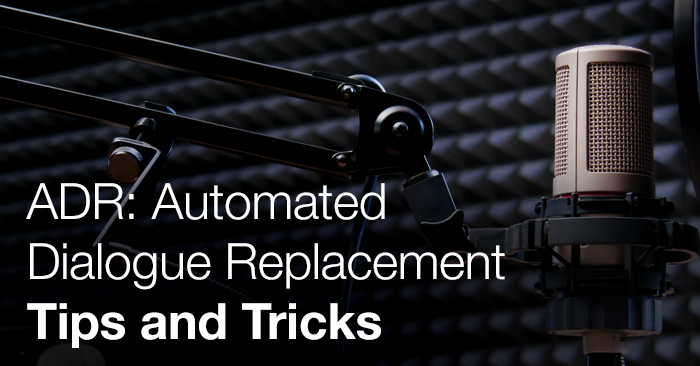
ADR: Automated Dialogue Replacement Tips and Tricks

Recording, editing and mixing ADR is an essential part to becoming a successful filmmaker. From pre-production ADR to post, we’ve got you covered.
ADR (Automated Dialogue Replacement) is a method of superimposing dialogue that has been recorded in a controlled, acoustically treated space. Location dialogue oftentimes becomes problematic when the ambient noise of the environment is too high, the equipment malfunctions, or when the talent is just not projecting over what should be background noise.
Almost every modern Hollywood film has anywhere from 30% to 70% ADR dialogue, so it’s an integral part overall of any film’s success. If executed properly, ADR can even salvage entire scenes.

Image from Post Magazine
A Word About ADR Looping
Before we begin, there are a few key elements to ADR that you must strategically plan to set up the recording session correctly. By looping, play back of a repeating loop from the film is fed to the recording talent while simultaneously recording the new dialogue. There are two types of looping: visual looping and audio looping. With visual looping, the actor will listen to the location take several times to get a feel for the delivery before attempting to track the dialogue. When recording however, the talent will not hear the previous location take but will watch the scene to match lip sync. In their headphones/monitors they will hear the line they’re delivering real-time. Visual looping requires a split video feed if the ADR is not recorded in the control room.
Audio looping will typically produce the most desirable results, however it is usually much more time extensive. The session is performed the same way as visual looping, excluding the video monitor and without muting the original dialogue track. Many ADR engineers even use a hybrid of these techniques.
Always break up the looped lines into smaller sections to maintain consistency and sync. For better sync when beginning the line, try recording three beeps exactly one second apart each, with the final one being one second before the first word starts. This provides an audio cue; essentially a metronome, to start the talent in the correct rhythm of the ADR line. For more on this, take a look at “What is ADR?” at the end of this article.
Treating Your ADR Recording Space
In post-production, you have much more control over your audio then you do when recording on location. The overall goal is to obtain a clean ADR recording so later you can put the dialogue in the appropriate acoustical space with EQ and reverb. If you are not in an acoustically treated environment, follow these tips and tricks below to treat a given space:
- Use thick blankets to dampen hard surfaces if early reflections occur (on the floor under talent, use C-stands to construct walls)
- Place talent so that the largest area in the room is facing them (again, minimizing reflections)
- Hang a small blanket, towel or felt over talent’s music stand
- Eliminate all ambient noise (air conditioner, fridge, fans, etc.)
- Overall, deaden the sound as much as possible to yield best results
ADR Equipment
When recording ADR, it is important that you use the same microphone used on location to capture the dialogue. The goal of ADR is to convincingly match the dialogue in frequency response and tonal characteristics to the location audio with ideal mic placement and acoustics. All microphones have different frequency responses and polar patterns yielding different tonal characteristics, so match accordingly.

Digital audio workstations such as Avid Pro Tools, Ableton Live, Logic Pro, Adobe Audition, Nuendo and Cubase will satisfy all of your recording and looping needs. It’s important to utilize audio production software as the recording and looping capabilities of video editing software is typically inferior.
- Microphone
- Preamp / Interface
- Digital Audio Workstation (DAW)
- Headphones
- Video Monitor
ADR Microphone Placement & Delivery
Depending on what mic you are using, it is important to maintain some distance between the microphone and the talent to create a sense of realism to what you see. If you are using a shotgun microphone, try a distance from 10 inches to 2 or 3 feet, depending on how wide the camera angle is in relation to the talent’s distance from the camera. For shotguns, it’s best to place the microphone just off axis and pointed downwards, slightly to the left or right of the talent. Shorter shotguns should be closer. Don’t forget a pop filter if necessary!
How the actor delivers the line is a very crucial process affecting the delivery and tone of the ADR. If the talent is replicating the same body language and mood as is used in the scene, it will aid a great deal to the quality of the lines and ease your workload in post-production.
Post-Production, Ambient Tone & Reverb
Now that you have obtained a clean ADR recording, you can begin adding the appropriate acoustical space to your tracks. Before you begin, it’s important that all of the ADR dialogue is in sync. There are a few tools and tricks to utilize bringing out the best sync: VocALign Pro is a powerful plugin that processes your ADR into near-perfect sync. By using the waveforms from the original location audio, VocALign Pro performs a series of time stretches and contractions to sync the ADR. Another option is to edit the ADR manually, but this can be very time intensive.
Next, add your ambient tone, or “room tone” that was recorded on location. This will fill the spaces between the dialogue and insures what you’re seeing coincides with what you’re hearing. Finally, add EQ and reverb, tastefully putting each phrase in it’s appropriate acoustical space. Many engineers use convolution reverbs (a reverb plugin simulating a real acoustical space).
For more on ambient tone, EQ, and reverb, check out Sound Design 101: Making Your Film Sound Great.
Got ADR tips or tricks? Share in the comments below.