Audio Tips and Tricks: Removing Echo and Reverb

Use these audio tips (and a couple of plugins) to easily remove reverb and echo from dialogue.
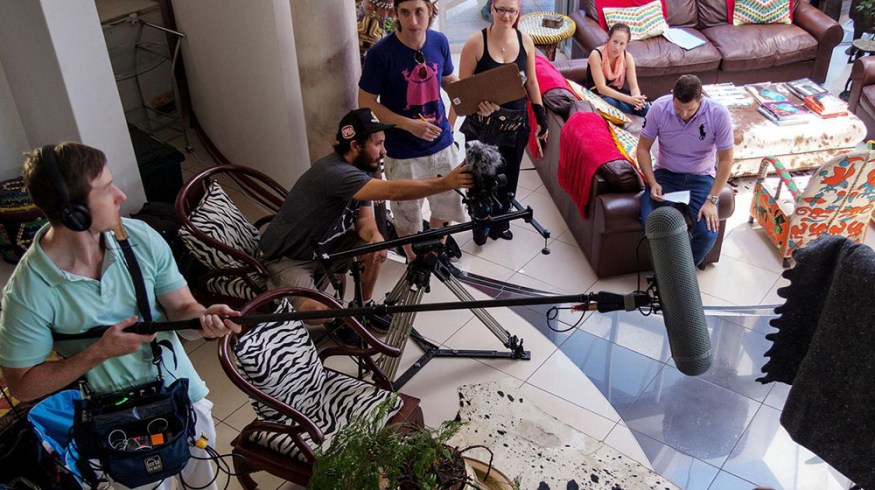
Top image from ryanhall.co.za
Recording sound dialogue can prove challenging on set. Sometimes we find ourselves sacrificing ideal audio conditions for a beautiful shot. Whatever the case, we’ve all come across dialogue audio recorded with too much natural reverb present within the room.
If budget and time allows, ADR is the higher-quality option to replace your cavernous dialogue recording. Though as filmmakers often know, the best option isn’t always the most realistic in completing your project.
In any case, there are a few great plugins (compatible with Adobe Audition, Premiere Pro, and most audio/video editing software) that can actually “de-verb” your dialogue audio.
Don’t want to buy them? All of these plugins have trial-versions you can try out for free. Let’s take a look below:
- Acon Digital DeVerberate ($99.90)
- SPL De-Verb ($59.00)
- iZotope RX4 ($1,200)
Here’s a video tutorial from Curtis Judd of Learn Light and Sound that covers the removal of echo and reverb from dialogue audio using two of the above plugins: Acon Digital DeVerberate and SPL De-Verb. After the video, we’ll look at the steps Judd took in his process.
This video tutorial was first shared by Curtis Judd on his YouTube channel. Thanks, Curtis!
Acon Digital DeVerberate Step-by-Step Tutorial
1. Open the plugin and select reduce room reverb from the preset menu. Listen to the dialogue audio with and without the plugin engaged.

2. Next, adjust the reverb time (the time it takes for the original source sound to reflect off of the walls and come back to the microphone) in the source reverb settings box. As a general rule of thumb, larger rooms require a greater amount of reverb time (in seconds). Enable the difference monitoring box. This allows you to hear the amount of reverb the plugin will be filtering from your dialogue audio. Adjust the reverb time parameter gradually while playing back the audio. Adjust until you begin to hear only the reverb from the dialogue.

3. Uncheck difference monitoring to hear what effect the plugin has on the dialogue. Next, adjust the reverb level (dB) parameter (the amount of reverb to reduce/add) balancing between reverb removal and avoiding artifacts.

4. Although your dialogue audio should be sounding pretty good at this point, there may be some artifacts in the audio from the reverb reduction. Next, we will use the spectral smoothing parameter to reduce these artifacts. Use this parameter carefully as higher values may bring back some reverb.

SPL De-Verb Step-by-Step Tutorial
1. Upon opening, you will find this plugin has a very simple interface with only two parameters: reverb reduction, and output gain. Select the preset titled Less Room – more direct from the preset selection menu.

2. Adjust the reverb reduction parameter until you cancel out most of the reflections, resulting in dry and direct dialogue. As you turn the parameter counter-clockwise you will hear more reverb reduction.
No problem, right? Want some audio-centric tips and tricks? Check out these links from PremiumBeat:
- Audio Editing: Mixing Speech and Music in Premiere Pro
- Audio Masterclass: How to Be a Better Sound Designer
- Audio Resources for Filmmakers
How do you remove reverb from your audio? Got any tips you’d like to share? Let us know in the comments below.