

How to Edit a Music Video Without Using Multi-Cam

Many music video editors work with multi-cam projects to increase speed while editing, but sometimes the best results call for a more traditional approach.
Top image from Zophia Creative
Almost every NLE today has some form of multi-cam functionality built in, and most of them work very well. FCPX in particular has one of the best multi-cam tools that I’ve ever used, and it’s been extremely helpful for editing music videos over the years. That said, more often than not, I prefer to cut music videos more traditionally, as I find it makes my choices feel more deliberate.
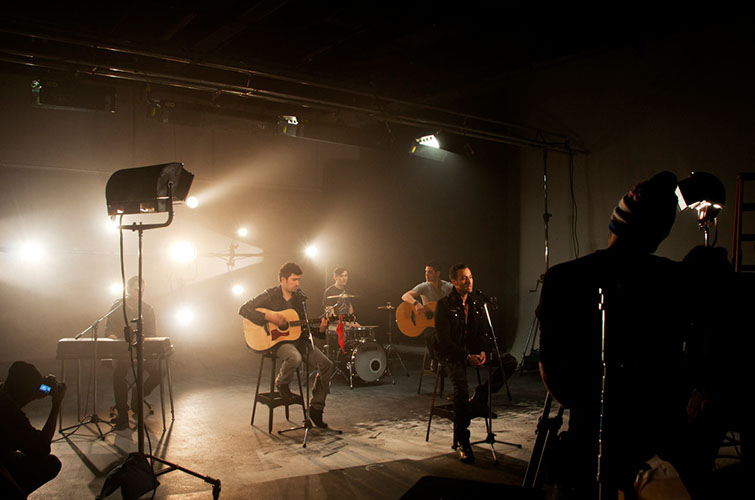
Image from Richie Arellano Photography
Multi-cam projects are a great way to get your video looking pretty good, pretty quickly. Once the project is set up, you can simply play through your track and click away on each camera angle, much like operating a live switcher. However, if you’re like me and you enjoy having as much control over your edit as possible, then these three tips will help you get the results you want while still saving you time in the edit suite.
1. Sync & Edit the Performance First
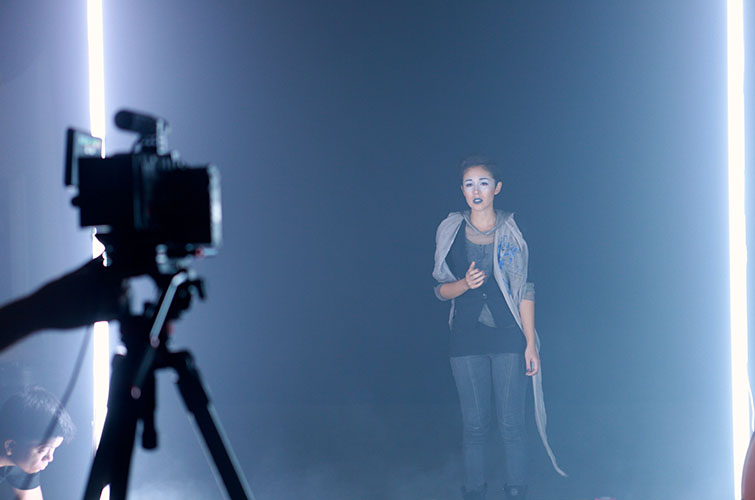
Image from K-Pop Buddy
Assuming your video has a performance element to it, I highly recommend you start by working in that material, as it will be the backbone of your entire music video. Before dropping in any B-roll or storyline shots, simply stack up every last useable performance take on your timeline and create razor blade edits on important beats.
Typically when editing a music video, I’ll make razor edits on every single beat of the song before I actually make any editorial choices. Once I’ve gone through the whole track, I’ll go through it again and delete the clips that I’m not going to use for each beat of the song. Although it takes more time up front to set up your project this way, it’ll save you a lot of time once you’re up and running.
2. Be Very Specific With B-roll Choices
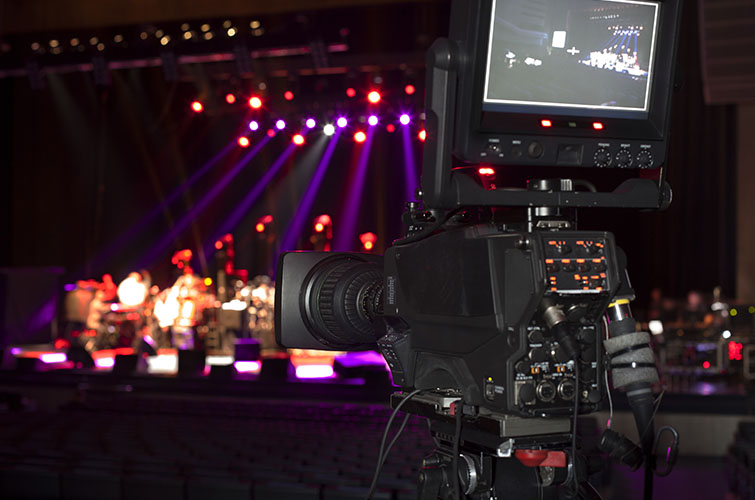
Image from Shutterstock
Much like my recommendation to edit the performance on its own first, I recommend taking the same approach with your storyline or B-roll shots. Instead of throwing everything together in a timeline with the performance right away, edit your B-roll in its own timeline – much like a short film.
Be very specific about the B-roll you select and only use the absolute best shots. That way when you edit it in with the performance (we’ll touch on that below), you won’t have to re-edit much of your material, as the majority of the legwork has already been done.
3. Edit Nested Sequences

Image from Shutterstock
Assuming you’ve got two fully edited sequences – one performance and one B-roll – all you need to do now is combine them to create your final edit. My preferred method of doing this is by using nested sequences, or compound clips in FCPX.
With this approach, you’re effectively only editing two tracks. Track One is your performance and Track Two is your B-roll. Of course, within each of those tracks, hundreds of edits have already been made. So when it comes time to editing the nested sequences, you really only need to choose between when to cut to B-roll and when to stay on your performance shots.
Here are a few more resources from around the web that touch on the ins and outs of music video editing:
- These 5 Video Editing Tricks Will Make Your Editing Faster and Your Videos More Enjoyable to Watch – Fstoppers
- 5 Editing Tips for Music Videos – Vashi Nedomansky
- Editing a Film to Music (Without it Becoming a Music Video) – PremiumBeat
Got any advice for your fellow editors? Let us know in the comments below!


