
Audio Editing Tip: Matching ADR and Location Audio in Post

Mixing and matching ADR with location audio can be very challenging, but these audio editing tips will help you get much better results every time.
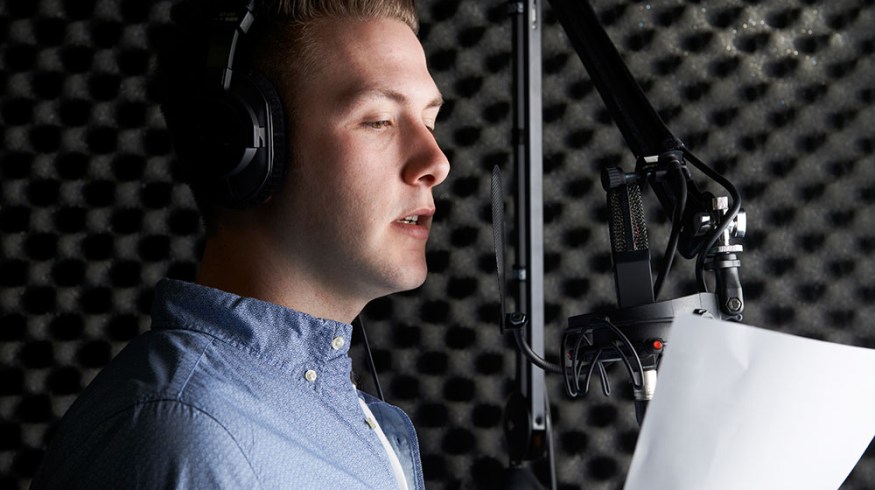
Top image: man in ADR booth via Shutterstock
Nobody enjoys having to record ADR. It’s a fairly grueling process that usually occurs at the tail end of a production when you just want to wrap things up and get your project out the door. What’s even more frustrating than having to record it in the first place though, is attempting to match the sound quality with your source/location audio.

Capturing location audio via Antuan Mejias
Imagine a scenario where you’re editing a project that was shot entirely on a busy city street. Most of the location audio sounds solid, but there are a few takes that just aren’t working. Maybe the noise from the street bled through too much on a critical line or there was a technical issue with the mic, ultimately leaving you with the reality that you need to record ADR for a portion of the scene.
Once you go back into the studio with your talent and rerecord their dialogue to match with picture, the work has really only begun. It goes without saying that clean, studio recorded audio tracks are going to sound very different from on location recordings, so ultimately you’ll need to take some measures to get the audio to match up.
In a best case scenario, you’ll send your edited timeline to a dedicated ProTools artist who will help finesse the audio until it’s perfect. But in some instances, you may very well be left with the task of tweaking the audio yourself, and if that’s the case you should always adhere to these audio editing tips:
Remember Why You Recorded Room Tone

Recording room tone via Christopher Morris
Assuming you’ve done your job properly on set, you should have room tone recorded for each location you shot at. Room tone of course, is simply a track recording of ambience in your location which can be used during the audio editing process.
One of the most critical steps in matching ADR with location audio involves the addition of room tone, which can be an art unto itself. Always ensure that you are not only adding in room tone, but mixing it down so the levels are equal to the ambient levels on the rest of your dialogue tracks. Also be sure to add crossfades carefully at the top and tail of your clips to ease in and out of the room tone clips.
Just with this single step alone, your audio track will start to feel far smoother, as there will no longer be an absence of natural background noise when playing through the ADR segments. Here’s a quick video from Vimeo Film School that covers the basics of room tone:
Know How to EQ

ADR Recording and EQ via ECG Productions
Much like how cameras all have their own distinct looks to them, microphones all have their own characteristics and sounds. It’s highly unlikely that the mic that’s being used to record your ADR is a perfect match for the mic that you were using on set, so you will notice some differences in audio quality right off the bat.
For instance, you may find that your location audio has more high end (treble), while your ADR recording is more bass heavy. This can easily be adjusted and compensated for with a little bit of EQ work, which can go a very long way in helping the different recordings to blend together.
Start by getting your basic levels where they need to be so that all of your tracks match at least from a gain standpoint. Then adjust your highs, mids, and lows on both the source audio and the ADR recordings to try to find a good happy middle ground. Once you’ve found the right balance, the majority of the heavy lifting is done. If you’d like a deeper look at EQ basics, check out the post Basic Guide to Understanding EQ over at B&H. It isn’t a software-specific approach to EQ, rather it’s a general look at the science behind the process.
Reverb Matters

Sound Engineer at work via Shutterstock
One of the other critical elements to take into account when dealing with ADR material is the lack of reverb. Assuming you’ve recorded in a professional soundproofed studio, your source ADR tracks will have little to no reverb at all. In contrast, depending on where you shot your original footage — it is very likely to have at least some degree of reverb.
Imagine you shot a scene in a cathedral with a huge amount of reverb in it, and then attempted to place in some ADR tracks to replace a few lines. Obviously, the sound quality would be extremely different even if room tone had been added and a proper EQ was completed. Ultimately the difference would probably be a direct result of reverb (or lack thereof).
Always be sure to not only apply reverb in your editing system, but also take the time to fine tune it so that it matches with your location audio as closely as possible. Reverb can literally come in all shapes and sizes, so you need to ensure you are taking enough time to not only select the right effect, but also fine-tune the settings if you want to get the most realistic and flawless results.
Got any audio editing tips for the community? Share them in the comments below!


