Harness the Power of Blackmagic Camera Presets
Presets save time and help avoid operator error. Let’s take a look at how to use them when shooting with the popular Blackmagic Pocket Cinema Camera.
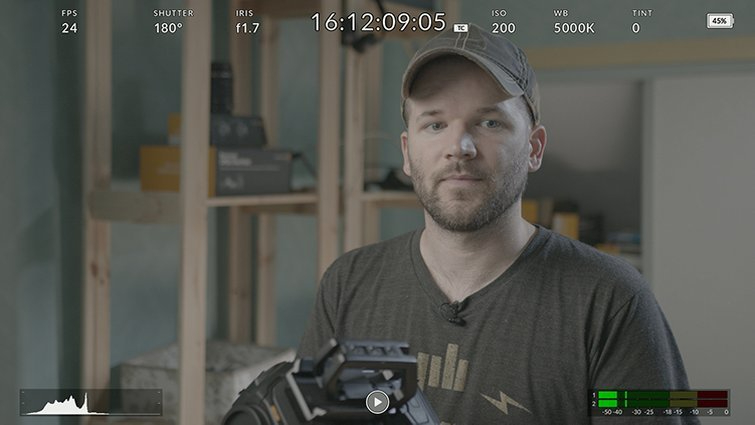
On most days of the week, I’m using my Blackmagic Pocket Cinema Camera 6K to shoot tutorials in my office. I have several different angles and, occasionally, I’ll shoot some b-roll, but it’s almost always set to the same settings while in the office.
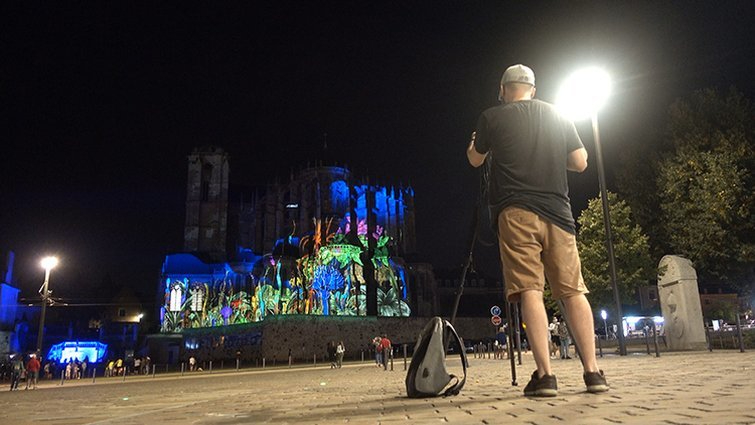
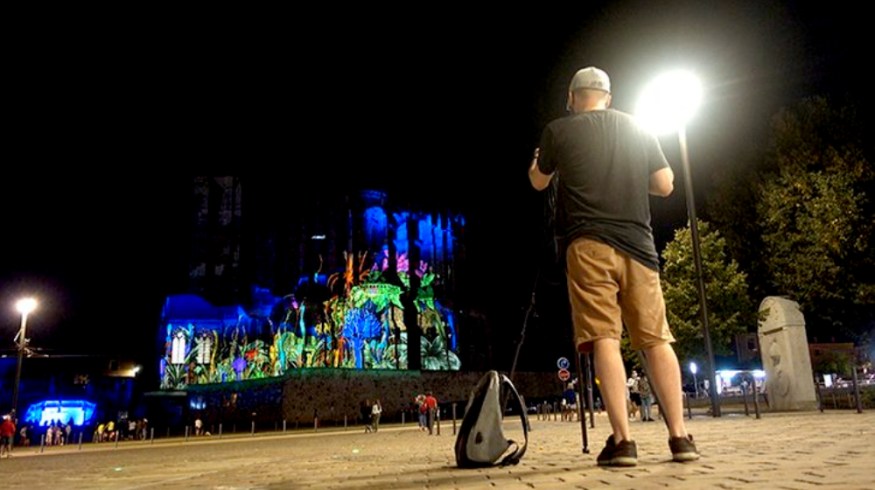
However, for the past week, I’ve been going out at night to shoot the annual Night of Lights festival that takes place here in Le Mans, France. Naturally, this shooting situation requires very different white balance and exposure settings than my tutorial setup. For this reason, I have to constantly change my camera settings each time I go out and come back from my night shoot.
To make things easier on myself, I’ll harness the power of Blackmagic’s in-camera presets. Once set up, I’ll be able to change the settings with the simple tap of a button. Let’s take a step-by-step look at how to use presets.
Step 1: Adjust the Camera Settings
My indoor setup is lit via an Aputure 120D key with the aid of some window light. The white balance is set to 5000K, with an ISO of 200 and a shutter angle of 180 degrees. For audio, I’m using a Deity Wireless connect lav mic, so I’ve set the audio input to XLR Mic.
When I go out to shoot at night, I’ll be changing nearly all of these settings. My white balance will be set to 3200K, with my audio input set to the internal camera microphone. The ISO will hover between 3200 – 8000, depending on how dark the environment is, and I’ll open up the shutter angle to just under 360 degrees. This will give me enough light while avoiding any flickering issues.
Now that I know the parameters for each shooting scenario, I’ll create my presets.
Step 2: Create the Presets
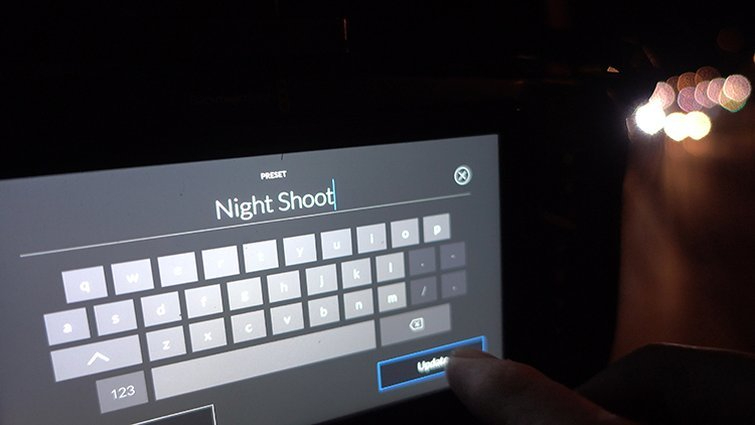
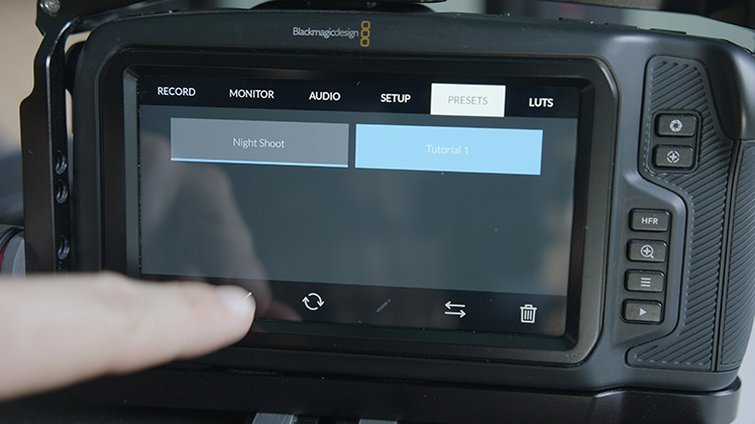
First, I’ll create my daytime indoor tutorial preset. With the camera settings in place, I’ll open up the BMPCC Menu and navigate to the Presets page. Tapping the plus (+) icon at the bottom-left will create a new preset, which I’ll name Tutorial 1.
Once I’m out on my night shoot and I’ve got the camera setting in place, I’ll add my second preset via the same steps, naming it Night Shoot 1. I’ve noticed that certain streets are much darker than others, so I can create two or three Night Shoot presets. This will make my running-and-gunning even easier.
Step 3: Load the Presets
Now, it’s as simple as navigating to the Presets page and loading each preset as necessary. Simply select the preset, then press the check mark at the bottom-left of the menu.
Step 4: Share the Presets
As you can see, presets are very useful when I’m using one camera in a number of different shooting environments. They’re equally as useful when using multiple cameras on the same project. While my presets are stored in the camera’s internal memory, I can share them with other Blackmagic Pocket Cinema Cameras. This is great if I want to have multiple shooters come out with me on my night shoot or simply add a second camera to my arsenal.
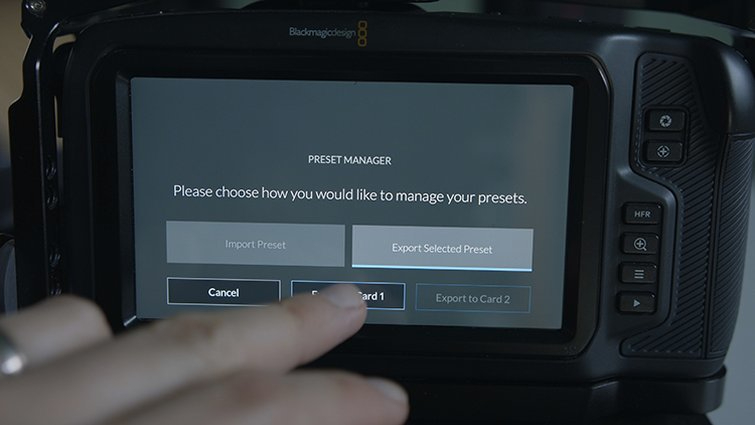
To share a preset, I’ll navigate to the Presets page and select the Import/Export button. I’ll need to send the preset file to either a CF, SD, or USB device. I’ll use my Angelbird CFast card, which is already in my camera. Once exported, I’ll insert the CFast card into my second BMPCC and bring it in via the same Import button in the Presets page. Once imported, I’ll still need to activate the preset via the check mark button.
Indeed, Blackmagic’s presets can save me a lot of wasted time spent changing camera settings. They’ll also help me avoid operator error. If I’m changing my camera settings twice a day every single day, that leaves a lot of room for mistakes. More than once, I’ve forgotten to change audio settings when jumping between shooting scenarios. Let’s just say — it wasn’t good.
If you’re using a Blackmagic camera, you definitely want to take a closer look at the Presets page.
If you’re a Blackmagic fan — and, really, who isn’t — then this content is for you:


