

Camera Matching in Premiere Pro and After Effects

I was asked by a client recently how to color match cameras in Adobe After Effects and/or Premiere Pro QUICKLY! Here’s what I did.
![]()
Their request got me thinking…
Time (as we all know) is money. Having cameras, footage or images that simply don’t match means we need to bring them into a color grading or video editing application and spend valuable time matching which increases the cost to us. So, is there a quick way to do this process? Is there a simple solution that will save us time and money and give high quality results fast? That question led me to find RE:Match by software maker RE:Vision Effects. Not quite a one click solution but not far off!
![]()
First, I need to get this out up-front: there is a cost for this app. However, in my opinion when you take into account the amount of time this plug-in is going to save you the cost is well worth it. At the time of writing this blog, for the basic version it will cost you $89.95. There is also a Pro version available which includes an additional plugin called “RE:Match Stereo” (to match stereoscopic 3D footage). This additional feature is an essential time saver for anyone making 3D productions, but it does boost the overall price to $329.95. Check out the RE:Vision site for more pricing details. Note, this is not a sponsored post. I’m simply a big fan of the timesaving power of this handy tool!
You can also download a demo version from the RE:Vision website (see the link at the end of this post) which will show you how well this plug-in works with your own images and footage (although for obvious reasons it will watermark the results until you purchase a licence).
In this post we’ll show a post production workflow using the Standard Version ($89.95). This version includes the “RE:Match Color” module which is a quick and simple solution to match footage and images in seconds.
Color Matching in Premiere Pro & After Effects
Once the RE:Match plugin is installed it becomes available in both Premiere Pro and After Effects and works in a very similar way in both applications.
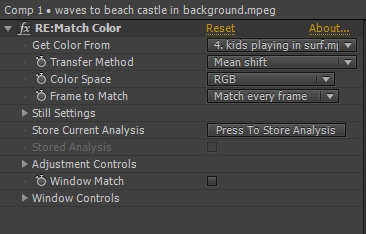
RE:Match Color in After Effects
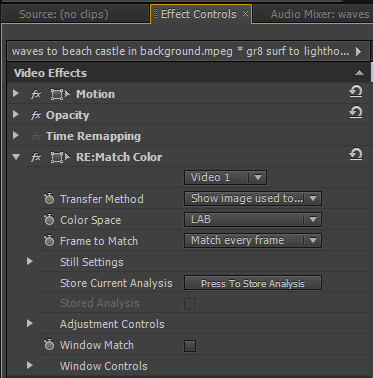
RE:Match Color in Première Pro
How RE:Match Works
You apply RE:Match to the footage that you want to modify. Once applied to a clip simply tell RE:Match what asset in your sequence or composition it should match by specifying a ‘source’ layer or video clip. For most of your shots that should be all you need to do.
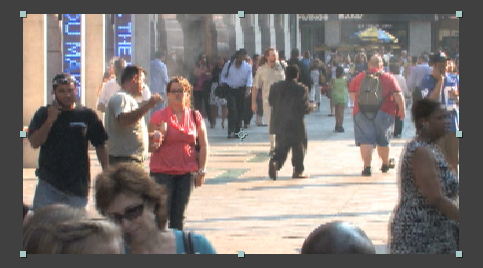
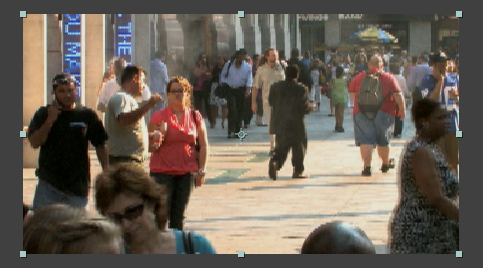
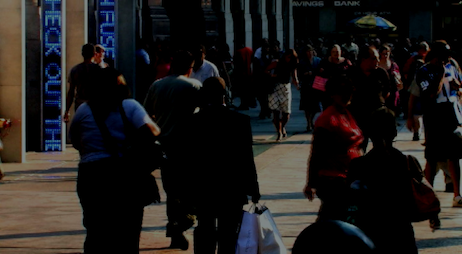
Here’s an example. I have a piece of footage…
Target Footage – Footage That Needs to be Treated
Source Footage – Footage I Want to Use as My Reference to Match To

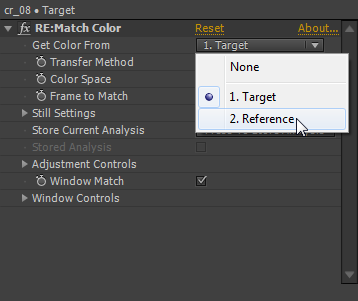
Change ‘Get Color From’ To ‘2. Reference’ Layer (AE)
End Result From This One Change!
The above example is for After Effects. Color matching in Premiere Pro works similarly, but there are a few ‘gotchas’ that you need to be aware of.
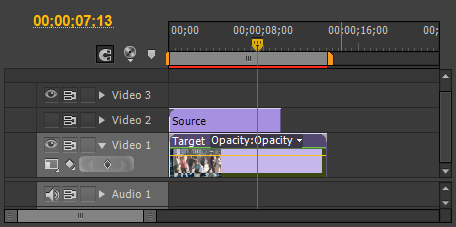
Note that I have added the reference shot (the shot to match our target footage to) to Video 2 and turned off the eyeball for that track. RE:Match doesn’t need to have the visibility of the track on to work. But it does need footage or a still image the same length as the Target track to work with standard settings.
Source/Target Layers in a Premiere Pro Sequence
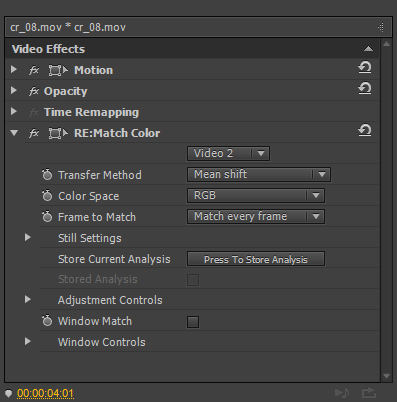
Settings in Premiere – Video 2 is selected in the Drop-Down
While the two video tracks overlap the results are the same as you get in After Effects. The problem then comes when you continue over the target clip when there isn’t any reference or source footage over (or under) it.
No Source Footage Over (or Under) the Target Footage
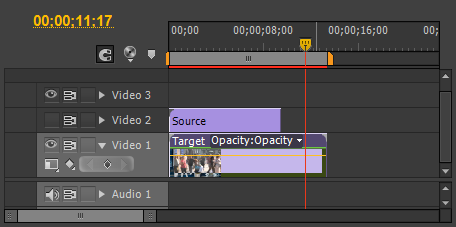
Target Footage in PP When There Isn’t Any Source Footage
As you can see, if there isn’t sufficient reference or source footage the end result will be unusable unless you change another option in RE:Match in Premiere Pro. In After Effects, it seems that RE:Match will continue to use the last frame of the reference footage even when it has ended, but this doesn’t seem to be the default behavior in Première Pro.
There is a quick solution for this issue: Go to the ‘Frame to Match’ settings and change them to ‘Match to still 1 (2, 3, 4)’. Next, open up the ‘Still Settings’ section and in the ‘Set Still Time’ drop-down select ‘Store still 1 (2, 3, 4) time’. This will take the last frame of the reference clip and use that as a reference for the rest of the shot (just like happens in After Effects by default).
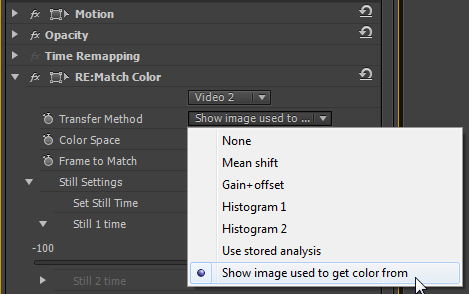
You can actually see what frame is being used as a reference if you drop-down the ‘Transfer Method’ and select ‘Show image used to get color from’ at the bottom of the list.
Seeing the Reference Frame
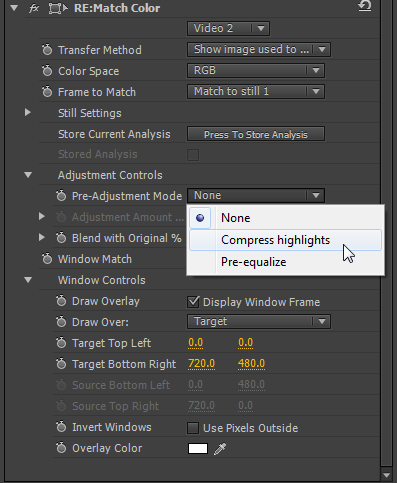
In addition, you also have the ability to use two different color spaces which is helpful for different types of problems you may get with clips. RGB is great when the problems are more in the luminance area while LAB color space is designed to work better with clips that have hue differences.
As I have said before, for most of your images and clips the default settings are going to work just fine. But for those items that can prove a little more awkward there are a few more options such as the ability to do some Pre-Adjustment as well as being able to Blend with the Original image to ‘pull-back’ some of the original if you need it.
Lastly, there’s a lovely little feature that allows you to be selective of the range of a clip or image you want to sample using the ‘Window Match’ tools. While you may not need to use this very often, it is a very helpful tool to get rid of – or just select – specific parts of a clip for better results.
Pre-Adjustment and Window Controls Settings
Thankfully, the manual that comes with RE:Match is user friendly and the plug-in itself quick and intuitive – although slightly more so in After Effects than Premiere Pro in my opinion. Notwithstanding, I wouldn’t hesitate to recommend it to Premiere Pro users as well.
One idea that has crossed my mind for Premiere Pro users would be to export a still image of the reference shot you would like to use and then re-import that into your project and simply trim it out to the length of the clip you want to cover. That way you will have a consistent reference – being a still image that won’t change – and it will be simple to trim.
Download RE:Match Color Matching Plugins for Premiere and After Effects
How are you doing your color matching in Premiere Pro and AE?
Share your thoughts and experiences in the comments!


