Harness the Power of the Canon 5D Mark IV’s Built-in Intervalometer

In this write-up, learn how you can create your own time-lapse videos using the in-camera settings for the Canon 5D Mark IV.
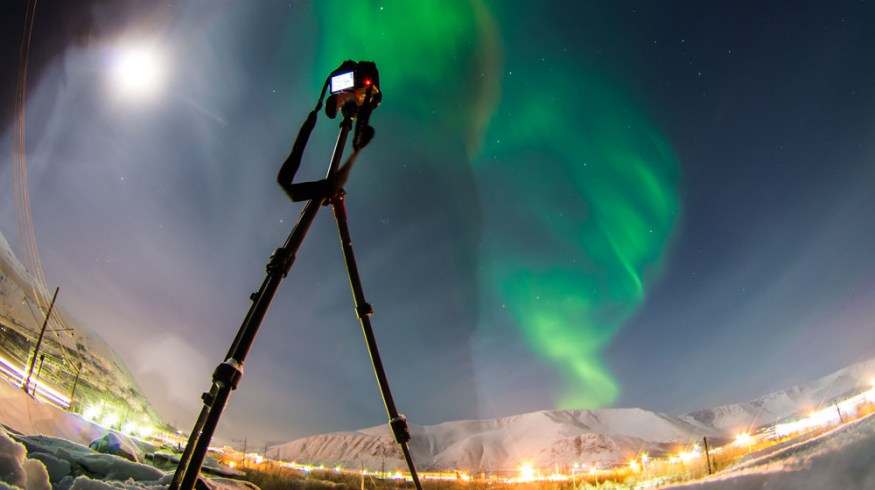
Cover image by Mikhail Varentsov.
For videographers and video-curious photographers, time-lapse videos can be fun to capture and they yield dynamic results. However, they can be tricky to set up (and even more difficult to monitor). Plus, they can take a while to record.
Traditionally, users of DSLRs or other cameras would need an external remote intervalometer (read more here) to control their cameras in order to take high-resolution photos one after another at set intervals over a certain amount of time. However, with the Canon 5D Mark IV (and other cameras on the market), you can actually set your time-lapse using the in-camera menu.
Here are the steps you’ll need to follow.
Live Shooting Mode

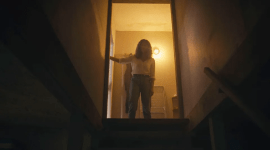
Image by Ashish Stanley.
First off, while your camera may be taking still photos at timed intervals, you’ll actually need to have your camera in shooting mode. You’ll want to use the Live View Shooting mode by adjusting the dial under the Start/Stop button on the top right of the back of your camera. This changes the internal menu options to video recording focused controls, which time-lapse videos fall under.
Menu Options

Once you’re in shooting mode, you’ll navigate to the menu screen (press the menu button on the top left of the camera’s back). From there, you’ll navigate to the red movie tab, and scroll over to the fifth page of options. You’ll see the “Time-lapse movie” option four down from the top, which should default to “Disable.”
Time-Lapse Movie Enable

Highlight the “Time-lapse movie” option, and click the “set” button in the middle of the dial to the right to enter the mode controls. Once you click, you’ll see two options: disable and enable (you’ll want to enable when you’re ready). You’ll also see a set of options and controls that you can tinker with below.
Choose Your Settings

So what do all these options mean? First, to edit them, you’ll need to press the info button (just right of the menu button on the top right of the camera). This will allow you to toggle through and change your settings.
- Interval: the amount of time between individual shots (displayed in hours/minutes/seconds).
- No. of shots: the total number of individual shots (defaults to 300, but you can adjust up or down).
- Time Required: tells you the actual amount of time it will take to complete your selected number of shots at your selected interval (so for 300 photos at 3-second intervals, your time required default would be 14 minutes and 57 seconds).
- Playback time: also based on the above, but the total amount of time the finished time-lapse will take to view from start to finish (using the numbers above, a 14 minute and 57 second recording time would create a 10-second time-lapse).
- Card time left: It’s importanta to check this before recording as it lists the total amount of recording time left on your cards.
Test and Set Exposure

After you select your ideal settings for your time-lapse video, you’ll be taken back to your live shooting screen on the display. You’ll see a grey box, which outlines how to take a test shot to check your exposure and other settings. Once your shot is composed and set (be sure to use a tripod or a steady surface to leave your camera completely still for several minutes), you can take a test photo with the trigger. You’ll get to view it and adjust as you’d like. Once you’re ready to go, simply press the start/stop button and let it begin.
Note: the display will go black once it starts the time-lapse. Don’t worry and don’t try to adjust anything until it’s finished.
Shoot and Monitor

You can monitor the progress of the time-lapse by checking the LCD monitor on the top right shoulder of the camera. The number on the top left will tell you your total number of shots remaining, while the number on the middle right will blink to tell you that the time-lapse movie is recording. You may have to wait awhile, so make sure to keep an eye on your camera.
Finish and Review

Once your time-lapse is finished recording, you can view the full time-lapse the same way you’d review any photo or video by using the preview play button second up from the bottom on the left side of your camera. The photos will play back as a single movie file and to a pretty amazing effect. Review your time-lapse before you decide to move on or try again with minor adjustments.
For more inspiration, check out this video to see a time-lapse in action.
For more videography tips and tricks, check out some of these articles.