Cinematography Crash Course: 6 Settings You Need to Check Before You Roll
For those of you just starting out as DPs, here are the six settings you need to double-check every time you get ready to roll a take.
It can take years of working as a professional DP before both the technical and creative sides of the craft start to feel like second nature. Before you can get to that point, there are certain systems and guidelines you need to follow, day in and day out, to work fluidly behind the camera. For the purpose of this cinematography crash course, I want to focus on the six most important camera settings that you always need to double-check before you start to roll:
1. Frame Rate
You may shoot the vast majority of your material at 24fps, but don’t assume your camera is always set that way. There are numerous reasons why your camera won’t be set to the correct frame rate (over-cranked on a previous shot, the camera was rented to someone else, it crashed and reset, etc.), so make sure your camera is set to your desired frame rate before you start rolling, every time. Here’s a video from Matthew Pearce that covers the basics of frame rates.
2. Resolution/Format
We’ve all made the mistake of rolling an amazing take, only to realize the camera was set to a low-quality recording format or resolution. Always be sure to keep your camera set at the highest recording setting possible (let’s say 4K/ProRes) unless the settings need to be dialed down for the sake of saving card space.
3. ISO
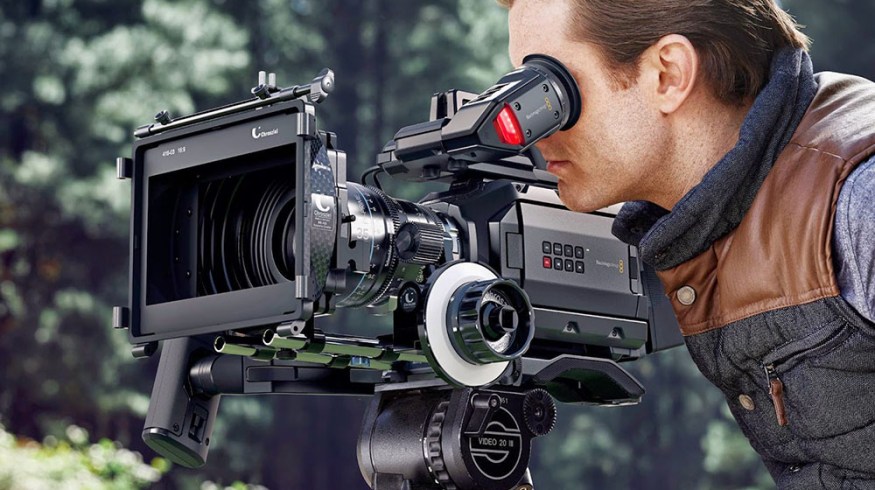
Whatever camera you’re shooting on, you should always know its base ISO and shoot at that setting. On my Blackmagic URSA, the base ISO is 400, so I exclusively shoot at 400 unless I’m in an extreme circumstance. Do your research and learn your camera’s base ISO so you can rate your camera correctly every time. Here’s Ryan Connolly from Film Riot going over ISO, plus a few terms we’ll cover below.
4. White Balance
Some cameras shoot RAW, which allows for the white balance to be easily adjusted in post… but most cameras don’t. Get in the habit of always setting your white balance correctly before each scene, otherwise you’re running the risk of baking in a look on your footage that you may not be happy with in post. Here’s some white balance knowledge from the great Dave Dugdale.
5. Shutter Speed
Typically, your shutter speed should be double that of your frame rate. So for instance, if you’re shooting at 24fps, your shutter speed should be 1/48. Because most cameras don’t have a 1/48 setting, you should opt for the next closest setting, which would be 1/50 in this particular scenario.
6. Aperture
Your aperture setting (or F Stop) is critical for achieving the look that you’re aiming for and creating a shallow or deep depth of field. Many amateur DPs will mistakenly adjust their aperture purely as a means of dealing with exposure, but neglect to understand the effect it’ll have on their image’s depth of field. Always take into account the effect aperture will have on both exposure and aesthetic, if you want to get the best look possible. Here’s another clip from Matthew Pearce that touches on the aperture basics.
Got any other tips for new DPs? What’s on your pre-shoot checklist? Let us know in the comments below!


