Make Dynamic Montages with This Easy Video Editing Technique

Need to improve the montages in your next project? Check out the technique in this video tutorial to improve the flow of your edit.
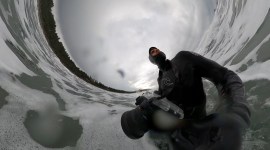
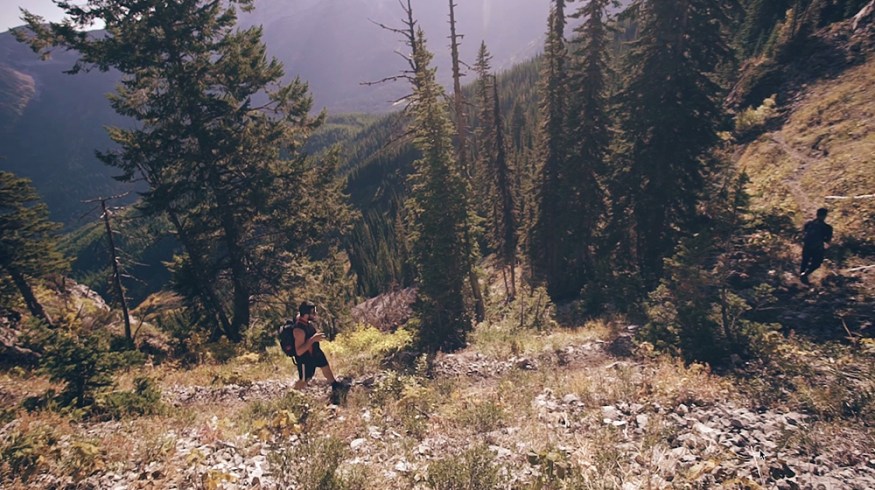
This is by far one of my favorite editing techniques for creating montages, and it’s super easy to do. By using this simple scale in (or scale out) technique, you can make all of your sequences flow better with more energy.
Let’s dive into this video tutorial.
Steps on Cutting a Dynamic Montage
You first want to assemble the shots you want to play out in the timeline together. Once you’ve created your sequence, it’s time to get grooving.
Click on your first shot, then go up into its effects panel. Drag your cursor over to Scale, and then make a keyframe marker at the beginning of your clip (by pressing the stop watch). This will make a marker point of your current clip scale, which is 100.

Now go to the end of your clip, and raise the scale up to 105 (or higher).
This will automatically make another keyframe marker.
If you play out your clip, you will see that you’ve created a digital scale.
This method can be done in reverse too, creating a digital scale out. For example, start with your clip scale at 110. Then go to the end and make it 100.
To make this effect work properly, you must apply it to at least three other shots in your sequence. Right-click your first shot, then select Copy in the drop-down menu.
Once you’ve done that, highlight the other clips in your sequence, and then right-click. From the drop-down menu press Paste Attributes.

An additional window will appear; just select Motion and press okay.
This will apply your scale in effect to all of the shots you highlighted. Depending on the length of your other clips, you may need to adjust the scale manually to make sure they don’t zoom in too slow or too late.
Again, I can’t express how much this little technique has gotten me through a ton of edits. You can apply to almost every project’s montage sequences.