
The New Features of DaVinci Resolve 15’s Edit Page

DaVinci Resolve 15 is making its way into editing bays everywhere. Let’s review a few of the Edit Page features that you need to know about.
When a new version of a popular piece of software comes out, it’s easy to talk only about the most significant and latest features. (I certainly do this.) After all, these new features tend to be things that users have been anticipating for a while. However, there are always dozens, if not hundreds, of smaller updates and new features that will improve your workflow. Resolve 15 is no different — there are countless new features and functions. However, let’s take a look at a select few Edit Page features that editors of all skill levels will appreciate.
Appearance
Page Icons
In previous versions of Resolve, the page icons were larger and displayed the names of each page. In 15, we see only the icons. Personally (as a Windows user with a locked taskbar), I find the height of the icons slightly too small; as a result, I end up accidentally opening programs from the taskbar underneath.
![]()
Thankfully, by right-clicking the page icon area, you can display the name of the icons, which returns the tabs back to their previous height.
![]()
Cleaner Contextual Menus
There’s nothing more frustrating than spending several seconds working your way up and down a menu trying to find a task, only to realize it was at the very bottom and was one of the first things you read. In Resolve 15, the contextual menus are now significantly smaller. Any tasks that were previously greyed out have now been removed, allowing you to find the required task or setting much more quickly.

Image via Blackmagic Design.
Larger Thumbnails
The maximum thumbnail size has also increased. If you have Live Media Preview activated — a setting that allows you to hover over a media clip and make it appear in the source monitor — then this may make little difference to you. But if you want to remove any processes that can slow down your computer, increasing the size of the thumbnail is a great way to find the shot you need quickly without bringing it into the source monitor.

Display Audio Waveforms
Another new addition to the Media Pool is the option to display audio waveforms. This is a useful tool if you are looking for a specific audio file and can recognize the contents of the waveform itself (a particular skill, to be sure). If you have the Live Media View turned on, you will also be able to quickly scrub the contents of the audio clip for concise clarification.

Functions
Annotations
Quite possibly my favorite new feature on the edit page is the Annotations mode. This feature allows you to draw directly on your footage to highlight errors or to bring attention to a specific area of the frame. You can draw freehand, or you can use the arrow tool to create a straight line.

You can change the stroke width and the color of the annotation, and by creating an annotation on the viewer, you create a marker on the timeline that you can open to add additional detail. To get to the annotation tool, simply open the Timeline Viewer pop-up (lower left of the timeline viewer), and select “Annotation.” From here on out, you just draw on the viewer like you would with Photoshop’s brush tool.

If you need to adjust the color, move the note, or delete an annotation, click on the annotation and adjust as needed. Active annotations are only slightly more bold than inactive ones, so you may need to zoom in to confirm your selections.
(Note: if you create several annotations without moving the play head, the annotations will only correlate with the one marker it created. If you want the annotation to appear throughout the entire clip, you will have to adjust the duration inside of the marker pop-up box. You can also create annotations within the source monitor, but the marker attaches to the clip itself, not the timeline.)
Add Shortcut Markers and Flags with Different Colors
In Resolve 15, you can change the default markers and flags shortcut function colors. If you hit M, it will add a marker (or G to flag a clip), which defaults to blue. If you want to adjust the color to highlight a specific issue (say cyan markers will be for sound issues), you can open the marker properties and adjust the color (as you can see in the marker box above). In Resolve 15, you can give a colored marker a shortcut, which eliminates the need to open the marker box.

You can do this by opening the keyboard shortcuts, searching for the desired color, and inputting a new shortcut.

It’s not a feature that’s going to change the world, but if you color-code markers, it’s going to save you a lot of time in the long run.
A New Way To Create Subclips
When I first transitioned to Resolve, one of my favorite features was the ability to create a subclip from a lengthy media file. You could do this by creating in and out points on a clip from your media browser on the Media Page, and right-clicking within the marked range to select “Create Subclip.” Resolve would then import that media file only at the marked length — great for lengthy interviews. In 15, that process is gone. Now, you create an in and out point and drag the clip from the source monitor into your media pool. That’s it. You can also do this on the Edit Page within the source monitor.
If you later think “Maybe I shouldn’t have created that subclip — now I need the contents outside of the in and out points,” then simply right-click on the clip, select “Edit Subclip,” and then check “Use Full Clip Extents.” You’ll then have access to the media before and after the marked range.

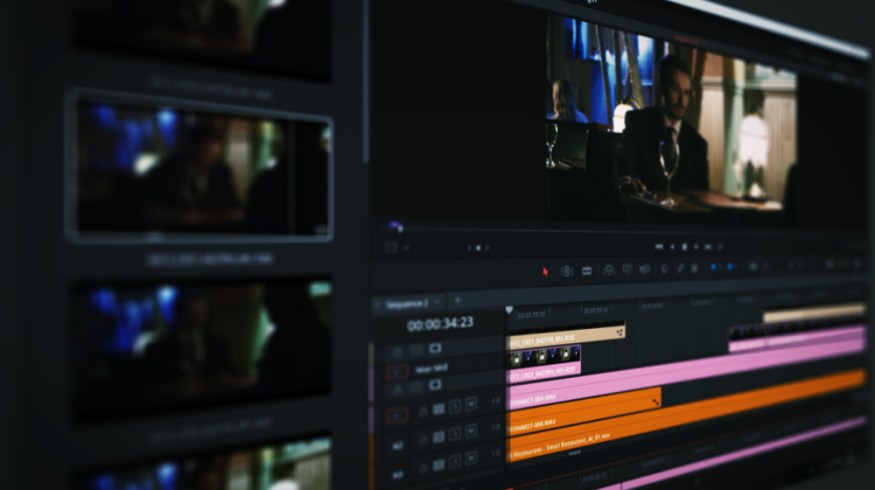
Tabbed Timelines
If I’m ever working in Premiere Pro, I make sure I only have one tab open, as I’m prone to accidentally opening another timeline when all I wanted to do was select a media clip. That said, I’m surprised it’s taken this long to implement this feature into Resolve. To open a tabbed timeline view, open the “Timeline View Options,” and select “Stacked Timeline.”

A tabbed view area should then open above the video timeline. To add another timeline, just hit the + icon and then use the drop-down menu to select which timeline you want to add.

Stacked Timelines
Another timeline feature is the ability to stack multiple timelines to edit across them all (a sentence worthy of a science fiction flick). To activate this feature, you need to hit the “Add Timeline” button (circled in red).

Adding a stacked timeline is similar to adding a timeline to your tabbed view. Hit the + icon, and choose from the available timelines. You may notice in my example above that sequences 1 and 2 are both grayed out — that’s because they are open in the timeline above as tabs. I first have to close a sequence before I can stack them.

With two timelines stacked, I can now edit clips between sequences.
Grade bypass
Another tool you might have expected to see earlier (but didn’t) is the Grade Bypass. In the top right corner of the viewer is a small color wheel icon.

When you click it, all applied grades and color effects from the color page will be bypassed.

This is great when you need to return to your edit to make some changes but find the grade is slowing your playback.
Lewis McGregor is a certified DaVinci Resolve trainer.
Looking for more information on DaVinci Resolve? Check out these articles.


