DSLR Slider Guide For Solo Shooters
The definitive guide to choosing the right slider for your next project.
Cover image via Shutterstock.
As recently as 2009, the market had yet to cash in on the success of the DSLR revolution, and for the most part, if you wanted a steady tracking shot, you needed a dolly and some track. However, since 2010, DSLR sliders have become more accessible. Different brands have emerged offering new sliders, and no longer do tracking shots belong to the Hollywood elites.
What follows is a guide for those who have not purchased a slider before. I’ll detail some of the differences between sliders, especially if you are shooting alone. Long sliders, for example, will need two tripods for decent stability. A steel slider is notably heavier than carbon fiber. A 0.5m slider paired with a 50mm lens you will get little to no apparent movement. There’s a lot to consider, so let’s get started.
Slider vs. Gimbal
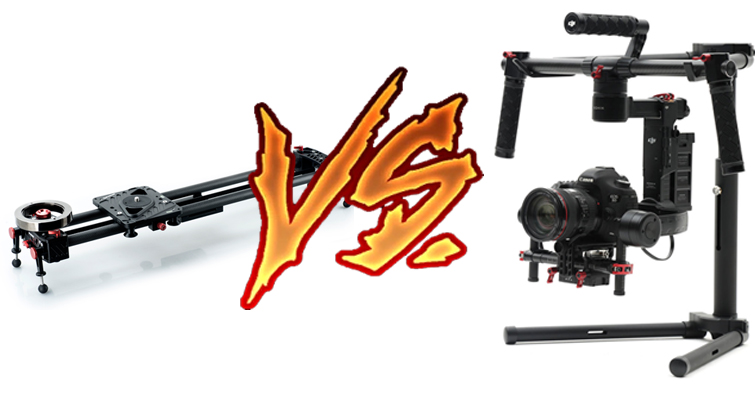
The first question I’m sure you have already asked yourself is why should you purchase a $600 slider when you could buy a gimbal for a little more money and get ten times the mobility. Although a slider and gimbal offer similar benefits, they are completely different tools.
Let’s look at some of the differences.
Gimbal vs. Slider Distance
Obviously, a slider’s movement is limited. Typically, you can purchase sliders from half a meter in length to two meters before you start getting into track and dolly territory. Conversely, with a three-axis gimbal, how far you can move depends entirely on your stamina and the physical obstructions on set. In theory, you could travel until the battery dies.
Lens Options
We’ll look at lenses on sliders more closely later in the article, but, in short, the difference between working with a slider or a gimbal becomes apparent very quickly when you start factoring in lenses.
Unless you have a wireless follow focus attached to your gimbal rig — and since this article is about shooting alone, we’ll assume you do not — you’re typically going to shoot with a wide-angle lens set to a narrow aperture to make sure everything stays in focus as you move.
Sliders give you more freedom of lens choice and aperture settings because you can operate the focus — or the zoom — while you track forward or sideways. With practice, you can pan, tilt, pull focus, and move the slider in one movement. This isn’t possible on a budget-friendly gimbal. On more expensive rigs like the DJI Ronin, you’ll see Dual Operator Mode that allows a second operator to pan and tilt. While this is a fantastic feature, it requires an extra crew member. One can also change the smooth track adjustments on the Ronin, which makes the gimbal respond to your movements more quickly. However, it still wouldn’t be as fast as moving a fluid head on a slider.
Slider Build
Two of the fundamental factors you have to consider when buying a slider as a lone wolf is the type of metal in the rails and the length of the slider itself. Both factors will determine movement and portability.
You can typically buy four different types of sliders: carbon fiber, steel, aluminum, or a combination of steel and aluminum. Each will have a different weight, even if they are the same length. If you’re planning to film remotely, a large 5kg steel slider is going to be burdensome. Therefore, it may be better to opt for carbon fiber, such as the Rhino Core Tracking Slider.
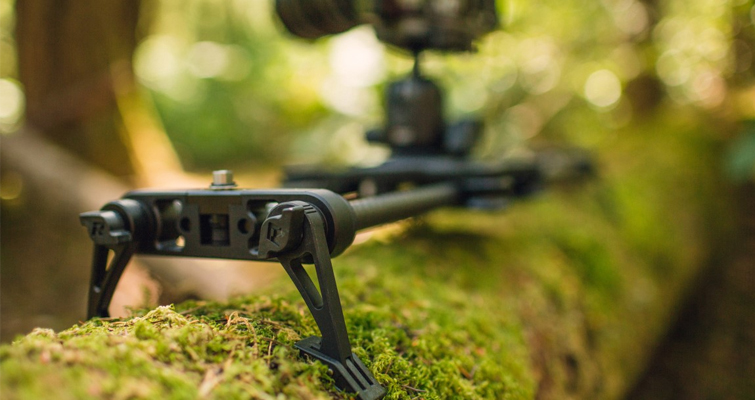
Image via Rhino Gear.
Since this slider only weighs 1.6kg, you could transport it just about anywhere. Essentially, it weighs the same as the Canon 5D Mk III. However, the Rhino Core Tracking Slider only has a load capacity of 6kg. If you shoot with a large camera rig, the slider will be insufficient. Conversely, a Konova K7 Slider has a maximum load of 35kg, but it’s made from steel and aluminum and weighs three times as much as the Rhino Core Slider.
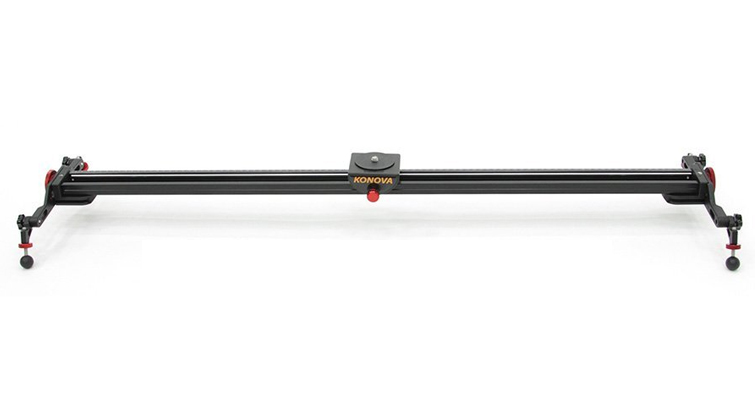
Image via Konova.
Therefore, it’s important to consider the weight of your setup when you start looking to purchase a slider. You’ll find that carbon fiber sliders consist simply of rails and end mounts, whereas steel and aluminum sliders will often be more solid rigs, meaning there’s less chance of them becoming damaged or deformed.
Slider Length
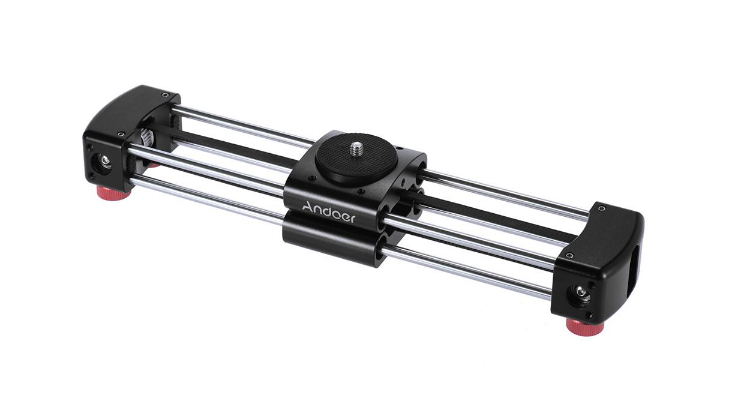
At one point, sliders came in only three sizes. Now that there are so many different brands, types, and price points on the market, sliders come in a several different sizes, including 36.5cm (Andoer GT-V250 Mini Slider).
Alternatively, the Wondlan MS1.5 Slider is 1.5 meters.
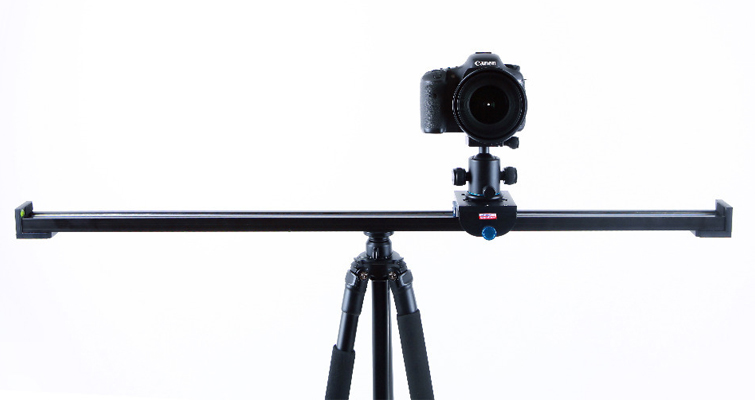
The different characteristics of the slider all contribute to its overall performance. The longer the slider, of course, the heavier it will become. However, this will also affect its balance. Most sliders have three main mount points: one in the middle and two on either end. You can use a 0.7m slider attached to a single tripod at the center mount and track from one end to the other without a problem.
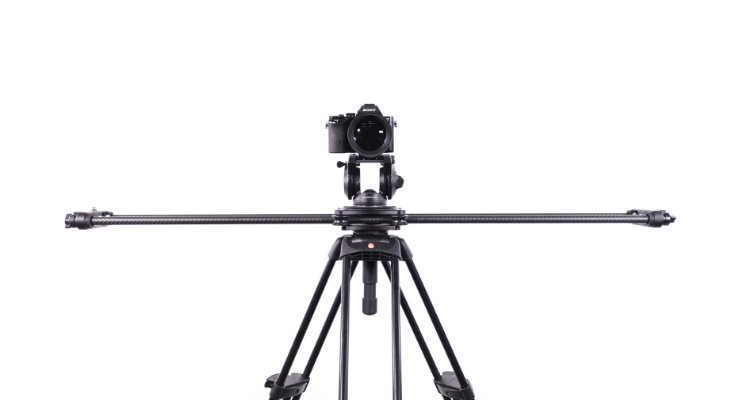
Image via Rhino Gear.
However, if your slider is closer to a meter in length, you’ll find that it can throw the tripod off balance when moving from side to side.
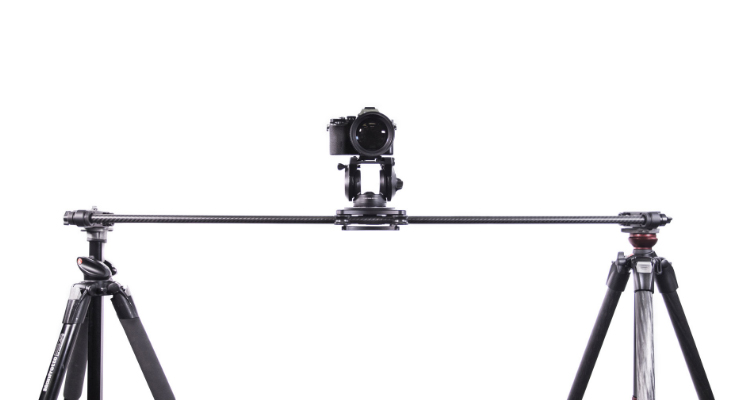
Image via Rhino Gear.
When this happens, you’ll simply need to remove the tripod from the center mount and combine it with another. This, of course, increases the amount of equipment you have to carry.
Crank/Drive Belt
There are plenty of tutorials on YouTube that can help you improve the movement of your carriage. While moving a slider carriage from left to right sounds easy enough, when you factor in focus pulling, moving the tripod head, and looking at the LCD, it’s easy to create a skip in the movement of the carriage. Tracking in one swift movement is something that requires practice. I’m several years into owning a slider, and I still sometimes find myself jarring the carriage by accident. Nonetheless, there are sliders that can solve this problem.
For example, the Kessler Crane Pocket Dolly (now in its third iteration) can accept a crank handle. While you are still controlling the movement of the slider by hand, you aren’t moving along with the slider carriage yourself. You can stay in the same position, which will offer more control with less body movement.
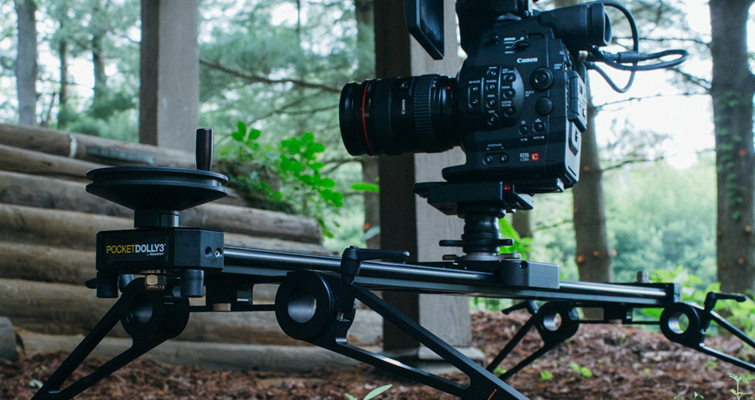
There two things you need to account for when using the crank. While it provides better movement control, after a few seconds of action, the camera is going to move out of reach. This is fine for a landscape shot on a wide angle. However, if you need to pull focus or perform a rack aperture, you’re going to be stuck at the other end of the slider.
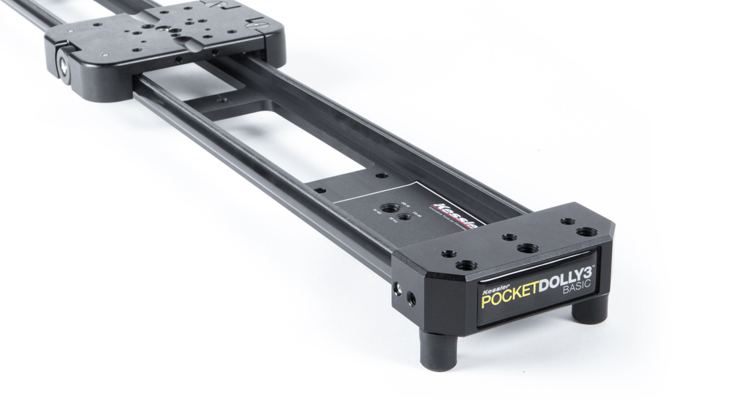
Secondly, if you’re following a subject and you need to stop at a precise moment, you’re going to need to set up a monitor and wire system to make sure you can see exactly where you need to stop. As such, you’ll need to make sure you purchase a slider that has various mounting threads, as seen on the Pocket Dolly below.
Motion Control
From 2010 to 2012, the buzz wasn’t all about new drone capabilities — it was about creative time-lapse reels.
One way that photographers and filmmakers alike pushed their time-lapse footage to the next level was with movement.
There are two ways sliders can incorporate motion control. They either have an integrated drive belt built into the slider itself, like the Kessler Crane Pocket Dolly, or you can attach a device to the slider carriage that which acts as the gear drive, and then attach a belt, rope, or wire to each end to pull the gear along — such as the Genie from Syrp.
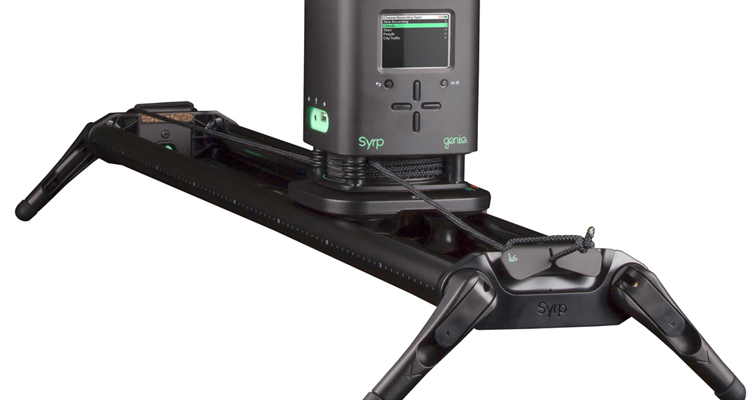
These are great tools for time-lapse photography, but they are also fantastic for solo shooters. In the image below, although there are two filmmakers, one is free to focus on getting better light since the b-camera is set up with a motion-controlled rig.
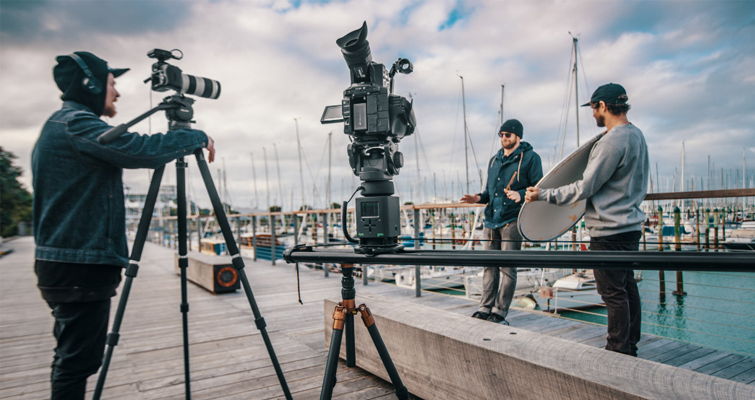
Image via Syrp.
Slider Feet
Many sliders also come with different feet you can use to position the slider on a supporting surface. The glidetrack 0.7m features four rubber balls attached to 10cm steel screws, which you can level up or down.

This is ideal for flat surfaces but little else. The K5 series from Konova offers adjustable angled legs with sixteen different positions. This is perfect for the outdoor videographer who might need to use rocks and uneven surfaces to support the slider.
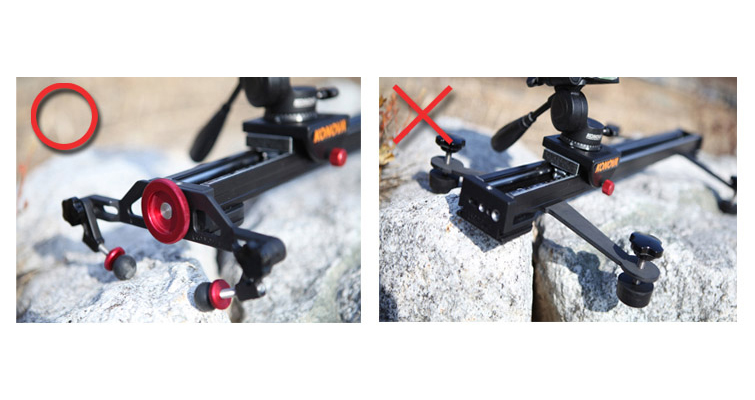
Image via Konova.
Depending on the type of filming you’re planning — and where you will film it — you’ll find that this extra grip and attachment function can open up many more creative options.
Lenses
Before you decide on a slider, consider the lens you will use with it. One meter, in the grand scheme of things, isn’t that long. You’re not going to create a lengthy Paul Thomas Anderson tracking shot with a slider. Nonetheless, you can extend the perceived distance by using a wide angle lens. Since there is a wider field of view, you see more elements enter and leave the frame than you would with a standard or telephoto lens. While you are only physically moving the camera the length of your slider rails, the end result will look as if you’re traveling further.
For ten creative tips for working with a slider, check out this video from Cinecom.net
Do you have tips for finding the right slider for your shoot? Let us know in the comments.


