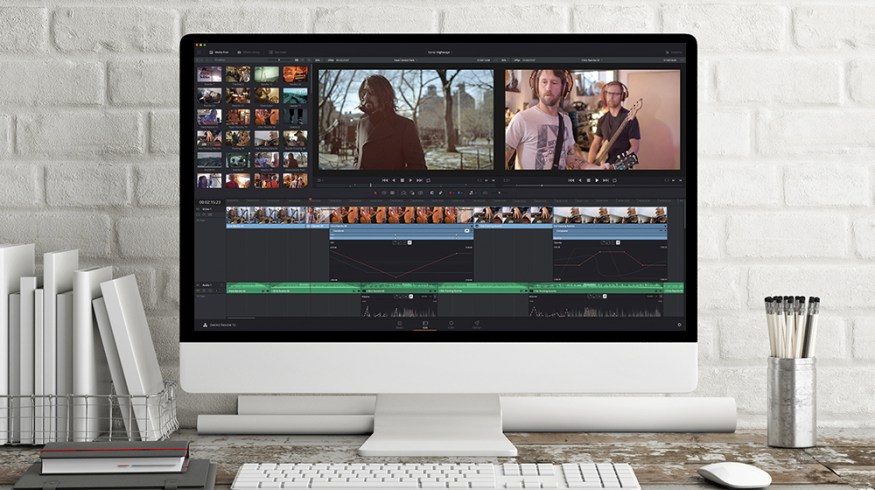
Easier Interview Editing With DaVinci Resolve’s Smooth Cut Transition
DaVinci Resolve 12 debuts the Smooth Cut transition, mimicking Premiere’s Morph Dissolve tool. Interview editing has never been easier.
Interview editing can be tricky. But with DaVinci Resolve’s Smooth Cut transition, you’ll have no problem getting around line flubs or seamlessly blending two cuts together.
Let’s get into how DaVinci Resolve’s Smooth Cut works. In the Edit page, chop up the audio in your timeline as usual, taking out flubbed audio sections to create a more coherent performance. The video will be choppy since the person moves while talking; we’ll apply Smooth Cut to each of these edit points.

I’ve edited out some of the speaker’s flubs, resulting in a timeline with several edits.
Activate the Effects Library on the top left of the interface. Smooth Cut is in the Transitions category. Let’s be a little tricky. Hold down the Command key and click each of the edit points you made a moment ago, highlighting each of them. Right-click the Smooth Cut transition and choose Add to Selected Edit Points and Clips. The transition is added to every selection at once. Nice!

Open up the Effects Library; Smooth Cut is near the top.
If you just have one edit point or don’t feel like being tricky, simply drag the transition onto the edit point. Either way, you’ll have something that looks like the image below.

The resulting clips all have the Smooth Cut transition on them with the default transition length set in the Editing preferences.
By default, the transition will be one second, much longer than what we need. You can set the default transition length for future work in the Editing preferences.

Set the transition duration here to whatever you prefer.
Drag the transition to something lower, like 2 or 4 frames. Play the transition through and watch intently to make sure the transition is as seamless as possible.

Smooth Cut works best when the transition duration is very small, like 2 or 4 frames.
If the image jumps too much, try having the transition start or end on the edit point. To do this, right-click on the transition and select the appropriate option.

One way to tweak the transition is to have it start or end on the edit. Right-click to pull up the options.
Lastly, you can affect the Transition Curve to customize the transition’s shape. To access this, click on the tiny drop-down triangle on the bottom right of the transition.

In DaVinci Resolve 12 you can customize transitions to tweak them for maximum effectiveness.
Treat your audio in a similar way, adding short-length dissolves to minimize undesirable sounds created by the edit points. I usually begin with a two-frame transition and tweak from there to taste.
Here’s Alexis Van Hurkman, author of the DaVinci Resolve manual, on Smooth Cut:
Neither DaVinci Resolve’s Smooth Cut nor Premiere’s Morph Dissolve will work in every single scenario, but it’s great to have this tool in the back pocket for when there’s no b-roll to cover a subject.
How has your experience with the Smooth Cut been? What other features of DaVinci Resolve 12 are you most excited about? Let us know in the comments below!


